
Connect an AI agent
Let Claude, ChatGPT, Cursor, VS Code, Claude Code or another MCP client read your sites and ask for changes. Changes wait for your approval unless you allow undoable ones to run on their own.
On this page
Before you start
- An AI tool that supports MCP servers over HTTP, such as Claude (claude.ai or the desktop app), ChatGPT, Cursor, VS Code or Claude Code.
- Permission to view sites in the workspace, or to manage them if the agent should be able to ask for changes.
What an agent can do
An agent can read your sites and servers: the site list and details, deploy logs, an app’s recent logs, nginx and PHP error logs, WordPress version and plugin updates, domains and SSL certificates, backups and their restore tests, uptime over the last 30 days, security scan findings, server load and services, the launch check result and AI crawler traffic. It never sees environment variable values or passwords.
With Read and ask for changes it can also run read-only SQL on a WordPress site’s database (one SELECT at a time, at most 200 rows; the database refuses writes) and request these changes:
| Change | When it runs |
|---|---|
| Clear the page cache, back up a site, run the launch check | Right away, without asking. |
| Redeploy, roll back, change the deploy branch, set AI crawler rules | After you approve, or right away if the key may run undoable changes without asking. |
| Restart the app, PHP, the web server or the database; cancel a running deploy; add a domain; update WordPress plugins | Always after you approve. |
| Restore a backup | Always after you approve. The request shows the backup’s date and whether its restore test passed. |
| Restart nginx or a service on a server, reboot a server, create a site from a GitHub repository | Always after you approve, by someone who can manage servers. |
| Run a command on a server as root | Only keys of the owner or an admin can ask, and only the owner or an admin can approve. You see the exact command; the output appears under Activity. |
| Set an environment variable | Always after you approve. You see the full value first. |
Agents can never delete sites or servers, change DNS records, touch billing, or read passwords and keys. When an agent adds a domain or creates a site, it tells you which DNS record to set. Every change an agent makes, and every SQL query, is recorded in the Activity log.
Clients that support MCP prompts also offer two ready-made questions: Why is my site slow? and Check my site before launch. They only read; anything they suggest changing comes to you for approval.
Step 1 Open AI agents
Click Workspace in the sidebar, then Connections and AI agents. Click Connect an agent. The window has three tabs, one for each way to connect.
Connect Claude or ChatGPT
On the Claude and ChatGPT tab, click Copy next to the address. It ends in /mcp. You don’t need a key: the app signs in to Nuvlo and you choose its access.
- Claude (claude.ai and the desktop app): open Settings, then Connectors, and click Add custom connector. Paste the address, add the connector, then click Connect.
- ChatGPT: turn on developer mode, then add a custom connector with the address under Settings, Apps and connectors.
The app opens Nuvlo in your browser. Sign in if asked, then choose:
- Account, if you belong to more than one workspace.
- Access: Read and ask for changes or Read only.
- Sites and servers: Everything in this account, or Only the sites and servers I choose. A ticked server includes every site on it, also ones you add later.
Click Allow and the app’s name. You are sent back to the app and it appears under Connected agents as a connected app.
ImportantNuvlo shows the app’s real name only for Claude, ChatGPT, Cursor and VS Code. For any other app it warns that it can’t confirm who the app is and shows where access goes. Only allow an app you just started connecting yourself.
A connected app stays connected while it is used. If it is not used for 60 days it has to connect again. A workspace can have up to 20 connected apps.
Connect Cursor or VS Code
On the Cursor and VS Code tab, click Add to Cursor or Add to VS Code. The editor opens and asks to add the Nuvlo server. The first time it connects, it opens Nuvlo in your browser, where you choose the access as described above.
If the editor does not open, copy the address and add it as an HTTP MCP server in the editor’s MCP settings.
Step 2 Create a key for Claude Code and other tools
Tools that don’t sign in on their own, and scripts, use a key. Open the Claude Code and others tab.
Give the agent a Name you will recognize later, for example “Claude Code on my laptop”. Each agent gets its own key, so you can see what it did and cut it off on its own.
Choose the Access:
- Read and ask for changes: changes wait for your approval.
- Read only: sites, logs and reports.
With Read and ask for changes, you can turn on Run undoable changes without asking. Redeploys, rollbacks and crawler rules then run straight away and appear under Activity with an Undo button. Environment variables still wait for you.
Choose how long the key works under Key valid for: 7, 30 or 90 days.
Under Sites and servers, keep Everything in this account, or choose Only the sites and servers I choose and tick them. A key limited to one site sees only that site: other sites, their change requests and the server list are hidden from it. Click Create key.
A workspace can have up to 10 active agent keys.
Step 3 Add Nuvlo to your agent
The window now shows the setup for your tool:
- Claude Code: copy the command, run it in a terminal, then start Claude Code.
- Cursor and others: copy the settings and add them to your client’s MCP settings, for example
.mcp.jsonor.cursor/mcp.json.
ImportantAnyone with this key can use Nuvlo as you, within the access you chose. Don’t commit it to a shared repository.
The key is shown only in this window. Click Done. The agent appears under Connected agents.
Step 4 Approve or reject a change
When an agent asks for a change, the workspace owner and the member who created the key get a notification and an email, and the request goes to your alert channels if they include AI agent waiting for approval. Open the link to see it; you can’t approve from the email or chat itself. The request appears at the top of the AI agents page under Waiting for your approval, with the agent’s reason and exactly what will change.
Click Reject, or the approve button, such as Approve and redeploy. Anyone who can manage sites in the workspace can decide, and an approved change runs with the permissions of the person who approved it.
A request expires if nobody decides within 24 hours. Each agent can have up to 10 requests waiting.
Step 5 Check the result and undo
Activity lists every change with its status: Running, Done, Failed, Rejected, Expired or Undone. After a redeploy, restart, restore or plugin update, Nuvlo checks that the site still answers and notes the result. For a server command, click Show output (owners and admins only).
If something went wrong, click Undo next to the change. If a site may be down after an agent’s change, Nuvlo sends you a warning notification.
Revoke a key or disconnect an app
Under Connected agents, click Revoke key for a key, or Disconnect for a connected app, then confirm. The agent loses access right away and its waiting requests can no longer be approved. A revoked key can’t be used again; a disconnected app has to connect again from the app.
The member who connected it, the owner and admins can do this. Keys also stop working when they expire, and all your keys and connected apps stop working when you change your password or turn on two-factor sign-in.
Related guides
 Create an API tokenCreate a personal token so scripts and automation tools can work with Nuvlo, limited to the areas and the time you choose.
 Run a launch checkFind leaked keys, databases anyone can read and files that shouldn't be public on a static site, PHP site or Node.js app, and fix them from the dashboard.
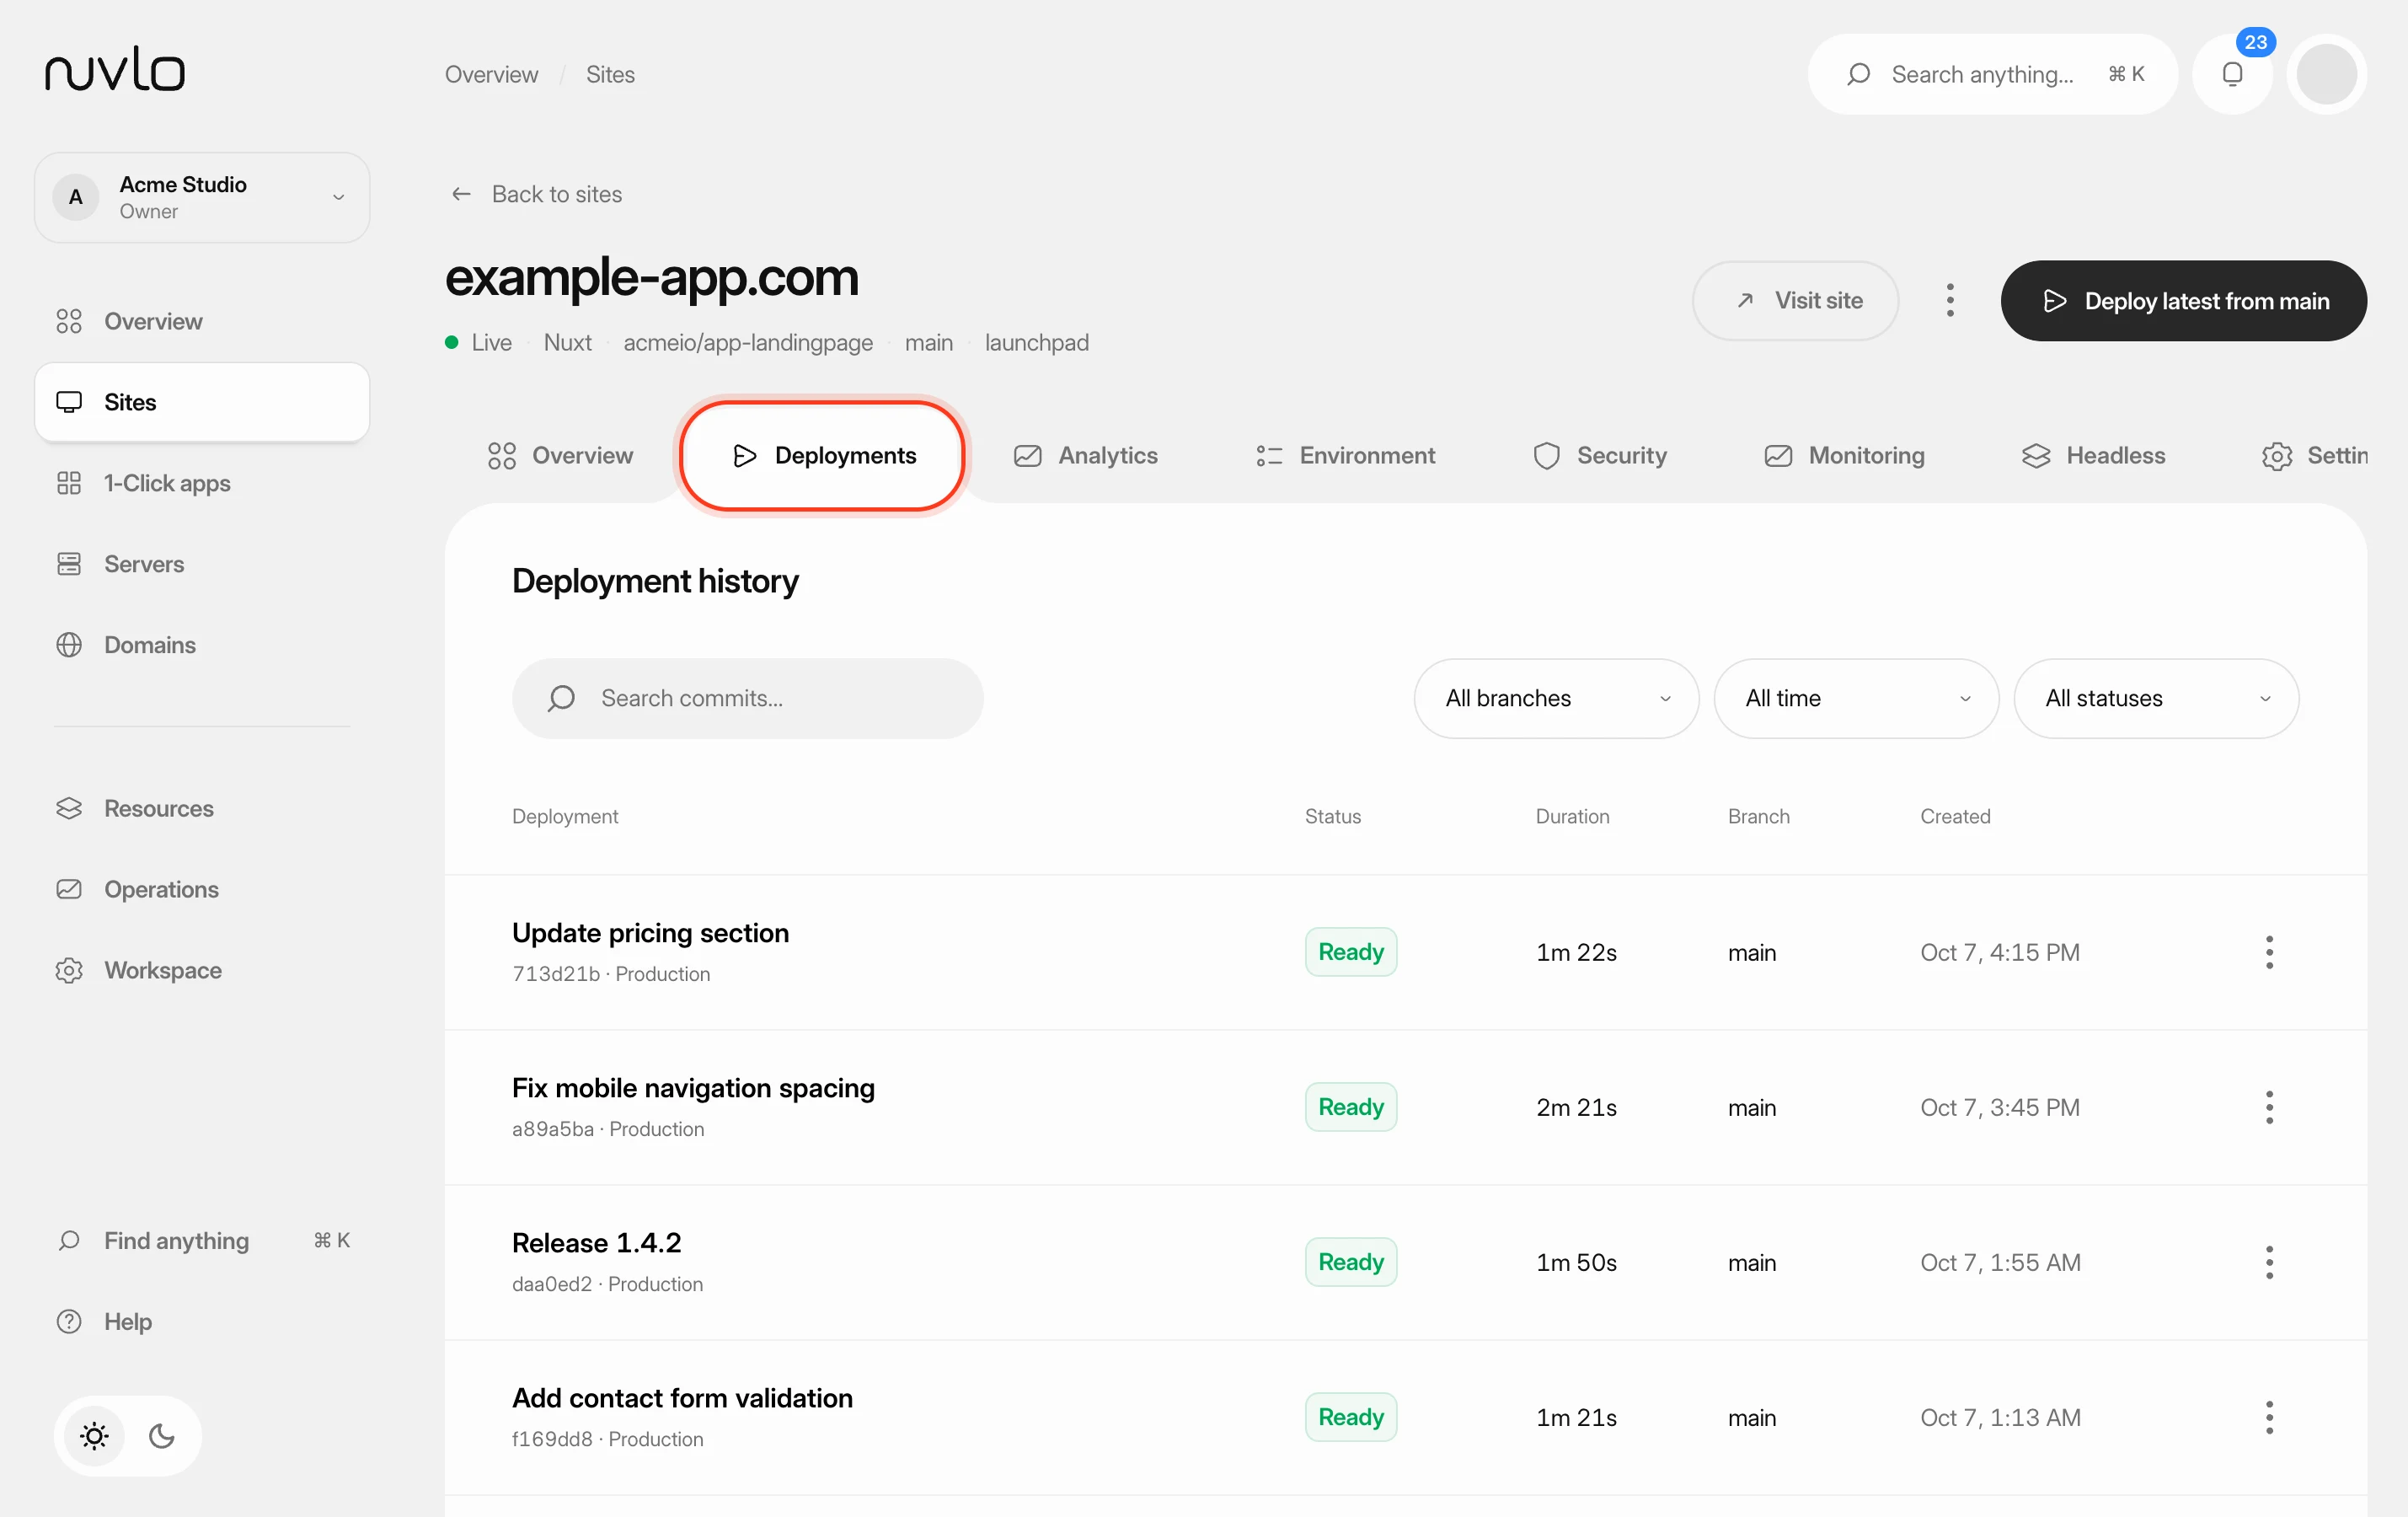 Roll back to an earlier releasePut a previous version of a Node.js app, static site or PHP site back online in seconds, without rebuilding it, and choose how many releases Nuvlo keeps.
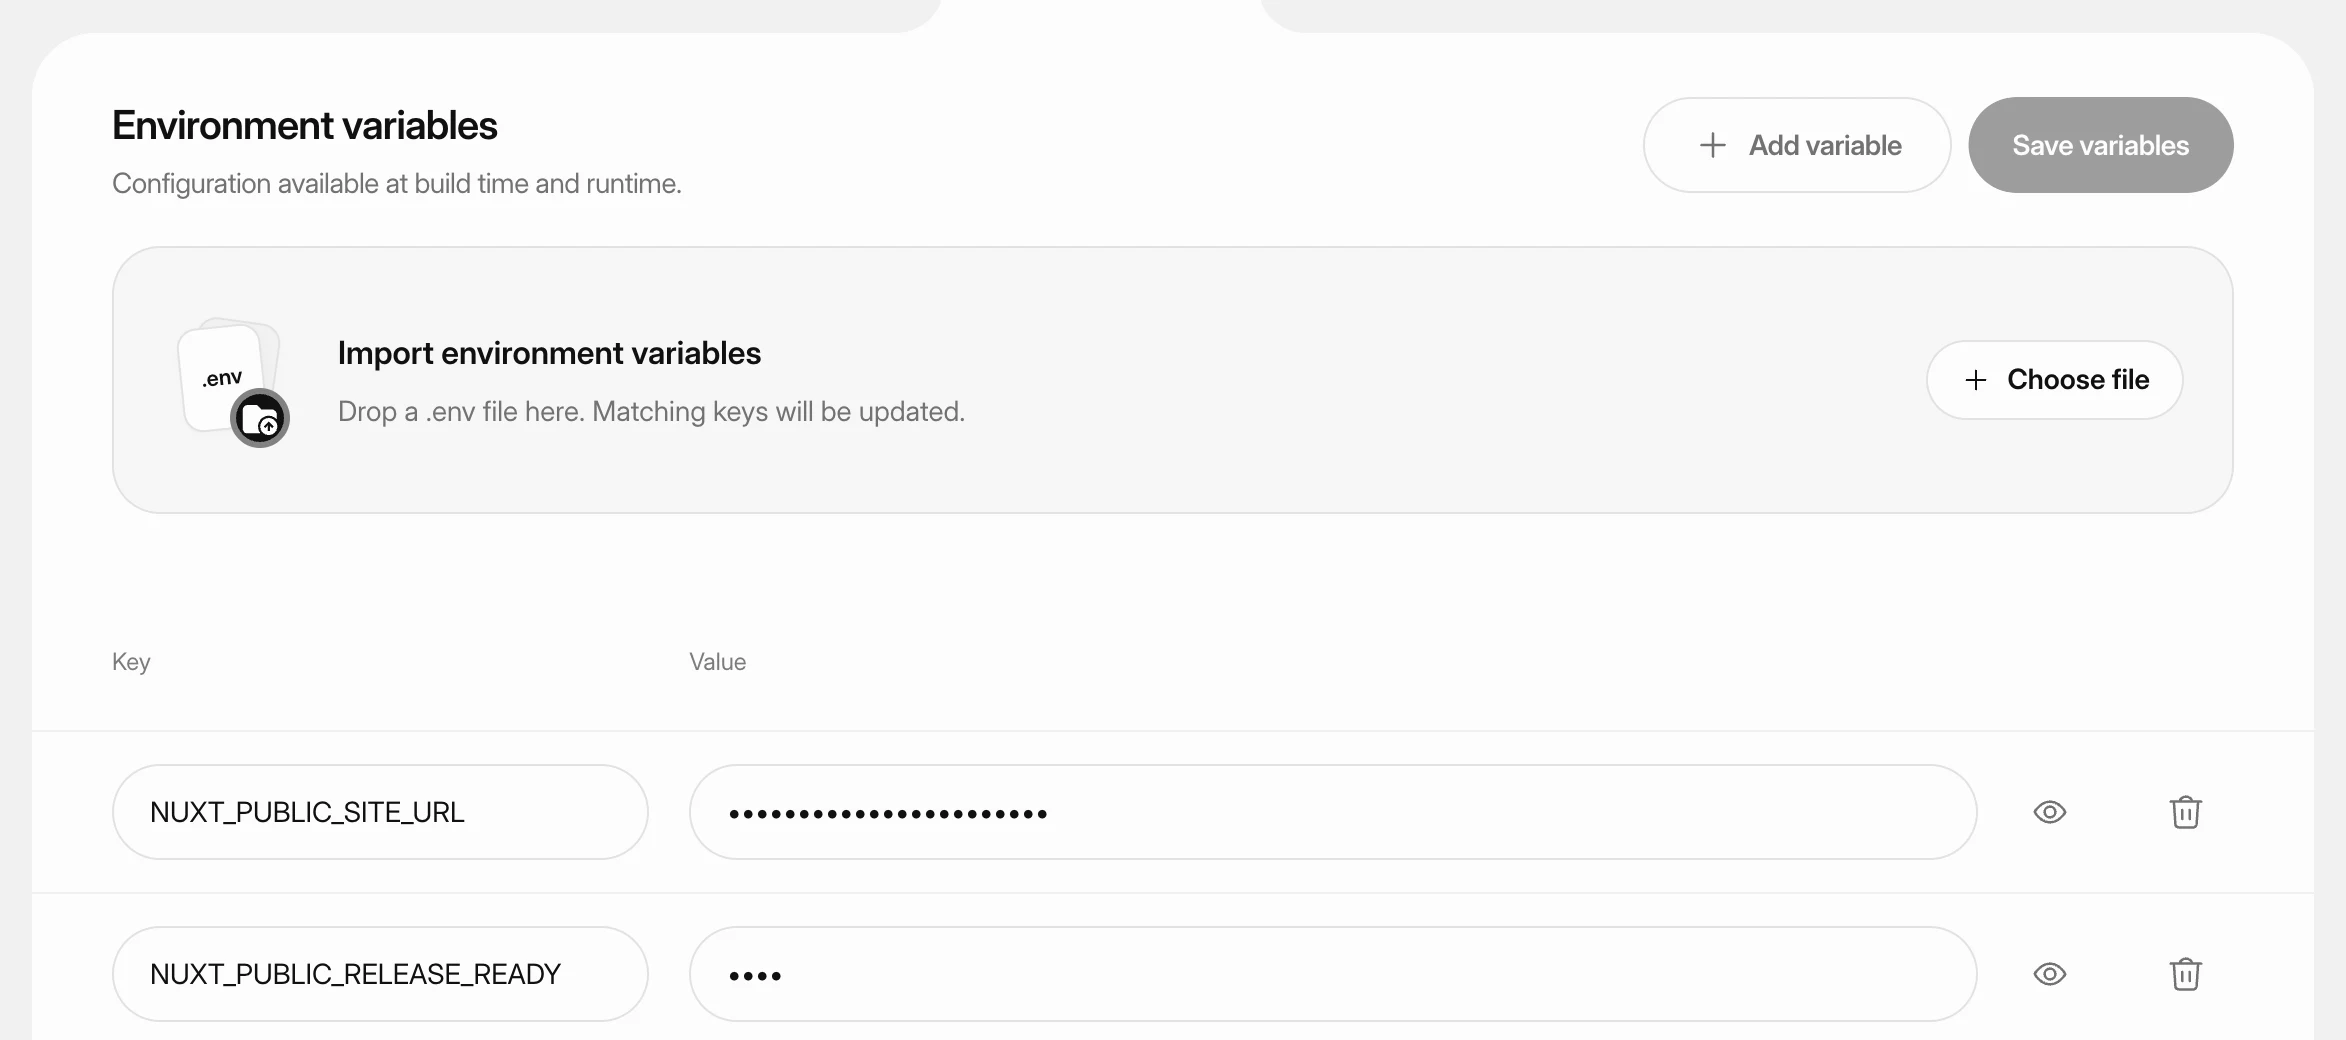 Set environment variablesStore API keys, database settings and other configuration for a static site, PHP site or Node.js app, and apply them with the next deploy.