
Move a WordPress site to Nuvlo
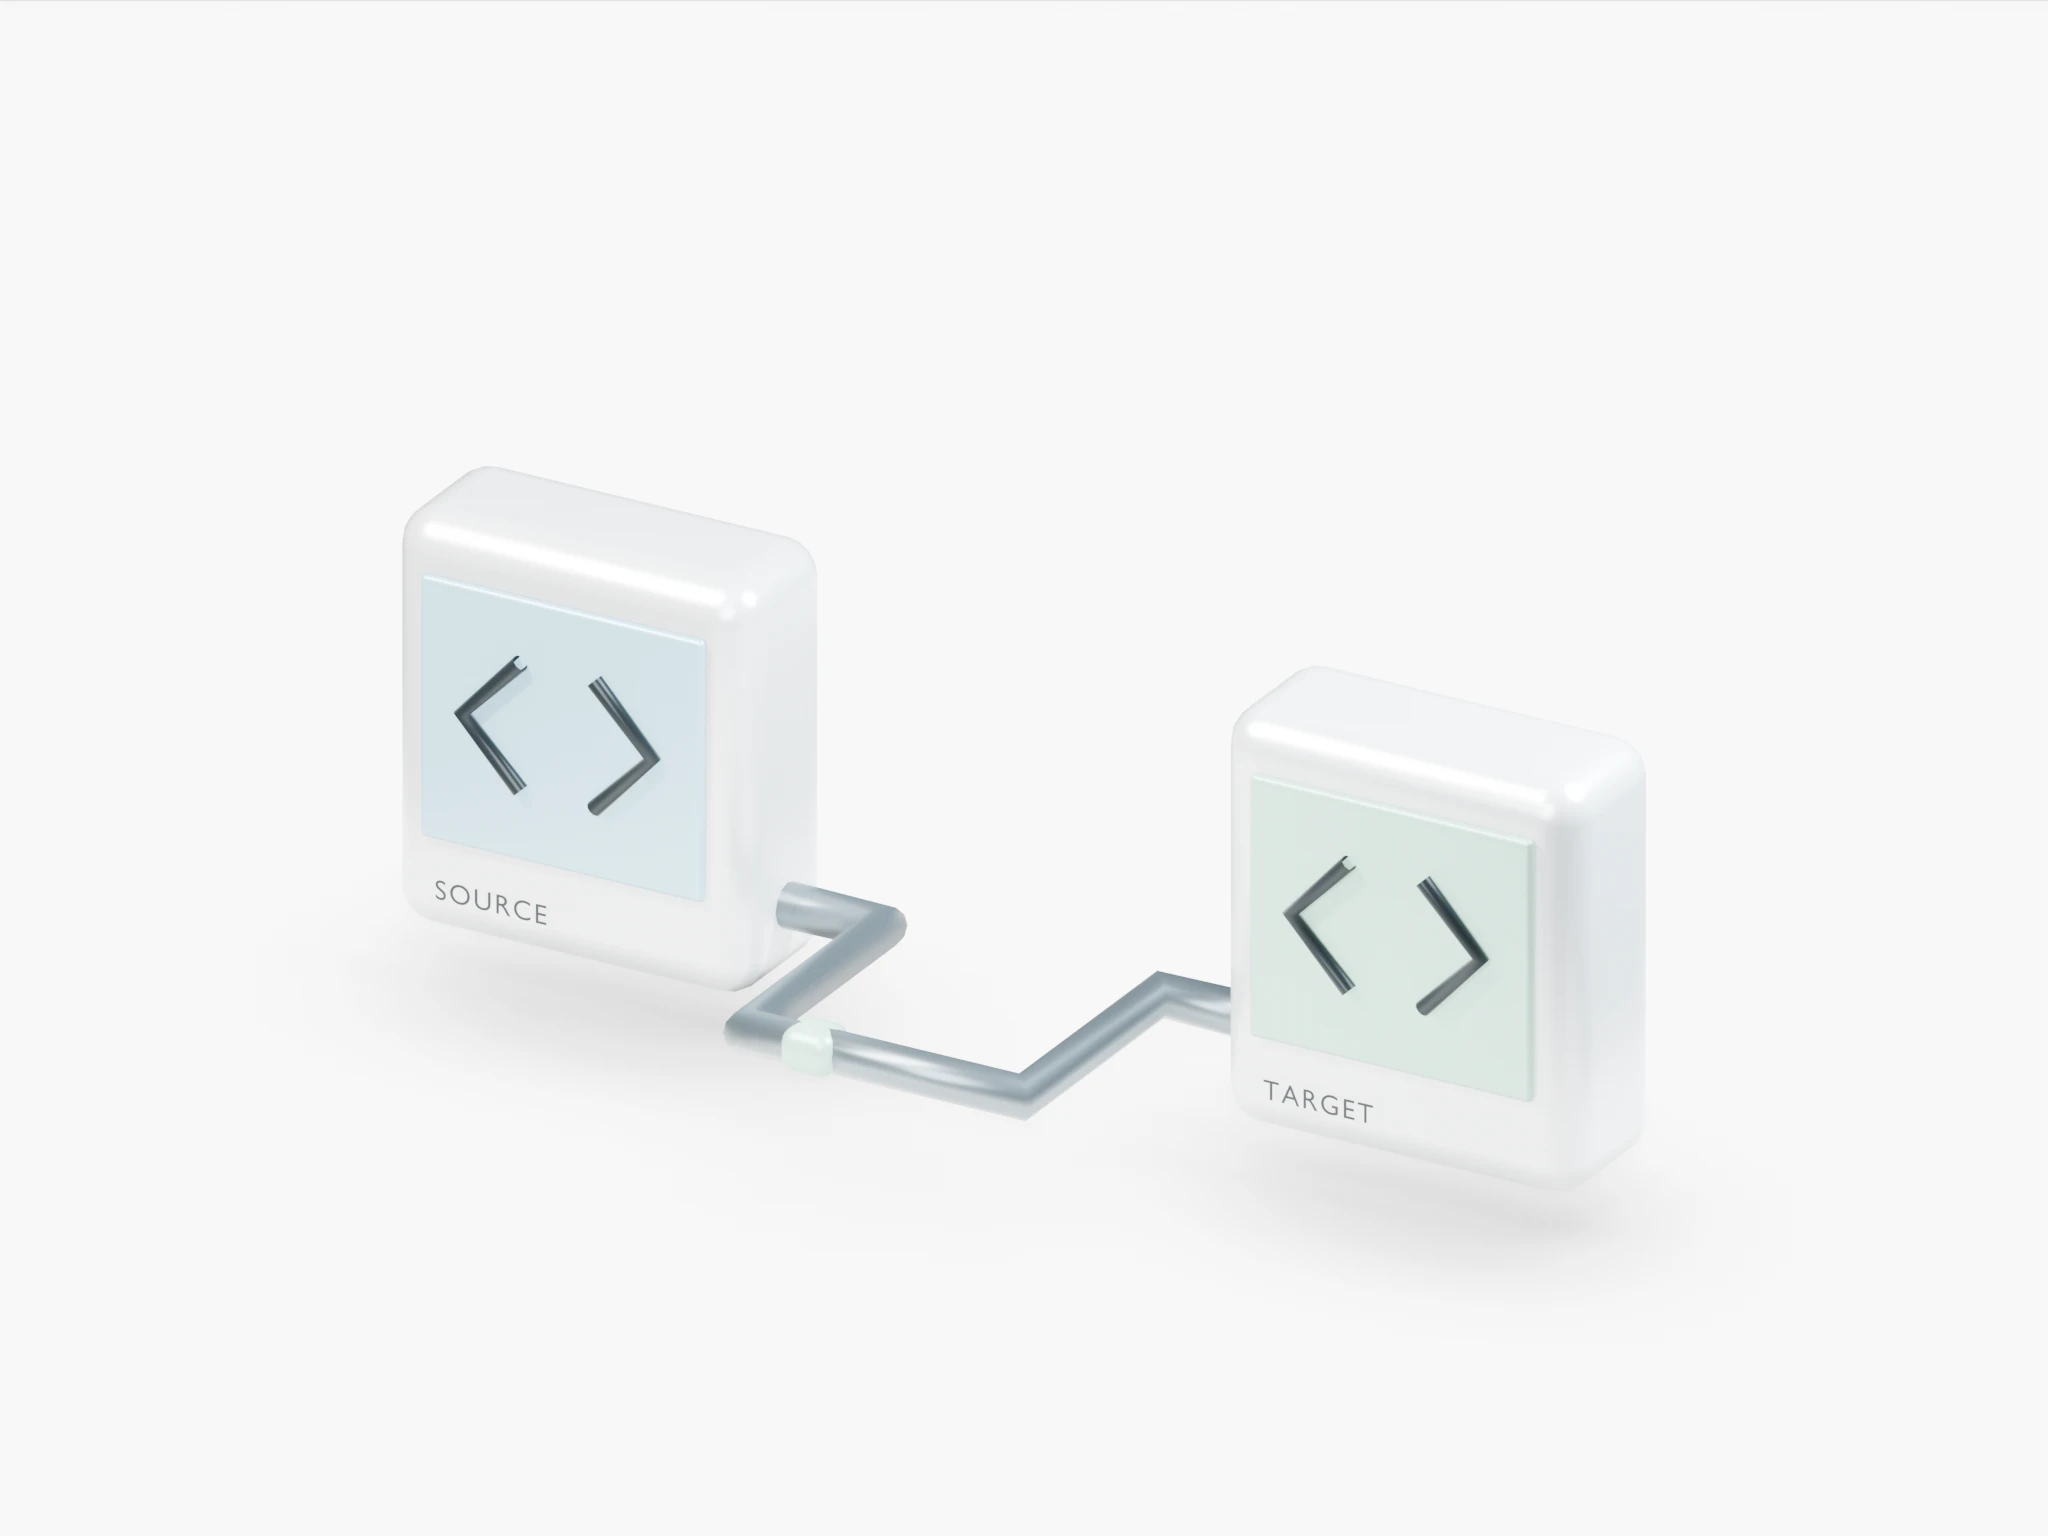
Copy a WordPress site from your current host to one of your servers with the Nuvlo Migrator plugin. The old site stays online until you point the domain to Nuvlo.
On this page
- Step 1: Enter the site’s address
- Step 2: Check what Nuvlo found
- Step 3: Install the Nuvlo Migrator plugin
- Step 4: Paste the code
- Step 5: Choose the server
- Step 6: Choose the copy’s address
- Step 7: Wait for the copy
- Step 8: Point the domain to Nuvlo
- Step 9: Finish the move
- Email after the move
- Other ways to move
- Limits
Before you start
- An administrator login for the site’s WordPress admin, so you can install a plugin there.
- An active server created as WordPress & apps or Mixed projects. You can also create one during the move.
- Access to the domain’s DNS settings, for the final switch.
- Permission to manage sites. Only team members who can change sites can connect the plugin.
Step 1 Enter the site’s address
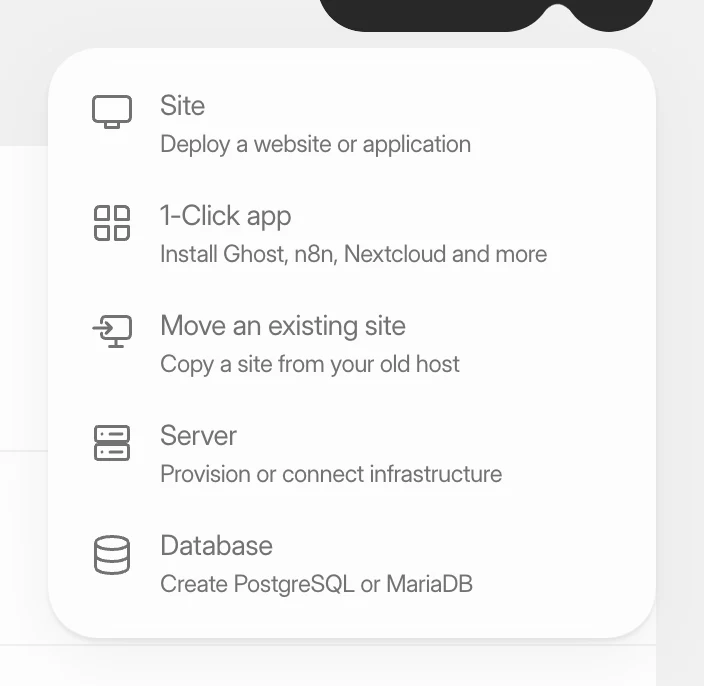
Click Create, then Move an existing site. You can also click Move an existing site at the bottom of the Create site page.
On Move a site to Nuvlo, type the site’s address under Where is the site now? and click Check site.
Step 2 Check what Nuvlo found
Nuvlo shows what the site runs on, where it’s hosted, which DNS provider the domain uses and where its email runs.
Under How should Nuvlo move it?, keep Connect with a plugin (marked Recommended). Then click Move … to Nuvlo.
Step 3 Install the Nuvlo Migrator plugin
The move page now shows Connect … to Nuvlo. Click Download plugin to get the plugin file.
In the old site’s WordPress admin, go to Plugins, Add New, Upload Plugin. Upload the file and activate it. Open plugin upload takes you straight to that page.
Step 4 Paste the code
Copy the code from the move page. It starts with nvm_.
In WordPress, open Tools, Nuvlo Migrator, paste the code into Code from Nuvlo and click Connect to Nuvlo. Open the plugin page on the move page takes you there.
Back in Nuvlo, Nuvlo connects by itself within a few seconds. You don’t need to reload the page.
The plugin only reads the old site, and its access expires after seven days.
Step 5 Choose the server
Once connected, Nuvlo lists the WordPress version, PHP, database size, theme and active plugins.
Under Where should … go?, pick one of your servers. To use a new one, click New server. Nuvlo brings you back to this move once the server is created.
If your account has AI answers or its own AI key, What to expect for this site gives a short read of anything to watch for. It uses one AI answer, or runs on your key. See AI answers.
Step 6 Choose the copy’s address
Under Address of the copy, choose where the copy answers while you test it:
| Option | When to use it |
|---|---|
| The site’s own domain | The copy goes live when you point the domain to Nuvlo. Until then, everyone keeps seeing the old site. |
| Temporary address | Shown when Nuvlo offers temporary addresses. Try the copy right away. Search engines don’t index it. |
| Another domain | For example cms.example.com. The main domain stays at the old host. Turn on DNS and HTTPS through Cloudflare to have Nuvlo add that one record in your connected Cloudflare account. |
Click Copy … to ….
Step 7 Wait for the copy
Nuvlo creates the WordPress site, copies themes, plugins and uploads, copies the database, publishes the copy, clears caches and compares pages. You can leave the page. Nuvlo notifies you when the copy is ready.
When it’s done, Old site and new copy shows how many pages match. A page matches when both answer the same way and at least 80% of the text is the same.
If the old site changed since the copy, click Copy … again to replace the Nuvlo copy with its current state.
Step 8 Point the domain to Nuvlo
If the copy uses the site’s own domain, Point … to Nuvlo shows the A record to set at your DNS provider, with the new server’s IP address and a copy button.
Change only the A record. If the site’s email runs at the old host, keep the MX records as they are. Then click Check DNS again. When the domain points to the server, turn on HTTPS on the site’s Domains tab. See SSL certificates.
DNS changes usually spread in minutes and can take up to a day.
Step 9 Finish the move
Click Finish moving … (or Finish the move if the copy runs on another address). The Nuvlo Migrator plugin on the old site forgets its code and switches itself off. You can then delete it under Plugins.
ImportantAfter finishing, you can’t copy from the old site again. Finish only when the new site works.
Email after the move
If the old site sent email through an SMTP plugin or service, those settings come along. If the old host sent email with its own mail server, that can’t move. The move page tells you which case applies.
In the second case, set up an email service for the new site, or order and password emails won’t arrive. See Send WordPress email through an email service.
Other ways to move
If you can’t reach the site’s WordPress admin, choose Copy from the server over SSH. You enter the old server’s address, SSH port and SSH user, then add a one-time key line on that server. Nuvlo only reads from it and removes the key when you finish or cancel.
If the site isn’t online any more, click Site not online? Copy it over SSH under the address field.
If you have a backup from cPanel, All-in-One WP Migration, Duplicator or UpdraftPlus, you can restore it instead. See Restore a WordPress site from a backup.
Limits
- WordPress multisite networks can’t be moved automatically yet.
- Sites on WordPress.com can only install plugins on paid Business plans. Export the site from WordPress.com instead.
- Caches and backup folders inside
wp-contentaren’t copied.
To stop a move, click Cancel move and disconnect the plugin at the bottom of the move page. The plugin switches itself off. Any copy Nuvlo already created stays on your server until you delete it.
Related guides
 Create a WordPress siteInstall a new WordPress site on one of your servers, with its own database, Redis cache and HTTPS. It takes four short screens and a few minutes of setup.
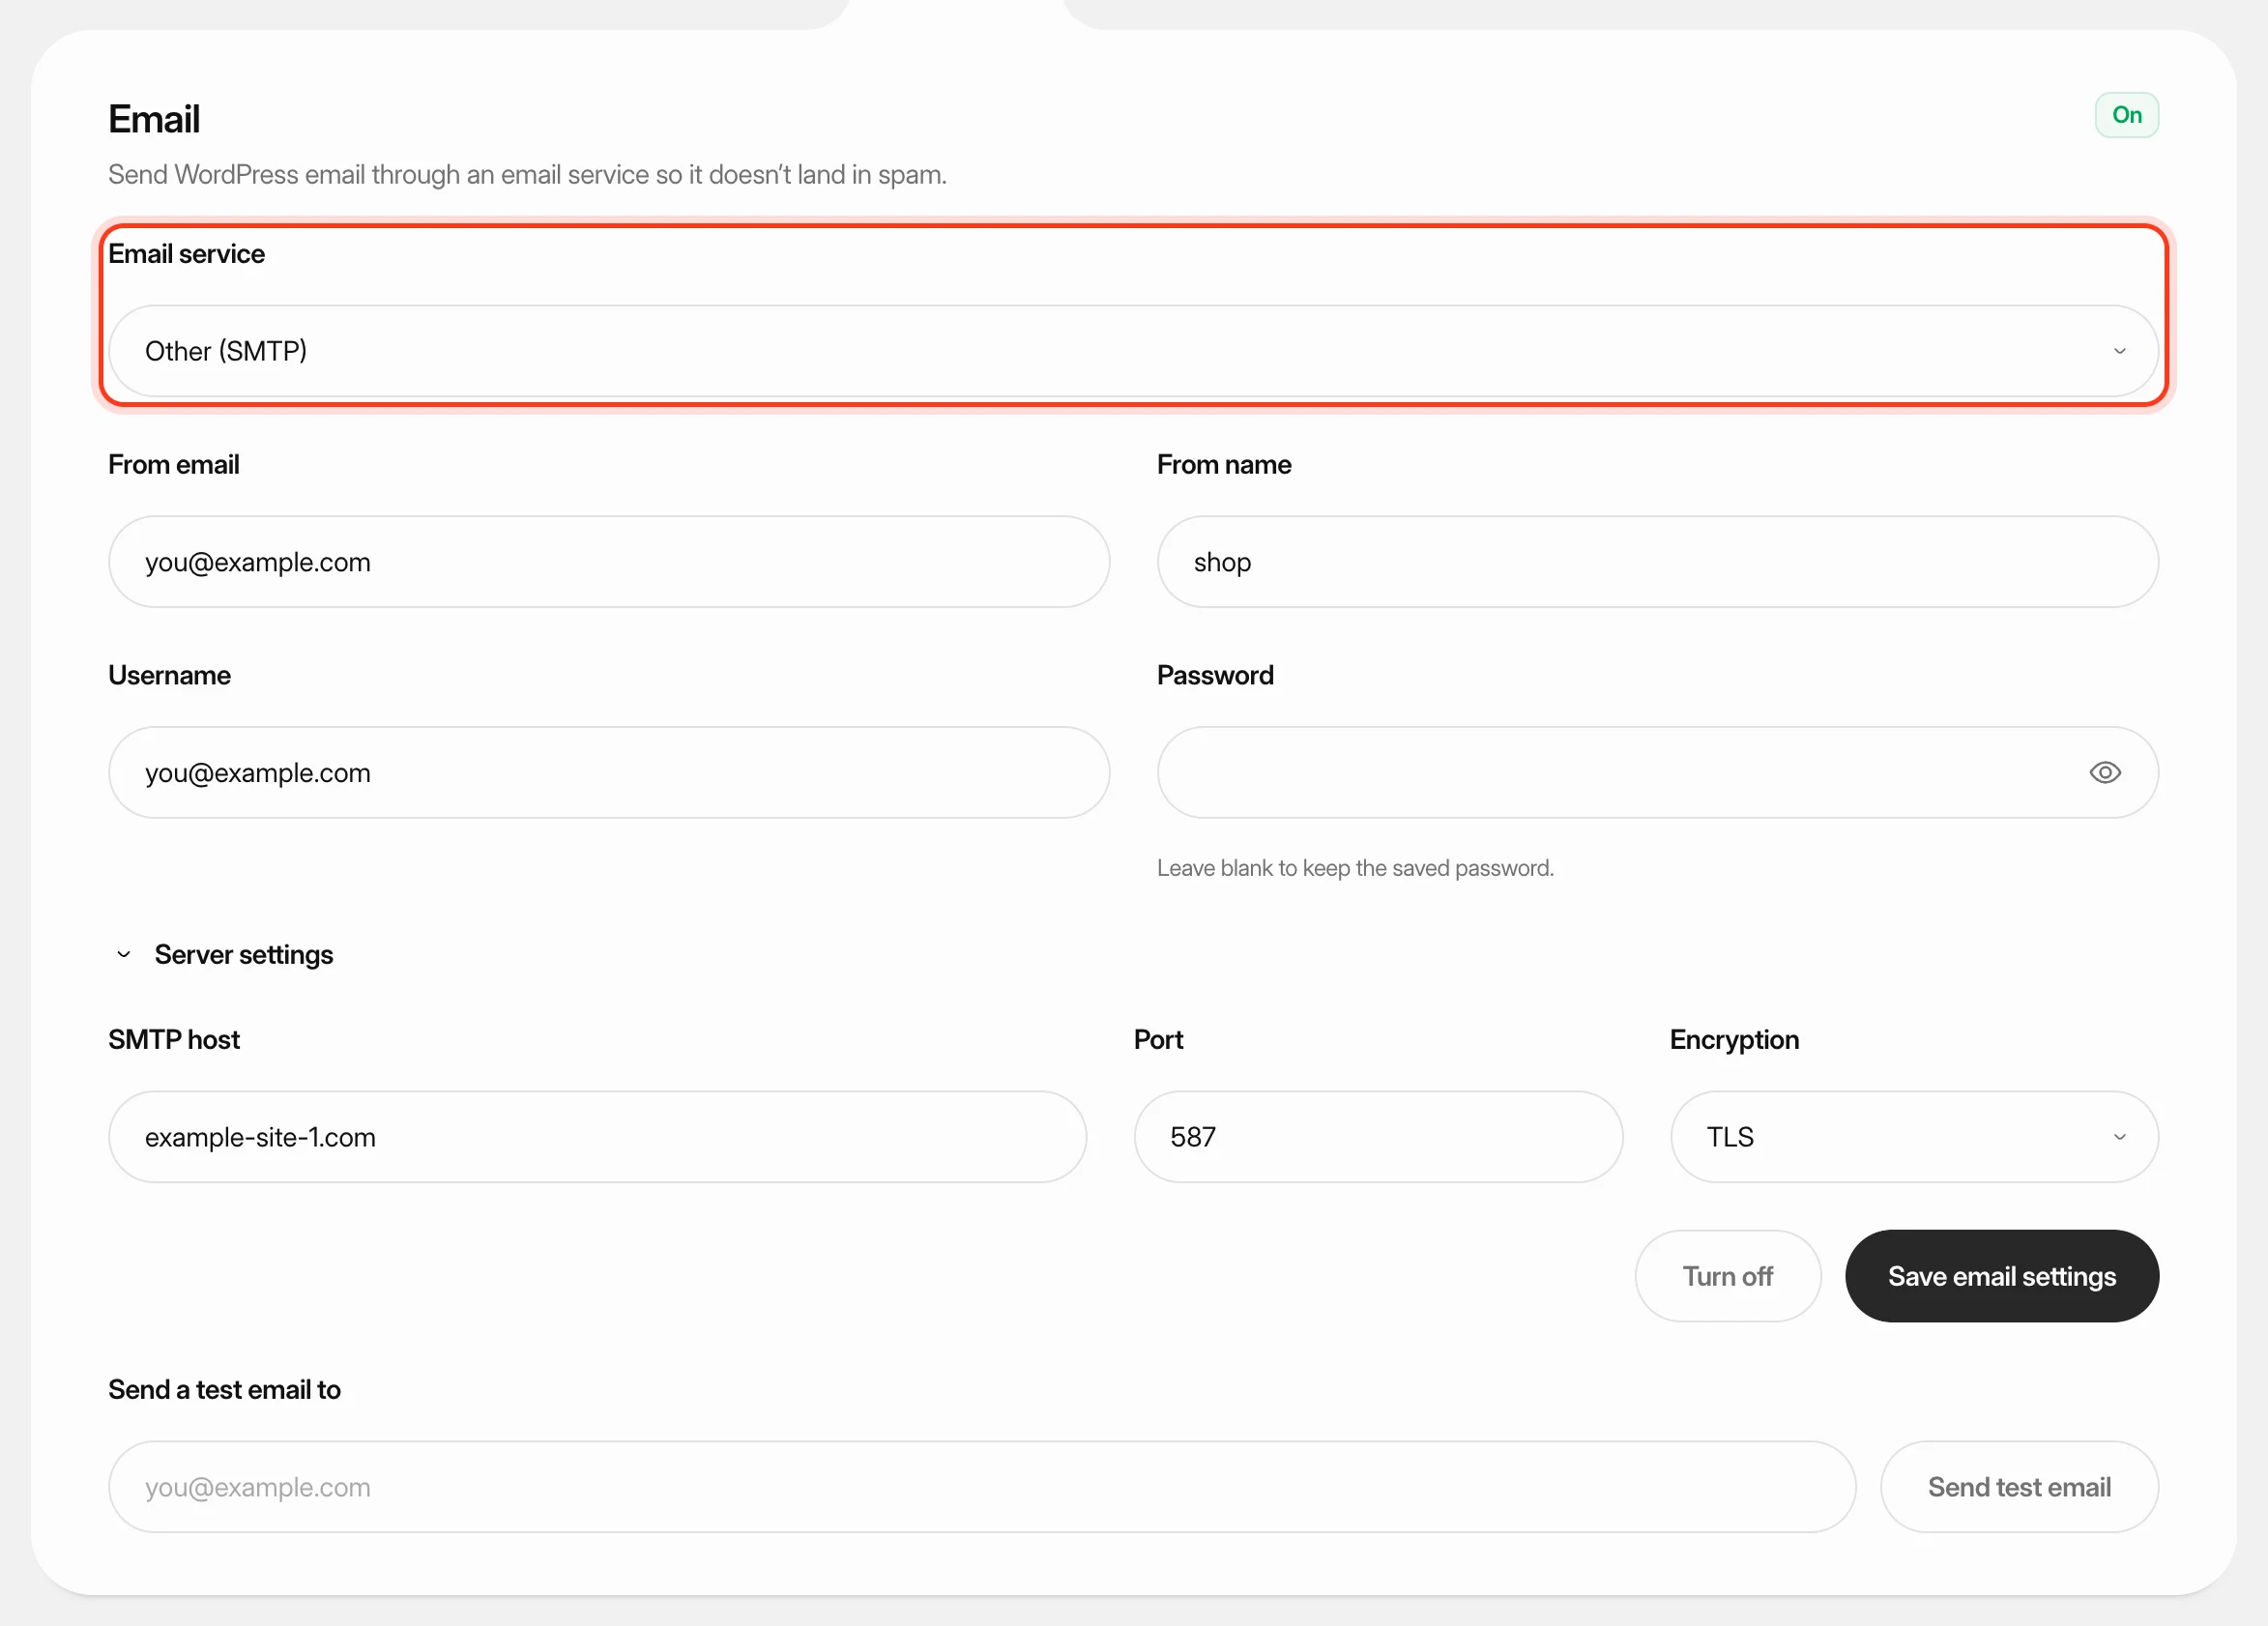 Send WordPress email through an email serviceConnect a WordPress site to Postmark, SendGrid, Mailgun or any SMTP account, so password resets, orders and form messages arrive instead of landing in spam.
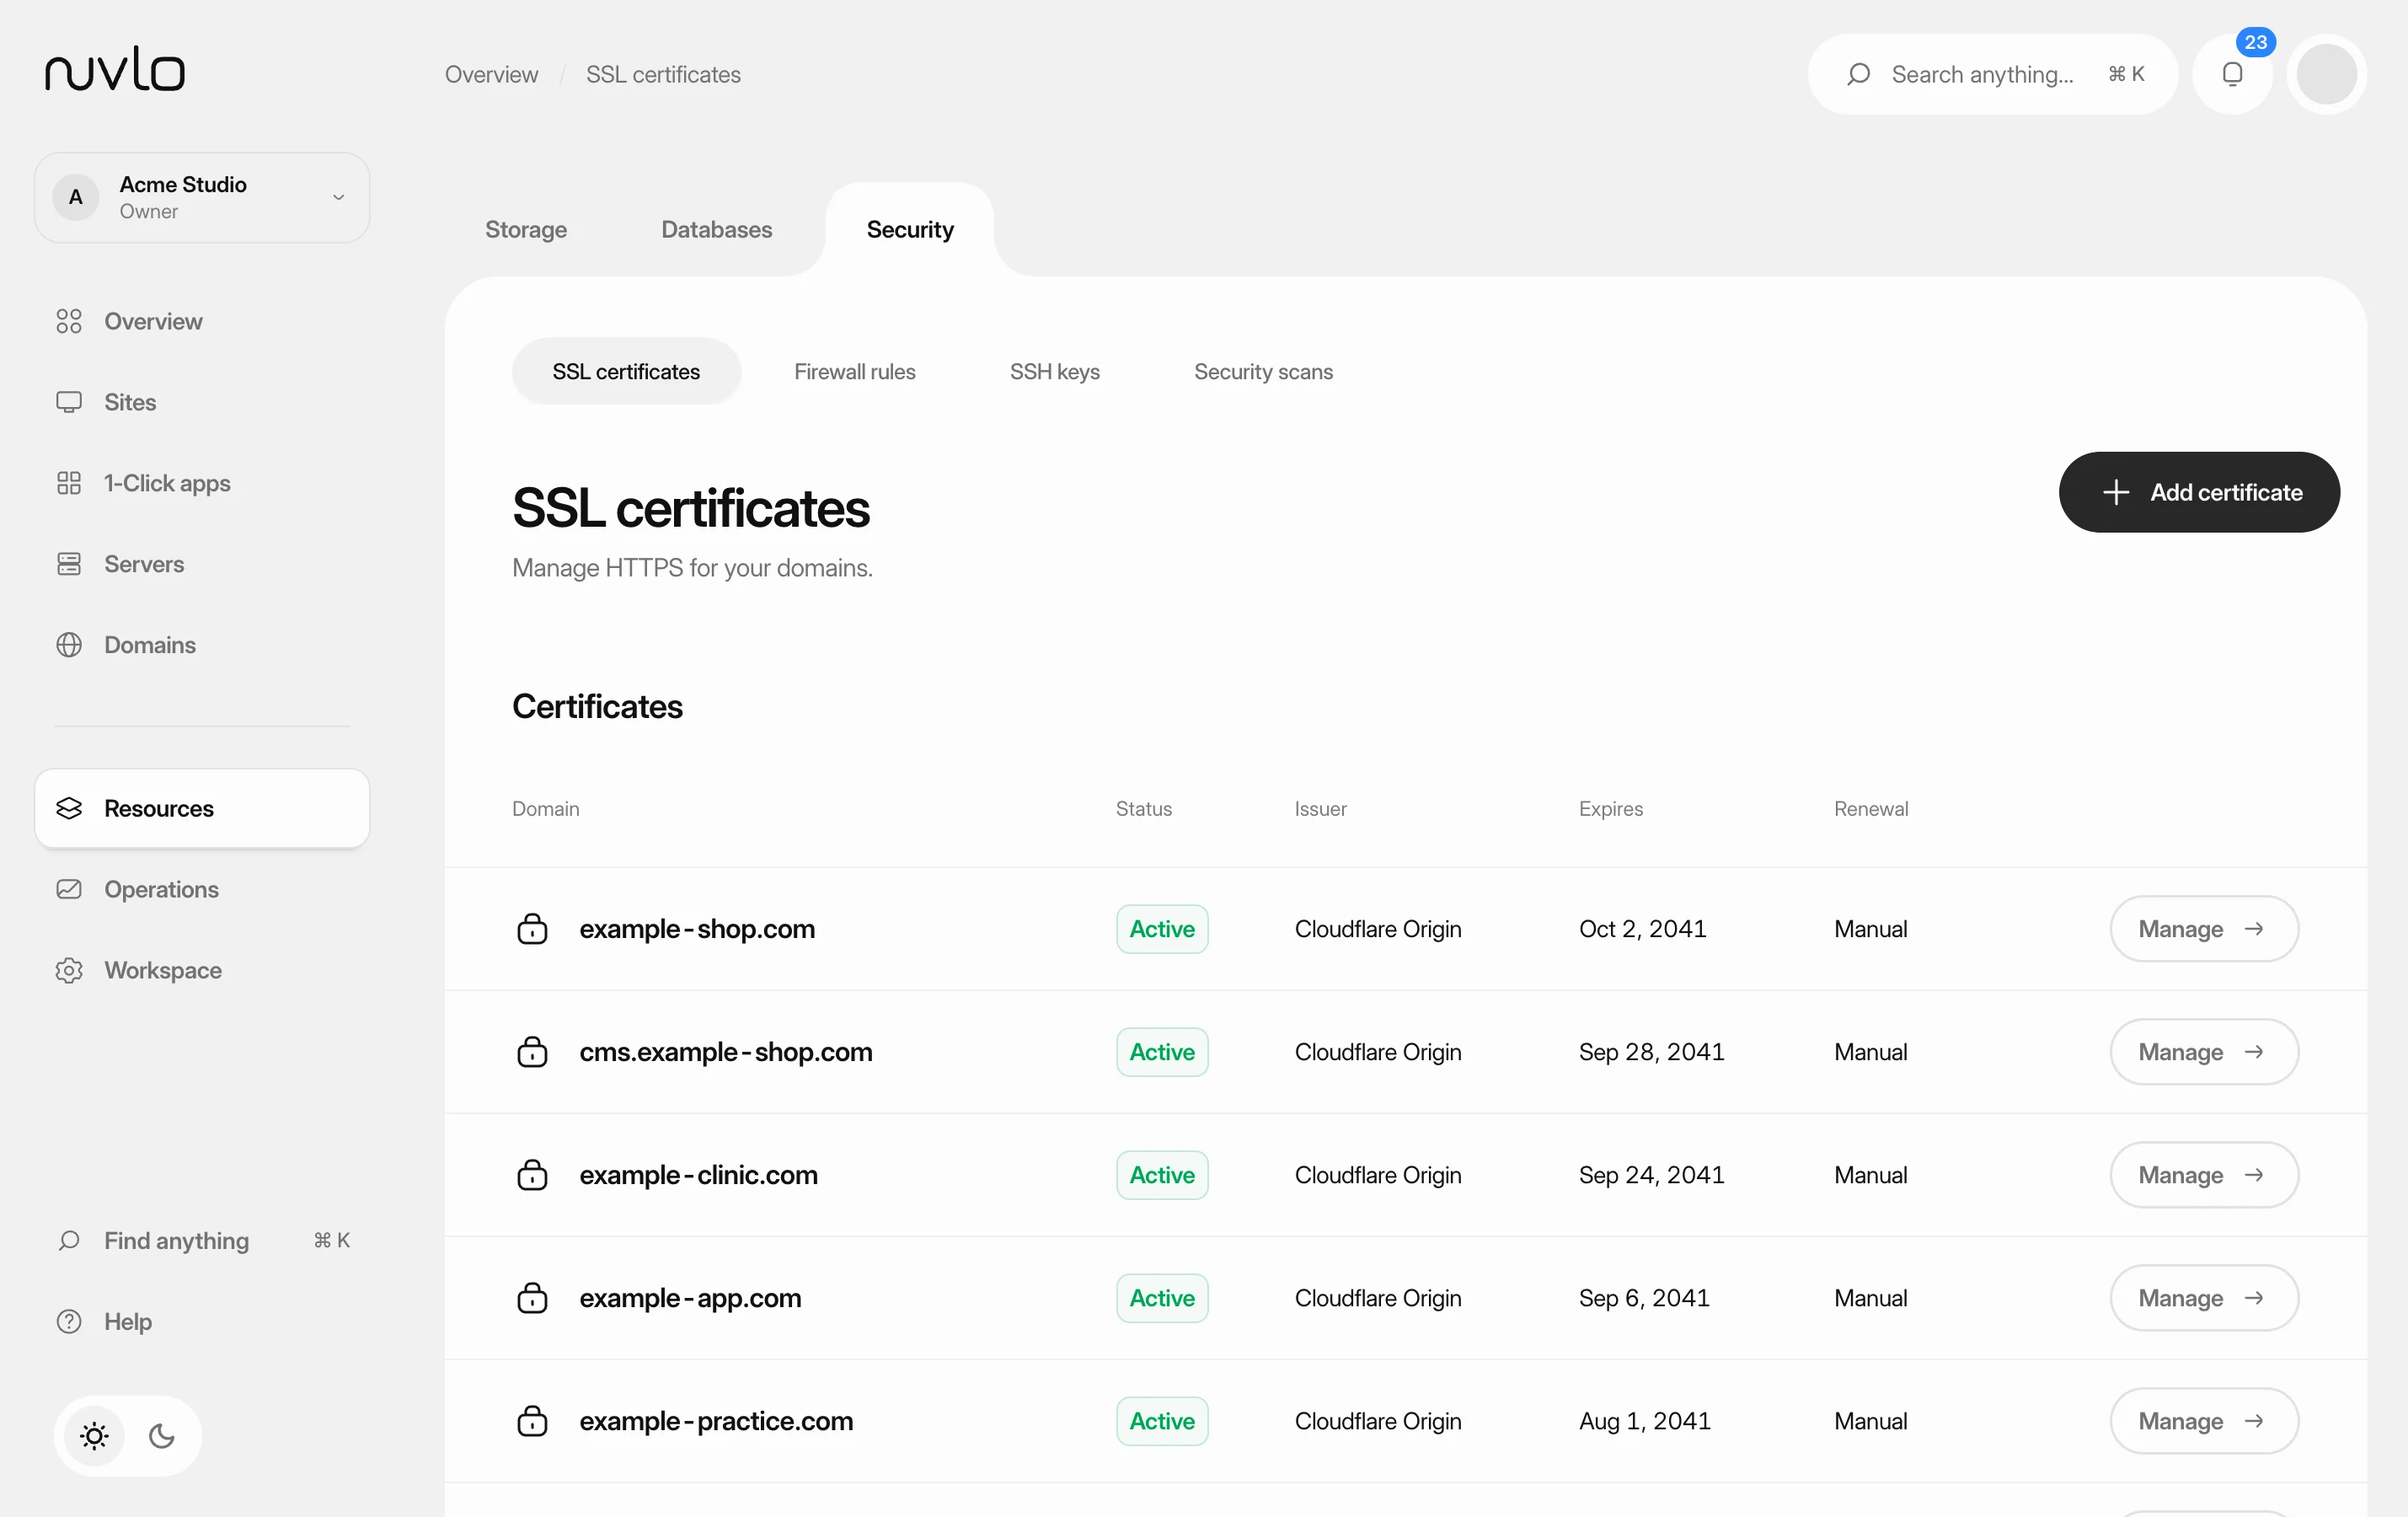 Manage SSL certificatesSee which certificate each domain uses, turn on HTTPS for a site, and know which certificates renew by themselves and which you have to replace.
 Change a site's domainMove a WordPress site or an application to a different domain, or from its temporary address to your own domain, without creating a new site.