
Run WordPress headless
Show a WordPress site’s content on an Astro, Next.js or Nuxt frontend. Nuvlo deploys the frontend, sets the variables that connect the two, and keeps WordPress visitors and product updates pointed at the frontend.
On this page
Before you start
- A WordPress site in Nuvlo, for example on
cms.example.com. Create one first, or move one in. - The frontend’s code in a Git repository, connected to Nuvlo. See Connect Git.
- A server for the frontend created as Node.js apps, Mixed projects or Headless. A Headless server can run both WordPress and the frontend.
Step 1 Start a headless site
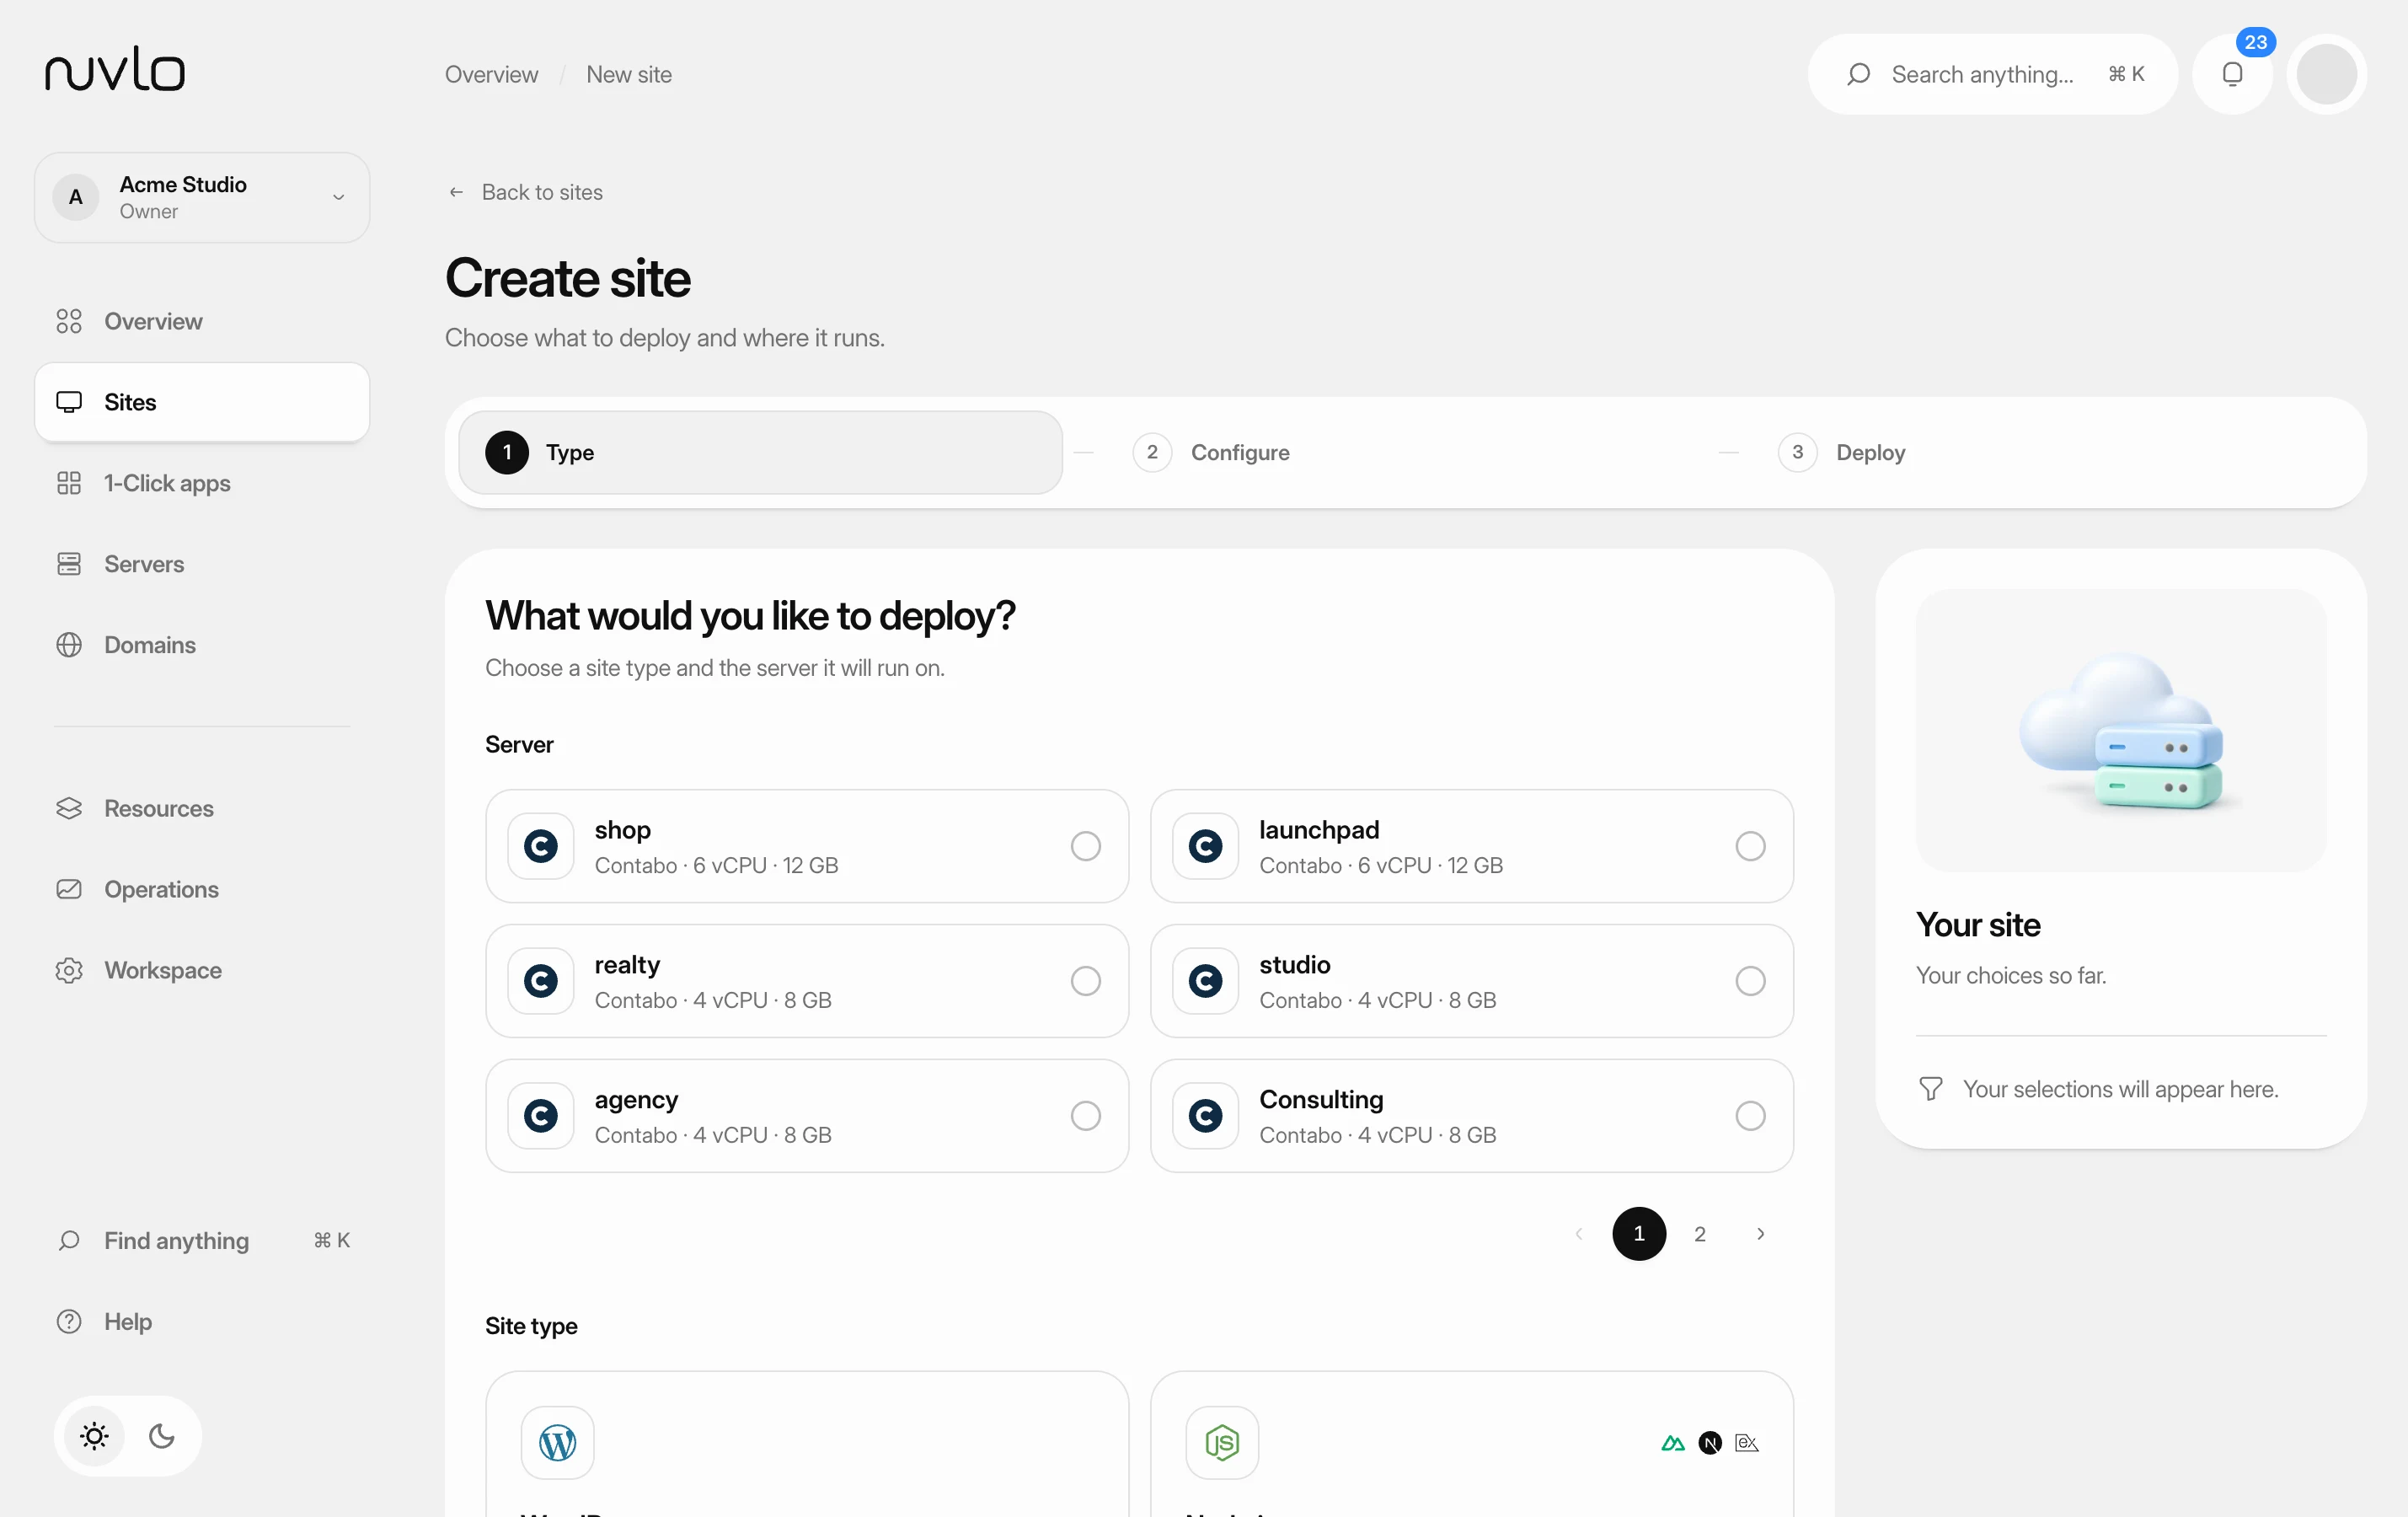
Click Create, then Site, and choose the Headless site type.
You can also start from the WordPress site: open its Headless tab and click Create a frontend for this site. That picks the WordPress site for you.
Step 2 Choose the WordPress backend
Under WordPress site, pick the site the frontend loads its content from. Click Next: choose the frontend.
The WordPress site keeps its own address. Visitors use the frontend’s domain.
Step 3 Deploy the frontend
Continue as for any app: choose the repository, framework, domain and settings, then deploy. See Deploy an application.
Nuvlo sets these variables on the frontend. Your code reads them:
| Variable | Value |
|---|---|
WORDPRESS_URL | The WordPress site’s address |
SITE_URL | The frontend’s own address |
WOOCOMMERCE_WEBHOOK_SECRET | The secret that signs product updates |
SITE_INDEXABLE | Whether search engines may show the frontend |
After the first deploy, Nuvlo connects WordPress to the frontend and installs the Nuvlo plugin on WordPress if needed. If WordPress isn’t connected after the deploy, click Reconnect WordPress on the frontend’s Headless tab.
Step 4 Check the connection
Open the frontend and click its Headless tab. The WordPress card shows Content from with Connected, or Needs attention with the problem and a Reconnect WordPress button.
If the WordPress theme isn’t Nuvlo Blank, click Switch to Nuvlo Blank. Visitors never see the theme, and Nuvlo Blank loads nothing, so you can remove page builders.
Step 5 Set search results
In Search results:
- Turn on the frontend’s switch when it runs on its final domain.
- Keep the WordPress site’s switch off, so search engines only find the frontend.
- Titles, schema and sitemap come from Nuvlo SEO on the WordPress site. Click Install Nuvlo SEO if it isn’t installed, or Open SEO settings.
Changing these deploys the frontend with the new values.
Step 6 Set visitors and links
In Visitors and links:
- Visitors of …: send people who open a WordPress page to the same address on the frontend. WordPress admin, logins and payment callbacks stay on WordPress.
- After payment: the frontend page customers return to from PayPal, card checks and similar.
- Password reset: the page that reset emails link to.
- Customer account: the page account links in WooCommerce emails go to.
Click Save visitors and links.
Step 7 Check product updates
With WooCommerce, the Product updates row shows whether WooCommerce tells the frontend right away when products change. Click Send a test update to check the frontend accepts it.
Under Advanced, you can change the variable names, the address that receives updates, which changes are reported, pages that stay on WordPress, and replace the webhook secret.
On the WordPress site
The WordPress site’s Headless tab shows which frontends show its content, the theme, and Edit settings, which opens the frontend’s tab. Its header links to the frontend with Open frontend.
Disconnect
On the frontend’s Headless tab, open Advanced and click Disconnect. WordPress shows its own pages again and stops sending product updates.
Related guides
 Deploy a Node.js appPut a Nuxt, Next.js, SvelteKit, Astro, Express or other Node.js app from GitHub online. Nuvlo detects how to build it, keeps it running and deploys every push.
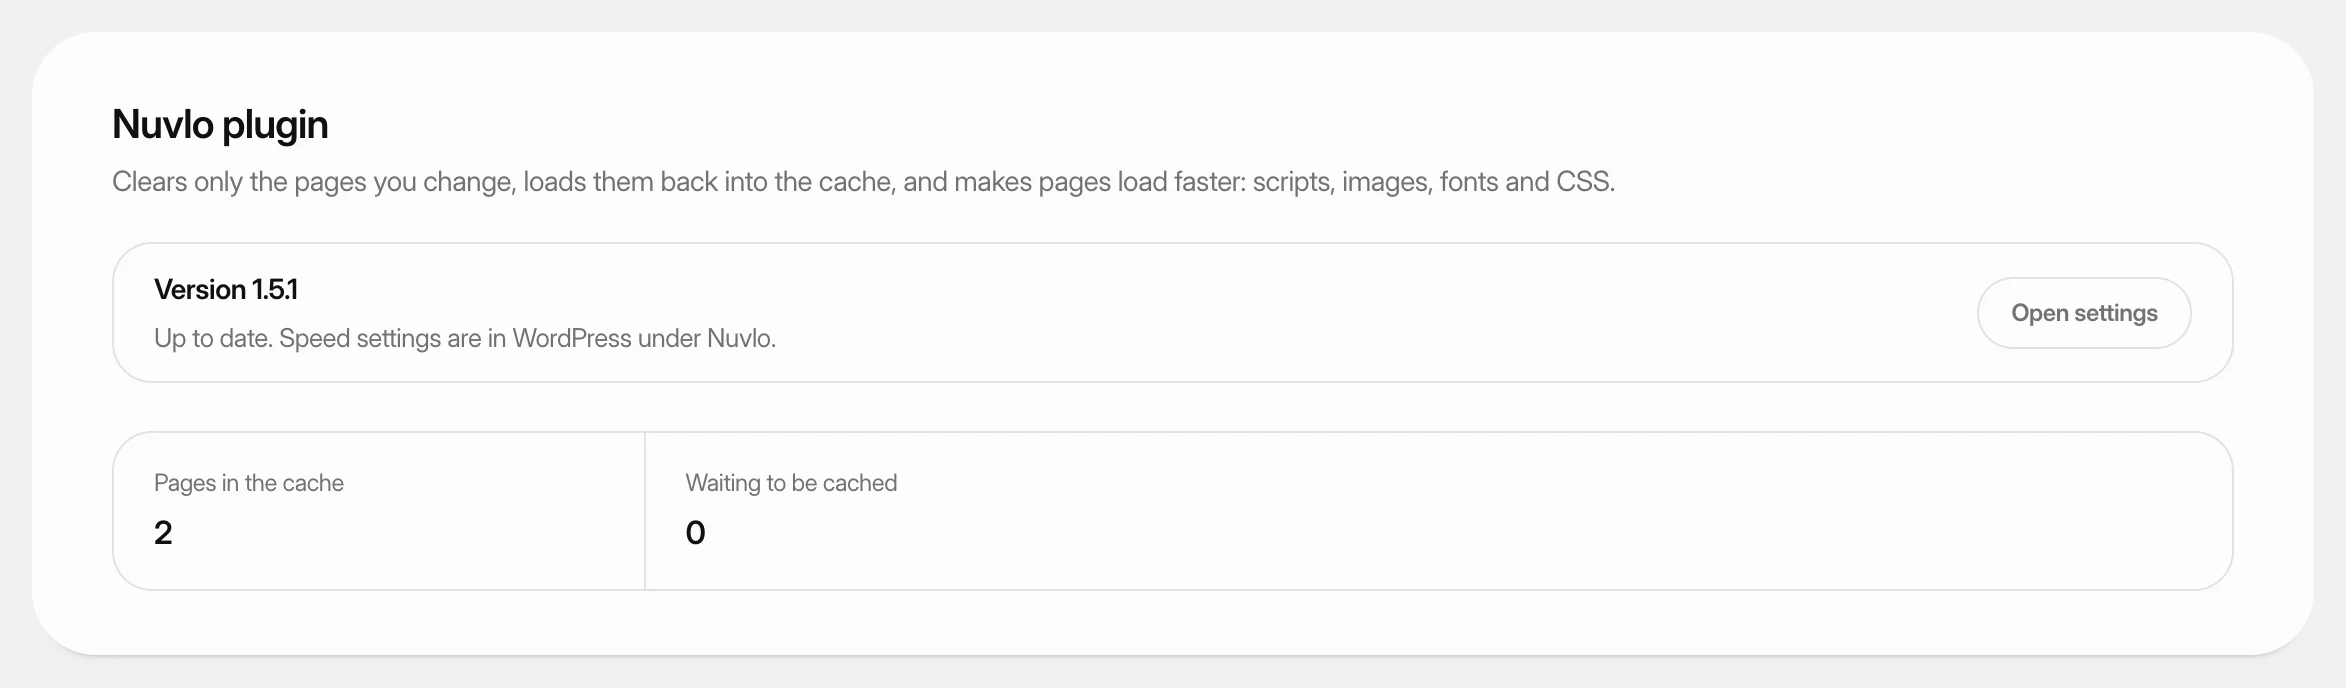 Use the Nuvlo plugins for WordPressLearn what the Nuvlo plugin and Nuvlo SEO do on your WordPress sites, how to install or update them from the dashboard, and where their settings are.
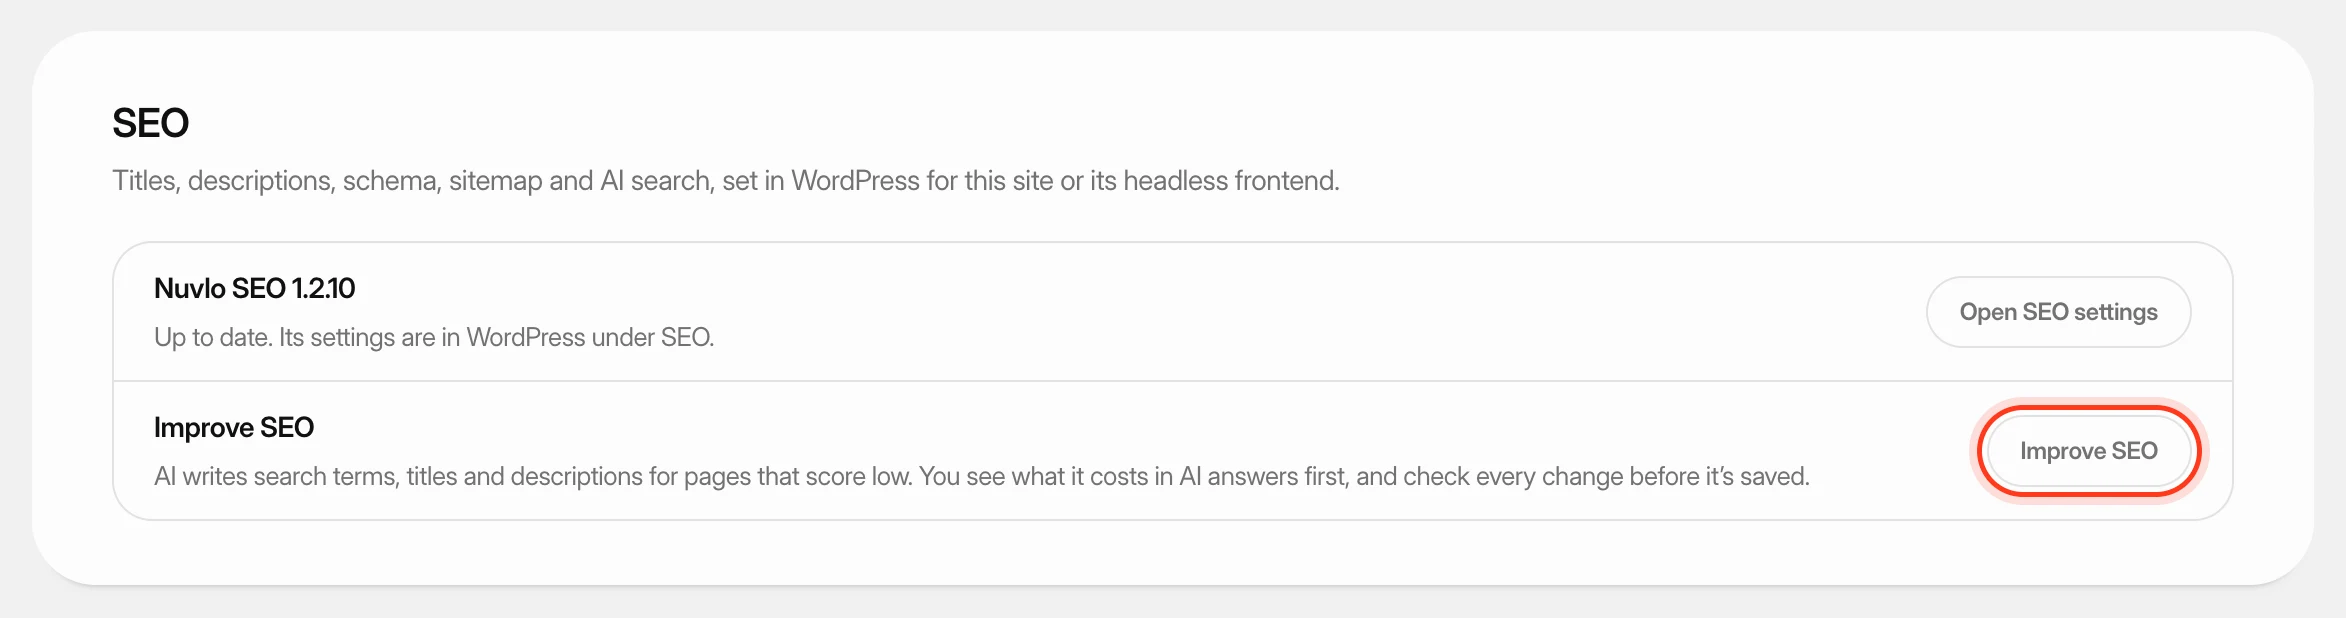 Improve SEO and control AI botsLet AI write better search titles and descriptions for a WordPress site's weakest pages, and decide which AI crawlers may read any of your sites.
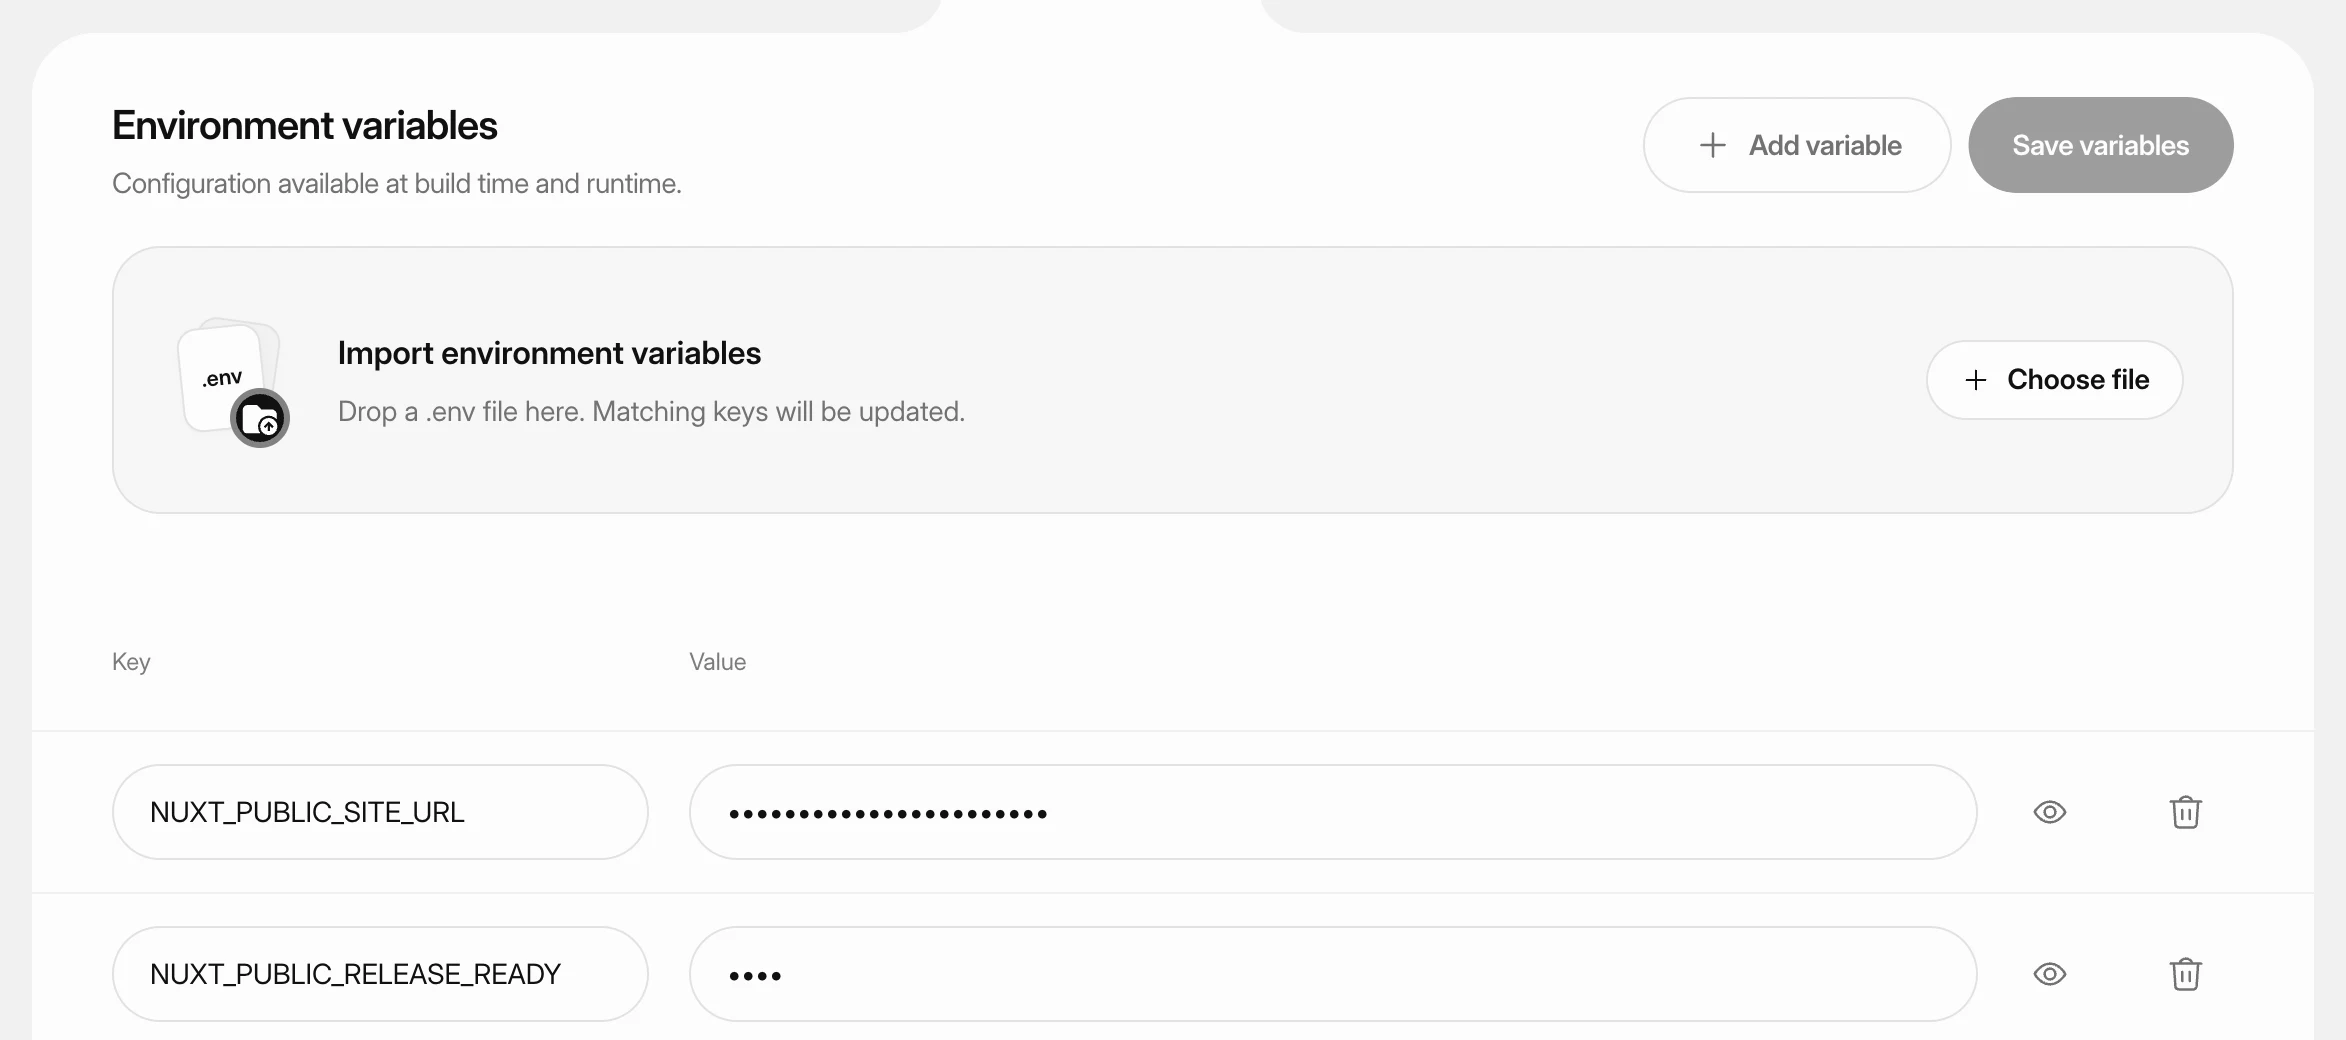 Set environment variablesStore API keys, database settings and other configuration for a static site, PHP site or Node.js app, and apply them with the next deploy.