Create a WordPress site
Install a new WordPress site on one of your servers, with its own database, Redis cache and HTTPS. It takes four short screens and a few minutes of setup.
On this page
- Step 1: Start a new site
- Step 2: Choose the server and WordPress
- Step 3: Set the address and HTTPS
- Step 4: Configure WordPress
- Step 5: Set up the site and administrator
- Step 6: Review and create the site
- Step 7: Follow the installation
- Step 8: Point your domain at the server
- If the installation stops
- What’s next
Before you start
- An active server created as WordPress & apps or Mixed projects. The site form calls these Docker host and General purpose. See Create a server.
- A domain you can point at the server, or a temporary address if Nuvlo offers one.
- Room on your plan for another site. At the limit, the Create menu sends you to Billing. See Plans and pricing.
- Permission to manage sites. Owners, admins and developers have it by default.
Step 1 Start a new site
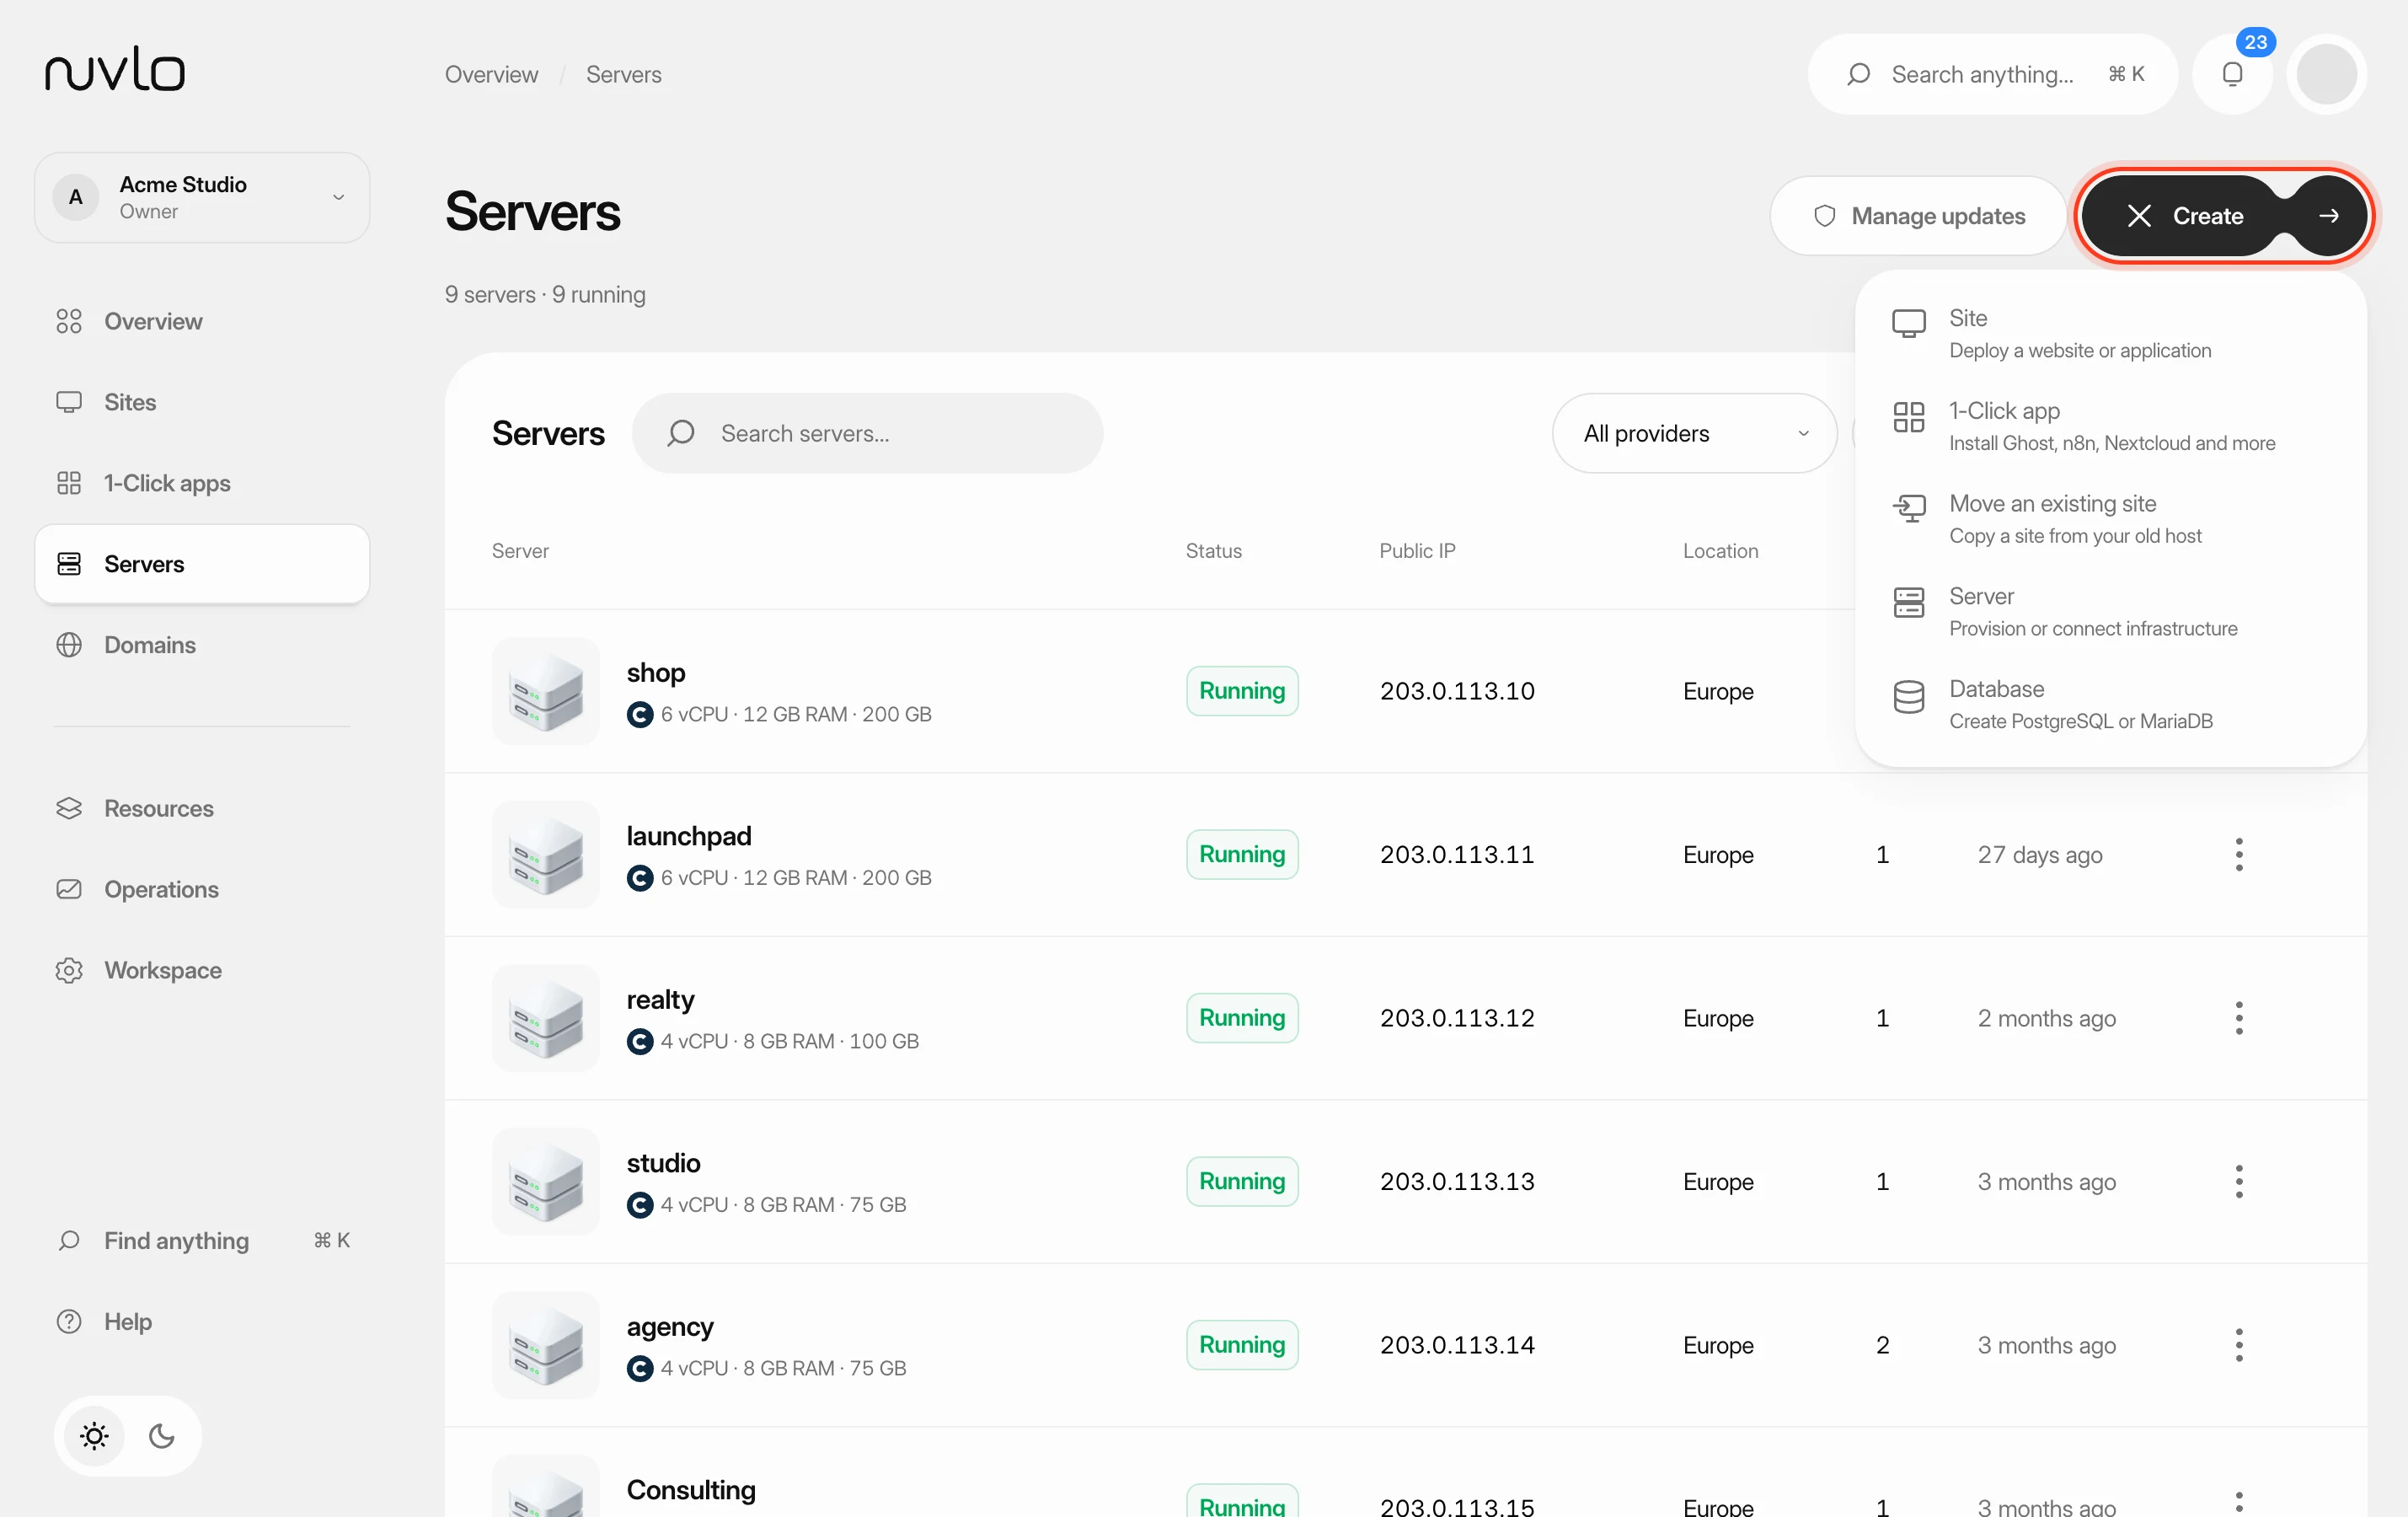
Open Sites and click Create, then Site. The Create site page opens with the question What would you like to deploy?
Step 2 Choose the server and WordPress
Under Server, pick the server the site runs on. Under Site type, click WordPress.
WordPress runs in its own isolated stack with PHP, MariaDB, Redis and a web server. If the server you picked is a different type, the WordPress card is greyed out and says Requires a Docker host or general-purpose server.
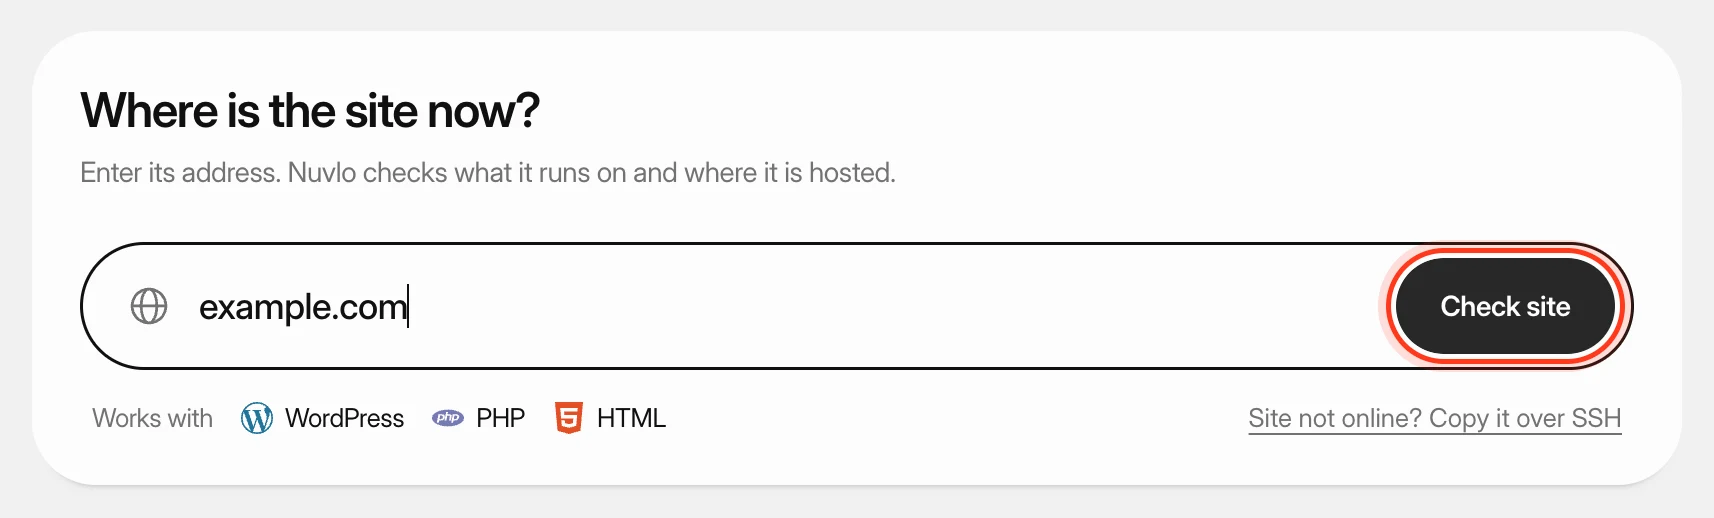
To bring a WordPress site over from another host, click Move an existing site on the same screen. See Move a WordPress site to Nuvlo.
Step 3 Set the address and HTTPS
The first WordPress screen is Domain & connection.
- If you see an Address choice, pick Your domain to use your own domain, or Temporary … address to start right away on a random address and switch to your domain later. Search engines don’t index temporary addresses.
- For your own domain, type it in Domain name, for example
example.com. - Under Visitors land on, choose whether visitors end up on
example.com, onwww.example.com, or on Both without forwarding.
Under HTTPS, choose how the site gets its certificate:
| Option | What happens |
|---|---|
| Cloudflare | HTTPS works right away. Nuvlo adds the DNS record in your connected Cloudflare account. The domain must be in that account, or the form won’t continue. See Connect Cloudflare. |
| Let’s Encrypt | Free. You point the domain’s A record at the server yourself. Nuvlo checks every few minutes and adds the certificate once DNS points there. |
Click Next: configure WordPress.
Step 4 Configure WordPress
On Configure WordPress, choose the stack. The defaults suit most sites.
| Setting | Choices |
|---|---|
| Web server | Nginx (firewall and bot protection available) or OpenLiteSpeed (LiteSpeed Cache built in). OpenLiteSpeed turns the firewall and bot protection off, and switches PHP 8.5 to 8.4. |
| PHP version | PHP 8.0 to 8.5. PHP 8.4 (recommended). PHP 8.5 is Nginx only. 8.0 and 8.1 no longer get updates. |
| Redis object cache | Automatic adjusts between 32 and 512 MB. Fixed keeps the size you pick, 32 to 512 MB. |
| Full-page cache | On by default. Serves saved copies of pages to visitors who aren’t logged in. |
| Firewall | 8G (default), 7G or Off. Needs Nginx. |
| Bot protection | Blocks bad bots and scrapers and limits login attempts. Needs Nginx. |
| Behind Cloudflare | Shows real visitor IP addresses instead of Cloudflare’s. Always on for Cloudflare HTTPS and temporary addresses. |
Click Next: site and administrator.
Step 5 Set up the site and administrator
Fill in Site title, Admin email, Admin username and Admin password. Generate fills in a random 16-character password. Nuvlo doesn’t store the password after the site is created, so save it somewhere safe. You can still sign in from the dashboard with one click.
Under WordPress version, the newest release is preselected and marked (latest). Pick an older one only if you need it.
Click Next: review.
Step 6 Review and create the site
The Review your site screen lists the address, software, administrator and performance settings. Use Back to change anything, then click Create WordPress site.
Step 7 Follow the installation
Nuvlo shows each stage as it happens: Preparing site, Starting containers, Initializing database, Installing WordPress, Configuring WordPress, Connecting the address and Finishing up. This usually takes a few minutes.
When it’s done, the Your WordPress login dialog shows the admin address, username and password, each with a copy button. You also get an email that the site is live.
Click Open site to go to the site’s page in Nuvlo, or WordPress admin to open the WordPress dashboard.
Step 8 Point your domain at the server
Skip this step if you used Cloudflare HTTPS or a temporary address.
For Let’s Encrypt, add an A record for your domain at your DNS provider, with the server’s IP address as its value. The site’s Overview tab shows the IP address with a copy button.
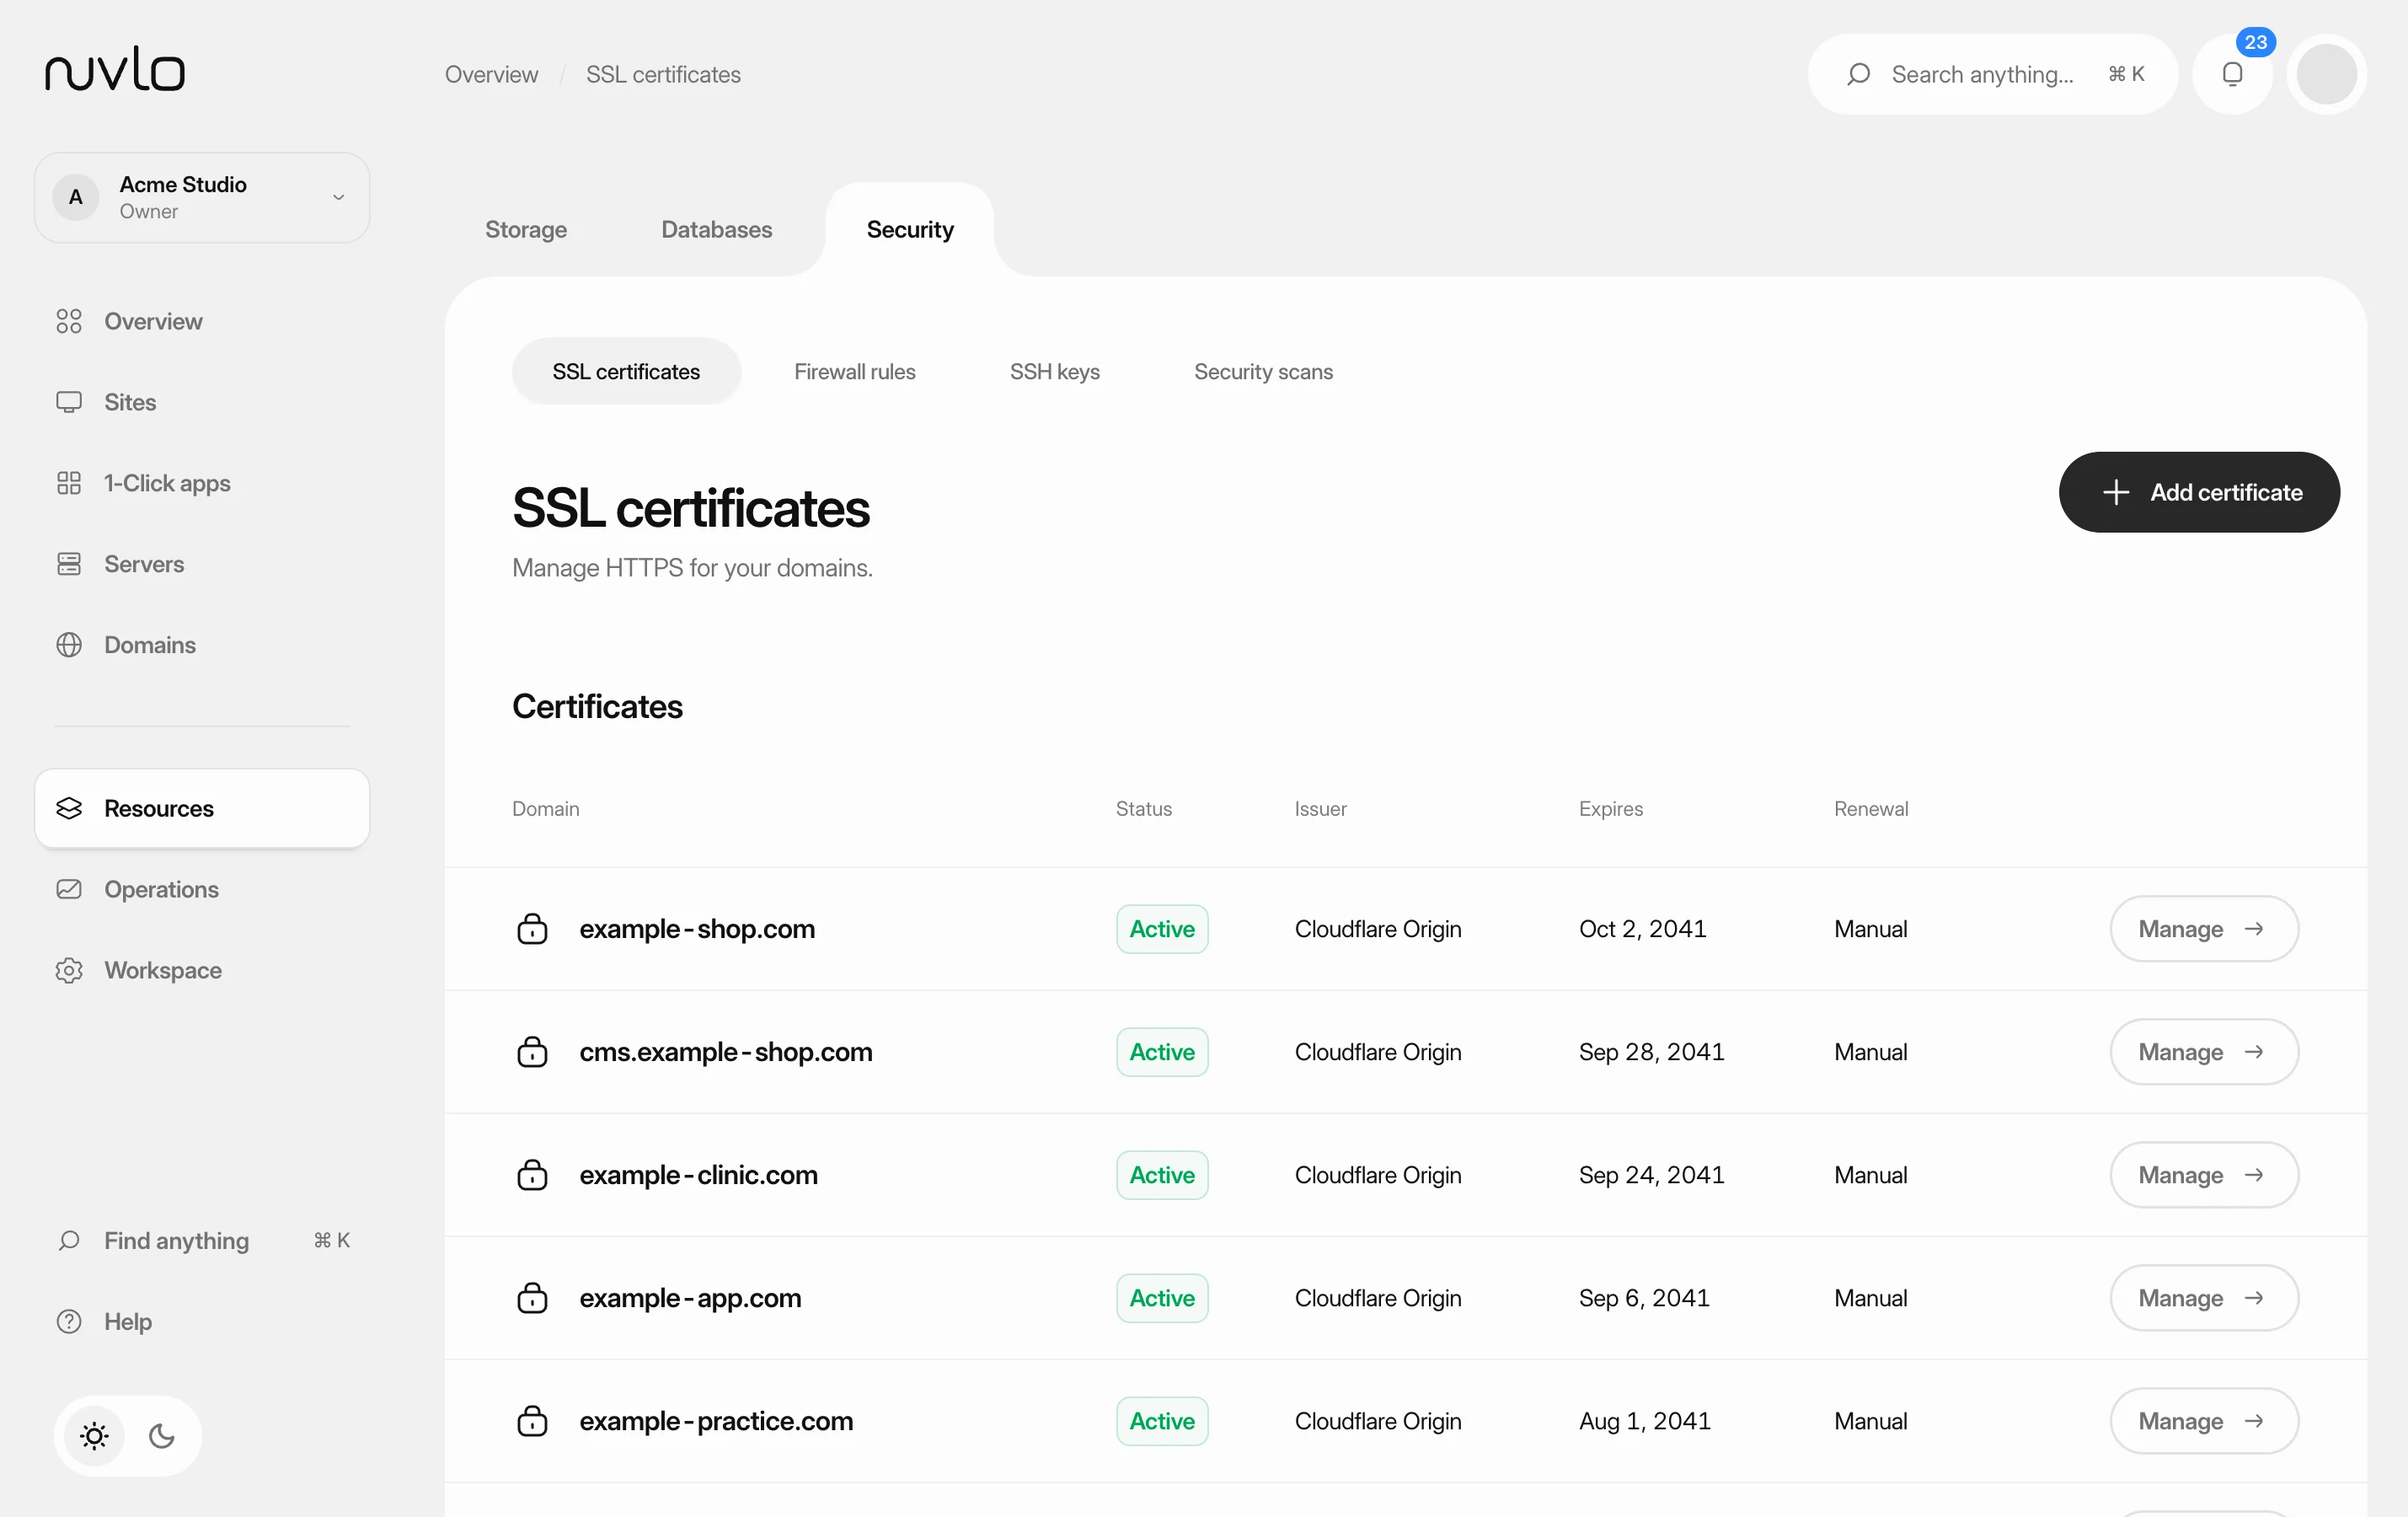
Until the certificate exists, the site answers over plain HTTP. Once DNS points at the server, Nuvlo adds the certificate by itself, usually within a few minutes of the change spreading. You can also click Turn on HTTPS on the Domains tab. See SSL certificates.
If the installation stops
If a stage fails, the screen shows Setup stopped and the reason. Click Open the site. Its header shows Retry install, which runs the installer again on the files and database it already set up.
If the first attempt stopped before the site’s files were written, a retry can’t help. Delete the site and create it again. See Delete a site.
What’s next
- Sign in without a password: Sign in to WordPress admin with one click.
- Make sure WordPress can send email: Send WordPress email through an email service.
- Set up backups: Back up a site.
- Moved from a temporary address? Change a site’s domain.
Related guides
 Create a serverOrder a new server at your cloud provider from Nuvlo and have it set up with everything your sites need: web server, firewall, security hardening and the software for the projects you plan to host.
 Manage SSL certificatesSee which certificate each domain uses, turn on HTTPS for a site, and know which certificates renew by themselves and which you have to replace.
 Sign in to WordPress admin with one clickOpen the WordPress dashboard of any of your sites from Nuvlo, already signed in as an administrator, without typing a password.
 Move a WordPress site to NuvloCopy a WordPress site from your current host to one of your servers with the Nuvlo Migrator plugin. The old site stays online until you point the domain to Nuvlo.