Connect your AWS account
Create an IAM user with a Nuvlo-only policy, connect its access key to Nuvlo, and create your first EC2 server in your own AWS account.
On this page
- How Nuvlo uses AWS
- Step 1: Create the IAM policy
- Step 2: Create an IAM user for Nuvlo
- Step 3: Create an access key
- Step 4: Open Server providers in Nuvlo
- Step 5: Enter the access key
- Step 6: Check that the account is connected
- Step 7: Create your first AWS server
- Good to know
- Troubleshooting
- Replace or remove the key
Before you start
- An AWS account that is fully activated (new accounts can take a while to be verified).
- Permission in AWS to create IAM policies, IAM users and access keys, for example the root user or an administrator.
- A Nuvlo account where you are the owner, an admin or a developer. Viewers can’t connect providers. See roles and permissions.
How Nuvlo uses AWS
Nuvlo creates EC2 instances in your AWS account. It does not use Lightsail. AWS bills you directly for every server, disk and IP address, and Nuvlo never sees your payment details.
You give Nuvlo an access key for a dedicated IAM user. That user gets a policy that allows only what Nuvlo does. Deleting, stopping, rebooting and resizing only work on resources Nuvlo created and tagged, so the key can’t change or delete your other instances.
Step 1 Create the IAM policy
Sign in to the AWS Management Console and open IAM. In the left menu, choose Policies, then Create policy.
In the Policy editor, switch to JSON, delete the example and paste the policy below. Choose Next, name the policy (for example NuvloServers) and choose Create policy.
{
  "Version": "2012-10-17",
  "Statement": [
    {
      "Sid": "NuvloRead",
      "Effect": "Allow",
      "Action": [
        "ec2:DescribeImages",
        "ec2:DescribeInstanceTypeOfferings",
        "ec2:DescribeInstances",
        "ec2:DescribeSecurityGroups",
        "ec2:DescribeSubnets",
        "ec2:DescribeVolumes",
        "ec2:DescribeVpcs",
        "pricing:GetProducts"
      ],
      "Resource": "*"
    },
    {
      "Sid": "NuvloUbuntuImageLookup",
      "Effect": "Allow",
      "Action": "ssm:GetParameters",
      "Resource": "arn:aws:ssm:*::parameter/aws/service/canonical/ubuntu/server/*"
    },
    {
      "Sid": "NuvloCreate",
      "Effect": "Allow",
      "Action": [
        "ec2:CreateImage",
        "ec2:CreateSecurityGroup",
        "ec2:RunInstances"
      ],
      "Resource": "*"
    },
    {
      "Sid": "NuvloTagOnCreate",
      "Effect": "Allow",
      "Action": "ec2:CreateTags",
      "Resource": "*",
      "Condition": {
        "StringEquals": {
          "ec2:CreateAction": [
            "CreateImage",
            "CreateSecurityGroup",
            "RunInstances"
          ]
        }
      }
    },
    {
      "Sid": "NuvloManagedResourcesOnly",
      "Effect": "Allow",
      "Action": [
        "ec2:AuthorizeSecurityGroupIngress",
        "ec2:DeleteSnapshot",
        "ec2:DeregisterImage",
        "ec2:ModifyInstanceAttribute",
        "ec2:ModifyInstanceCreditSpecification",
        "ec2:RebootInstances",
        "ec2:StartInstances",
        "ec2:StopInstances",
        "ec2:TerminateInstances"
      ],
      "Resource": "*",
      "Condition": {
        "StringEquals": {
          "aws:ResourceTag/nuvlo:managed": "true"
        }
      }
    }
  ]
}
The same policy is in Nuvlo’s Connect AWS dialog, with a button that copies it.
What the policy allows:
- Read: list Ubuntu images, instance types, instances, security groups, subnets, volumes and VPCs, and read AWS list prices so Nuvlo can show what each plan costs.
- Create: launch instances, create the
nuvlosecurity group and take snapshots. Everything is taggednuvlo:managedwhen it is created. - Change and delete: only on resources tagged
nuvlo:managed.
Step 2 Create an IAM user for Nuvlo
In IAM, choose Users, then Create user. Name it something you will recognize, such as nuvlo. Leave console access turned off: this user only needs an access key.
On the permissions page, choose Attach policies directly, search for the policy you created in step 1, select it and choose Next. Then choose Create user.
Step 3 Create an access key
Open the new user and go to the Security credentials tab. Under Access keys, choose Create access key.
AWS asks for a use case. Choose Other and then Next. You can add a description such as “Nuvlo”, then choose Create access key.
On the Retrieve access keys page, copy the Access key ID and the Secret access key, or choose Download .csv file. AWS shows the secret only once. If you lose it, create a new access key and replace it in Nuvlo (see “Replace or remove the key” below).
Step 4 Open Server providers in Nuvlo
In Nuvlo, open Integrations → Server providers (go there). Choose Add provider, then AWS.
Step 5 Enter the access key
The Connect AWS dialog asks for:
- Account label (optional): a name for this connection, such as “AWS Production”. If you leave it empty, Nuvlo calls it “AWS key”.
- Access key ID: starts with
AKIA. - Secret access key: the secret from step 3.
Choose Connect account. Nuvlo checks the key with AWS before it saves anything.
Step 6 Check that the account is connected
The account now appears under Connected accounts with the status Not in use. It changes to In use once a server is linked to it.
Step 7 Create your first AWS server
Open Servers and create a server (start here). Choose AWS as the provider and the account you connected, then choose what you will host.
On Region & plan, pick a region and an instance type. The monthly price includes the instance, its public IPv4 address and a 30 GB gp3 disk. Outbound traffic is billed by AWS per GB, so the Transfer column shows Billed per GB.
Finish the remaining steps and choose Create server. The full walkthrough is in Create a server.
Good to know
| Topic | On AWS |
|---|---|
| Regions | 17 regions that every AWS account has by default, from US East (N. Virginia) to Asia Pacific (Osaka). Regions that need an opt-in aren’t offered. |
| Instance types | Burstable t3, t3a and t4g, general-purpose m7i and m7g, compute-optimized c7i and c7g, and memory-optimized r7i and r7g. The “g” types run on Arm (Graviton). |
| CPU credits | Burstable types are created with standard credits, so AWS doesn’t charge extra when the CPU runs above its baseline. |
| Network | Servers go into the region’s default VPC. Nuvlo creates a security group named nuvlo that opens SSH, HTTP and HTTPS (ports 22, 80 and 443). |
| Billing | Per second, with no monthly cap. Outbound traffic is billed per GB. |
| Resize | Bigger or smaller types with the same CPU architecture. The server gets a new public IP. See Resize a server. |
| Snapshots | Restored into a new server. See Server snapshots. |
| Delete | The instance and its disk are deleted at AWS right away. Snapshots stay until you delete them. |
Leave the nuvlo:managed tag on instances and snapshots in the AWS console. Without it, the policy no longer lets Nuvlo reboot, resize or delete them.
Troubleshooting
| You see | What to do |
|---|---|
| The provider rejected this key | The access key ID or secret is wrong, or the key is inactive. Copy both values again, or create a new access key. |
| AWS denied … the IAM policy on this access key does not allow it | The policy from step 1 isn’t attached to the IAM user, or it was changed. Attach the current policy. |
| This AWS region has no default VPC | In the AWS VPC console for that region, choose Actions → Create default VPC, then try again. |
| The on-demand vCPU quota of this AWS account is exhausted in this region | New AWS accounts start with a small vCPU quota. Request an increase in Service Quotas, or choose a smaller instance type. |
| AWS has no spare capacity for this instance type in this region right now | Try another instance type or another region. |
| The AWS account is still being verified | Wait until AWS has activated the account, then try again. |
Replace or remove the key
To rotate the key, create a new access key for the same IAM user. In Nuvlo, choose Manage next to the account, enter the new Access key ID and Secret access key, and choose Save account. Nuvlo checks the new key before it replaces the old one. A secret field you leave empty keeps its saved value. Then delete the old key in AWS.
To see the saved secret, use the eye icon in the Manage dialog. Only the account owner or an admin can do this.
To disconnect AWS, open the actions menu next to the account and choose Delete account. Your servers keep running at AWS, but Nuvlo can no longer create servers with this key.
Related guides
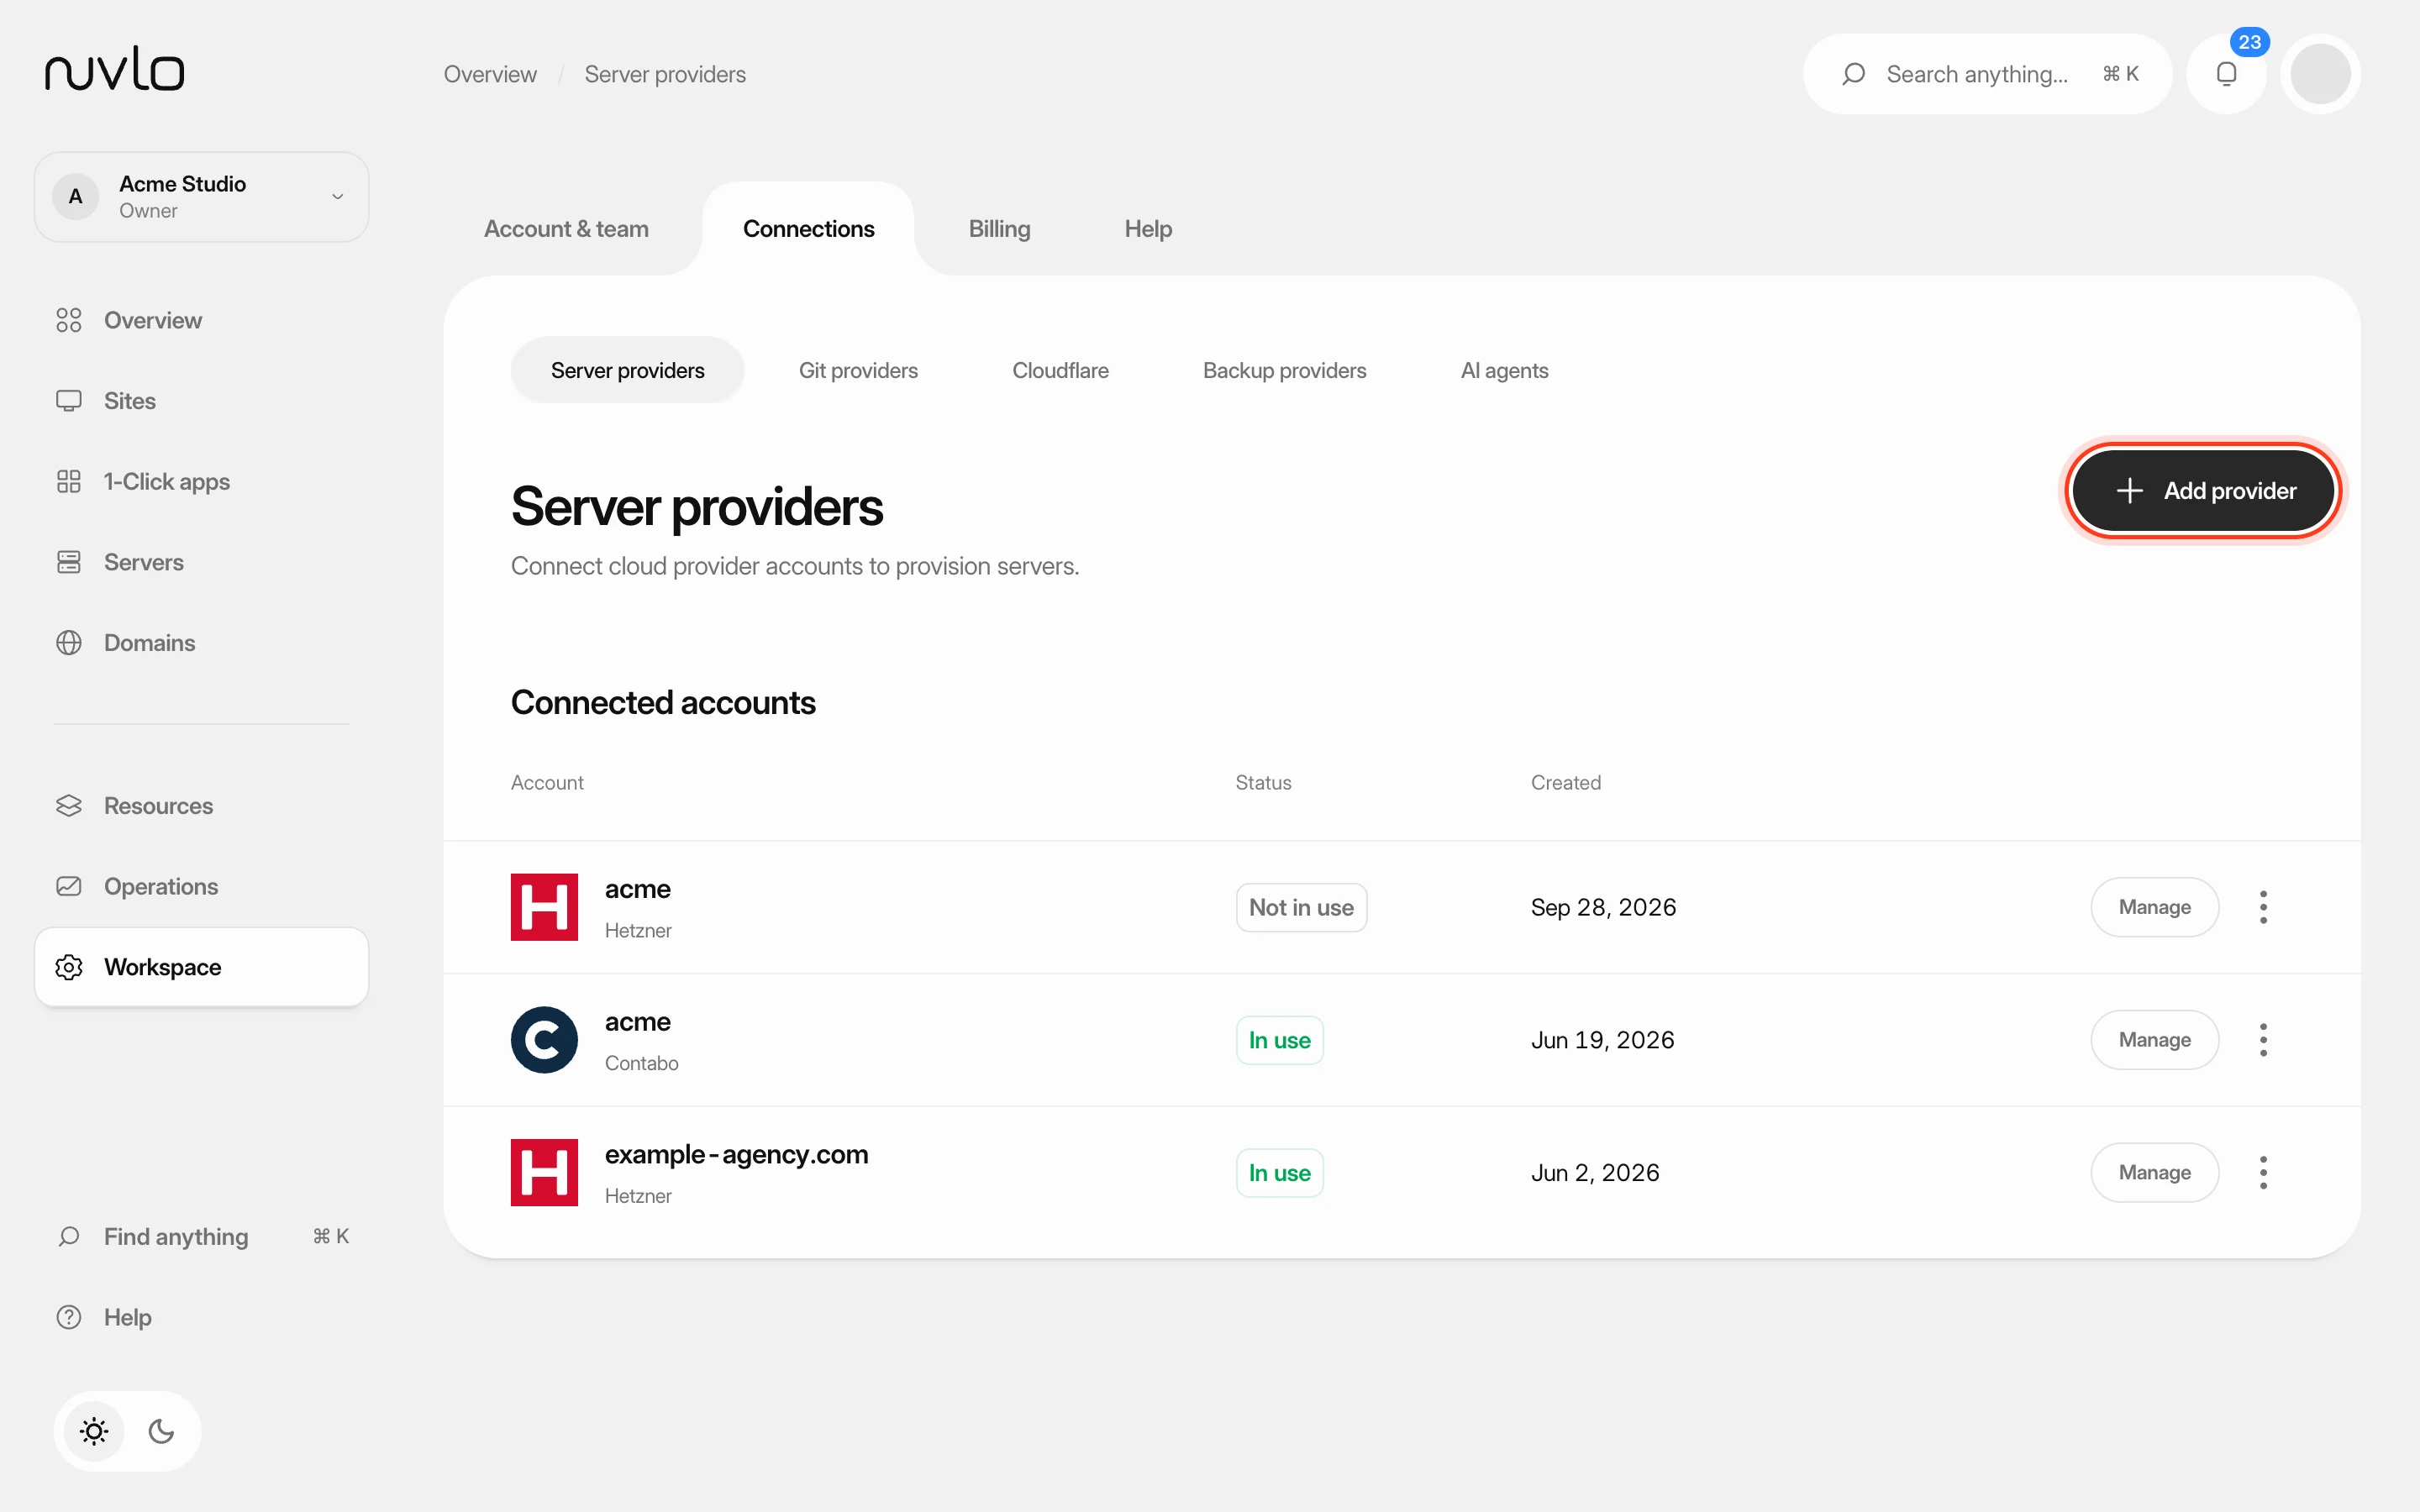 Connect a server providerConnect your own cloud account so Nuvlo can create and manage servers in it. You add an API key on the Server providers page, and Nuvlo checks it with the provider before saving it.
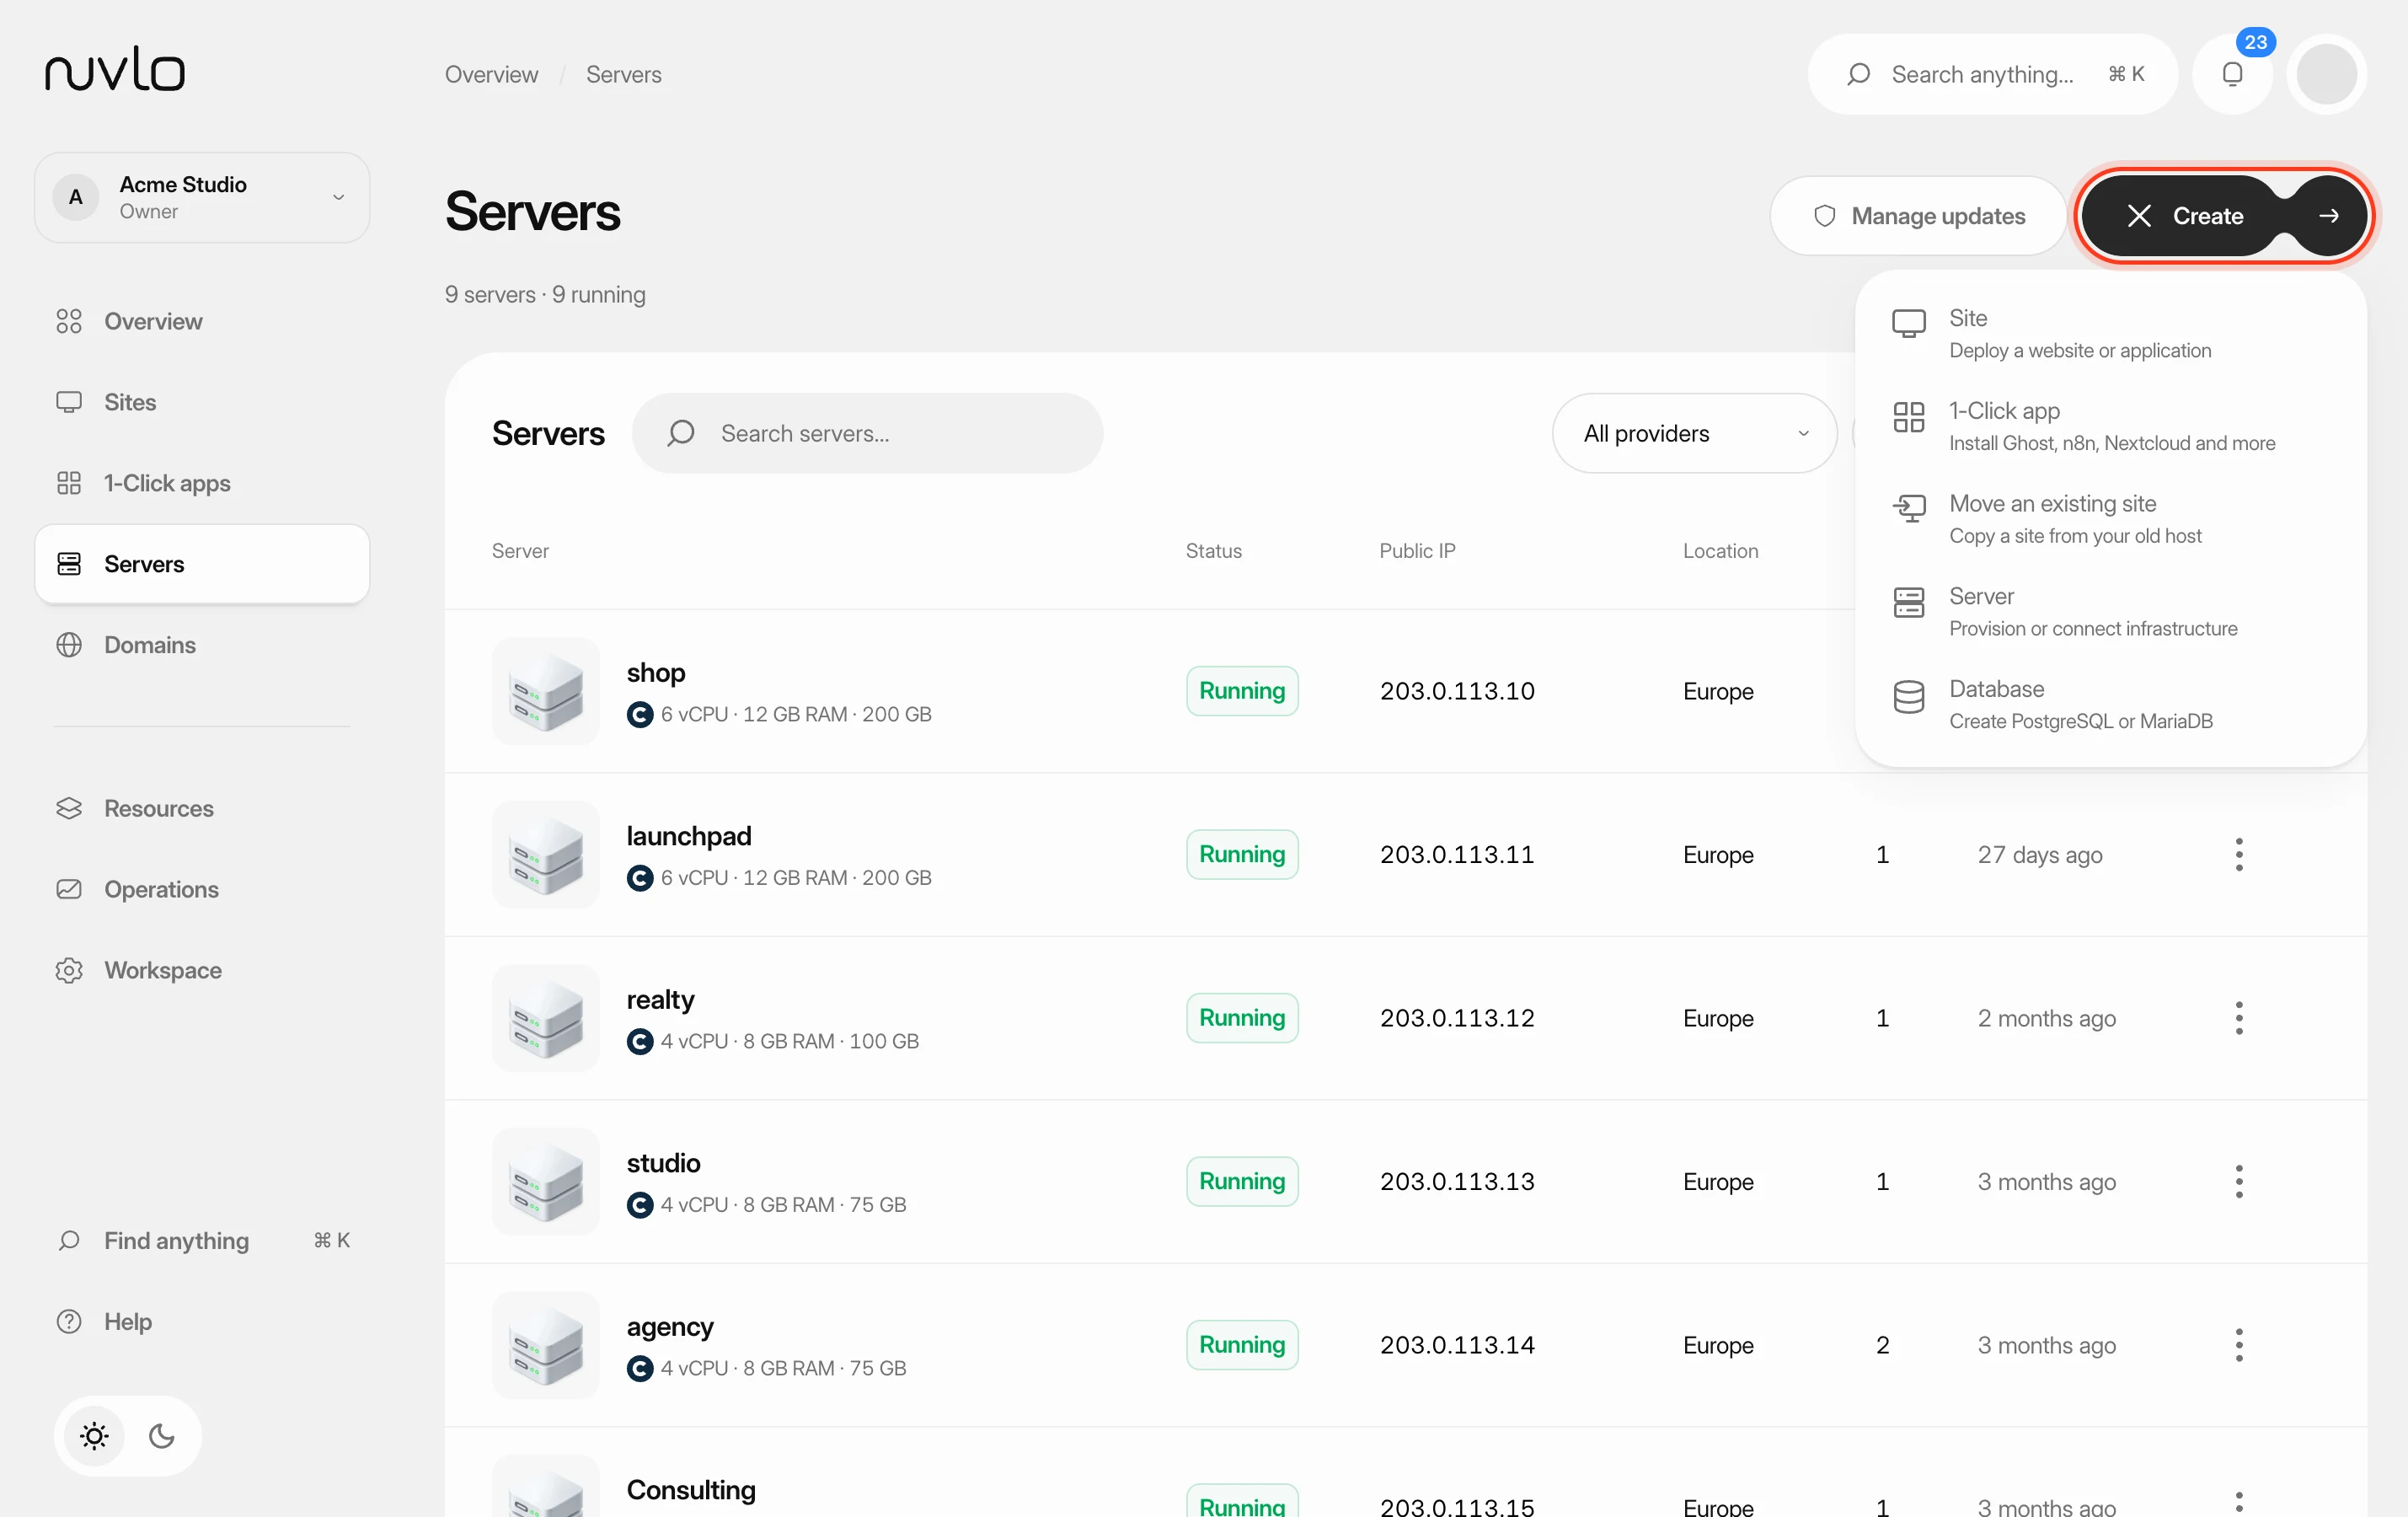 Create a serverOrder a new server at your cloud provider from Nuvlo and have it set up with everything your sites need: web server, firewall, security hardening and the software for the projects you plan to host.
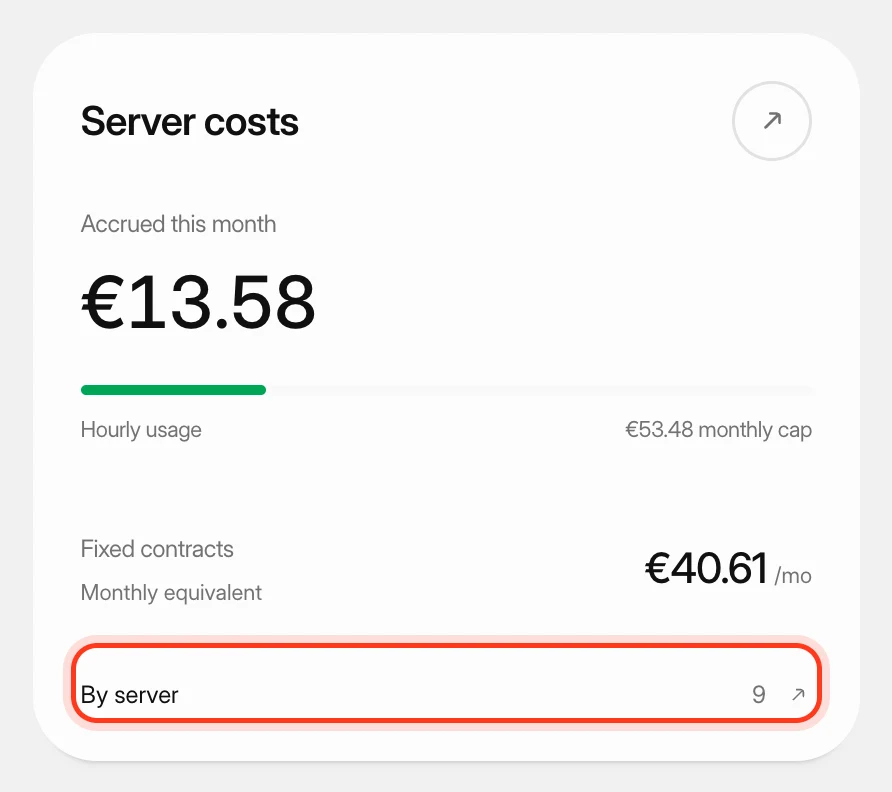 Track what your servers costSee what your servers cost at your cloud providers this month and in past months, apart from what you pay Nuvlo.
 Change a server's planMove a server to a bigger or smaller plan at your provider, with more or less CPU, memory and disk, without leaving Nuvlo.