Connect your Contabo account
Connect Contabo with its four API credentials, choose a contract term, and order your first Cloud VPS or Cloud VDS from Nuvlo.
On this page
- How Contabo is different
- Step 1: Find your API credentials
- Step 2: Set an API password
- Step 3: Open Server providers in Nuvlo
- Step 4: Enter the four credentials
- Step 5: Check that the account is connected
- Step 6: Choose a region, plan and contract term
- Step 7: Set the root password
- Step 8: Review and order the server
- Use a Contabo server you already have
- Good to know
- Troubleshooting
Before you start
- A Contabo customer account.
- Access to the Contabo Customer Control Panel.
- A Nuvlo account where you are the owner, an admin or a developer. Viewers can’t connect providers. See roles and permissions.
How Contabo is different
Contabo servers run on contracts, not hourly billing. When you create a server, Contabo charges the whole contract term upfront to your Contabo account. Nuvlo never handles the payment.
Contabo also needs four values to connect instead of one token: a client ID, a client secret, an API user and an API password.
Step 1 Find your API credentials
Sign in to the Contabo Customer Control Panel and open API. The page shows your Client ID and Client Secret. Your API User is the email address you sign in to Contabo with.
Step 2 Set an API password
On the same page, set an API Password. It is a separate password for the API only, not your Customer Control Panel password. If you set one before and don’t remember it, set a new one.
A new API password stops anything that still uses the old one, including a Contabo account already connected to Nuvlo. Update it there with Manage.
Step 3 Open Server providers in Nuvlo
In Nuvlo, open Integrations → Server providers (go there). Choose Add provider, then Contabo.
Step 4 Enter the four credentials
Optionally enter an Account label, then fill in all four fields: Client ID, Client secret, API user and API password. Connect account stays disabled until every field has a value.
Choose Connect account. Nuvlo signs in to the Contabo API and lists your servers to prove the credentials work before it saves them.
Step 5 Check that the account is connected
The account appears under Connected accounts with the status Not in use until your first server is linked to it.
Step 6 Choose a region, plan and contract term
Open Servers and create a server (start here). Choose Contabo, your account and New server, then choose what you will host.
On Region & plan, pick a region and a plan family. Under Shared resources, Core is Cloud VPS with SSD storage and Performance is Cloud VPS Plus with AMD EPYC vCPUs and NVMe storage. Under Dedicated resources, Max Performance is Cloud VDS with dedicated cores and NVMe storage.
Under Contract term, pick how long you commit. Longer terms lower the monthly rate, the same for every plan family:
| Contract term | Monthly rate |
|---|---|
| Monthly | Base price |
| 12 Months | 15% off |
| 24 Months | 20% off |
The plan prices change to the monthly rate of the term you pick. Below the terms, Nuvlo shows the Upfront total you pay Contabo for the whole term, excluding VAT. Hover or tap the info icon next to it for How Contabo billing works.
- The whole term is charged at once, at the start.
- At the end of the term, the contract renews automatically for the same length and at the same price.
Step 7 Set the root password
On Configure server, name the server and choose SSH keys as usual. Contabo servers also get a Root password. It only works in Contabo’s VNC console, as a way in if SSH ever stops working. Password login over SSH stays turned off.
- Auto-generate: Nuvlo creates a strong password and shows it to you once the server is created. You can show it again later on the server page.
- Set my own: you type the password. It is sent to Contabo and never stored by Nuvlo. It needs 8–72 characters, upper and lower case letters, and either 1 digit and 2 special characters or 3 digits and 1 special character.
Only the account owner or an admin can set or see a root password.
Step 8 Review and order the server
On Review, check the Contract term, Monthly cost and Upfront total. Then choose Create server. This places the order at Contabo.
ImportantThe whole term is charged when you order, even if you cancel during setup. A cancelled server runs until the paid period ends, then Contabo removes it.
Use a Contabo server you already have
If you already pay for a Contabo VPS, you can set it up with Nuvlo instead of ordering a new one. On the provider step, choose Erase an existing server, pick the server from your Contabo account, name it and confirm the wipe. Then choose Erase … and install Nuvlo. See Erase an existing server.
ImportantEverything on that server is deleted, and Ubuntu is reinstalled with the Nuvlo stack. Copy anything you need off the server first.
Good to know
| Topic | On Contabo |
|---|---|
| Regions | Nuremberg, Portsmouth, New York, St. Louis, Seattle, Mumbai, Singapore, Tokyo and Sydney. |
| Resize | Upgrade the server in the Contabo Customer Control Panel, then choose Reload plan from provider on the server page in Nuvlo. Contabo doesn’t offer downgrades. See Resize a server. |
| Snapshots | Included in the price, restored over the server. Contabo deletes snapshots after 30 days. See Server snapshots. |
| Delete | Deleting cancels the contract at the end of the paid term. The server runs until then. Contabo’s API can’t undo a cancellation, so undo it in the Contabo Customer Control Panel. |
Troubleshooting
| You see | What to do |
|---|---|
| The provider rejected this key and a message about invalid credentials | One of the four values is wrong. The most common cause is the API password: set a new one in the Customer Control Panel and enter it again. |
| The password field shows a red hint | Your own root password doesn’t meet Contabo’s rules. Follow the hint under the field, or switch to Auto-generate. |
Related guides
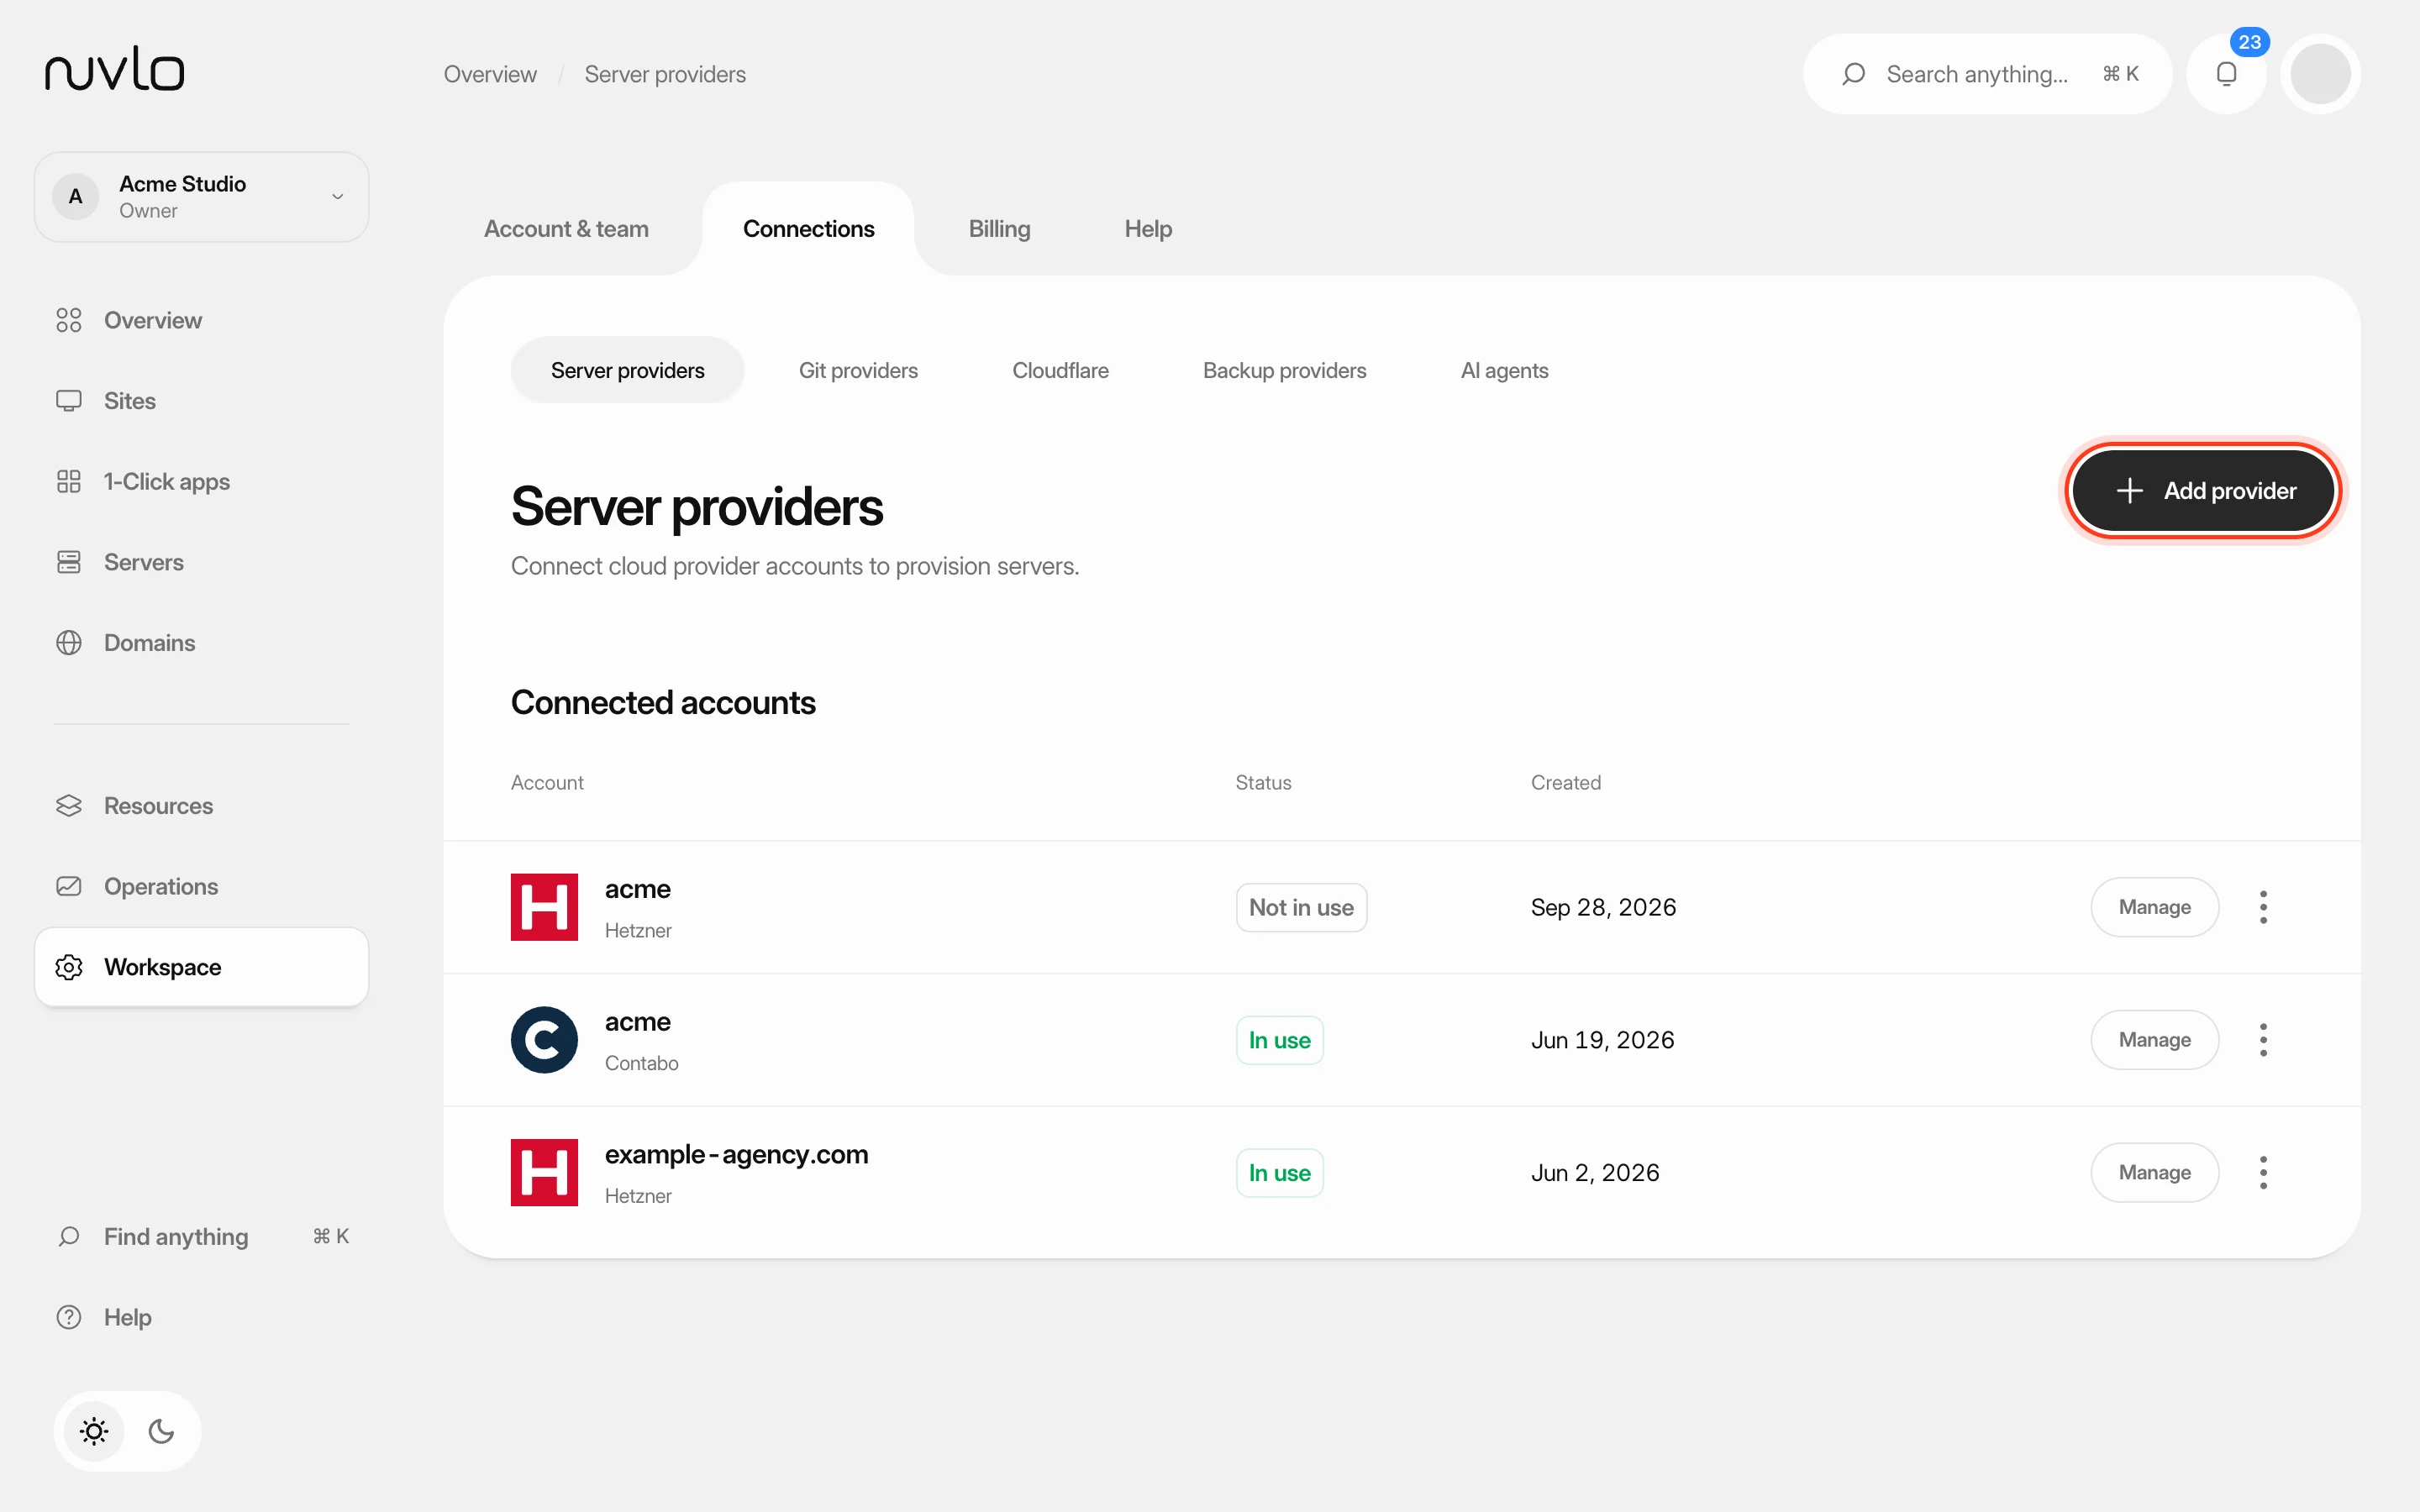 Connect a server providerConnect your own cloud account so Nuvlo can create and manage servers in it. You add an API key on the Server providers page, and Nuvlo checks it with the provider before saving it.
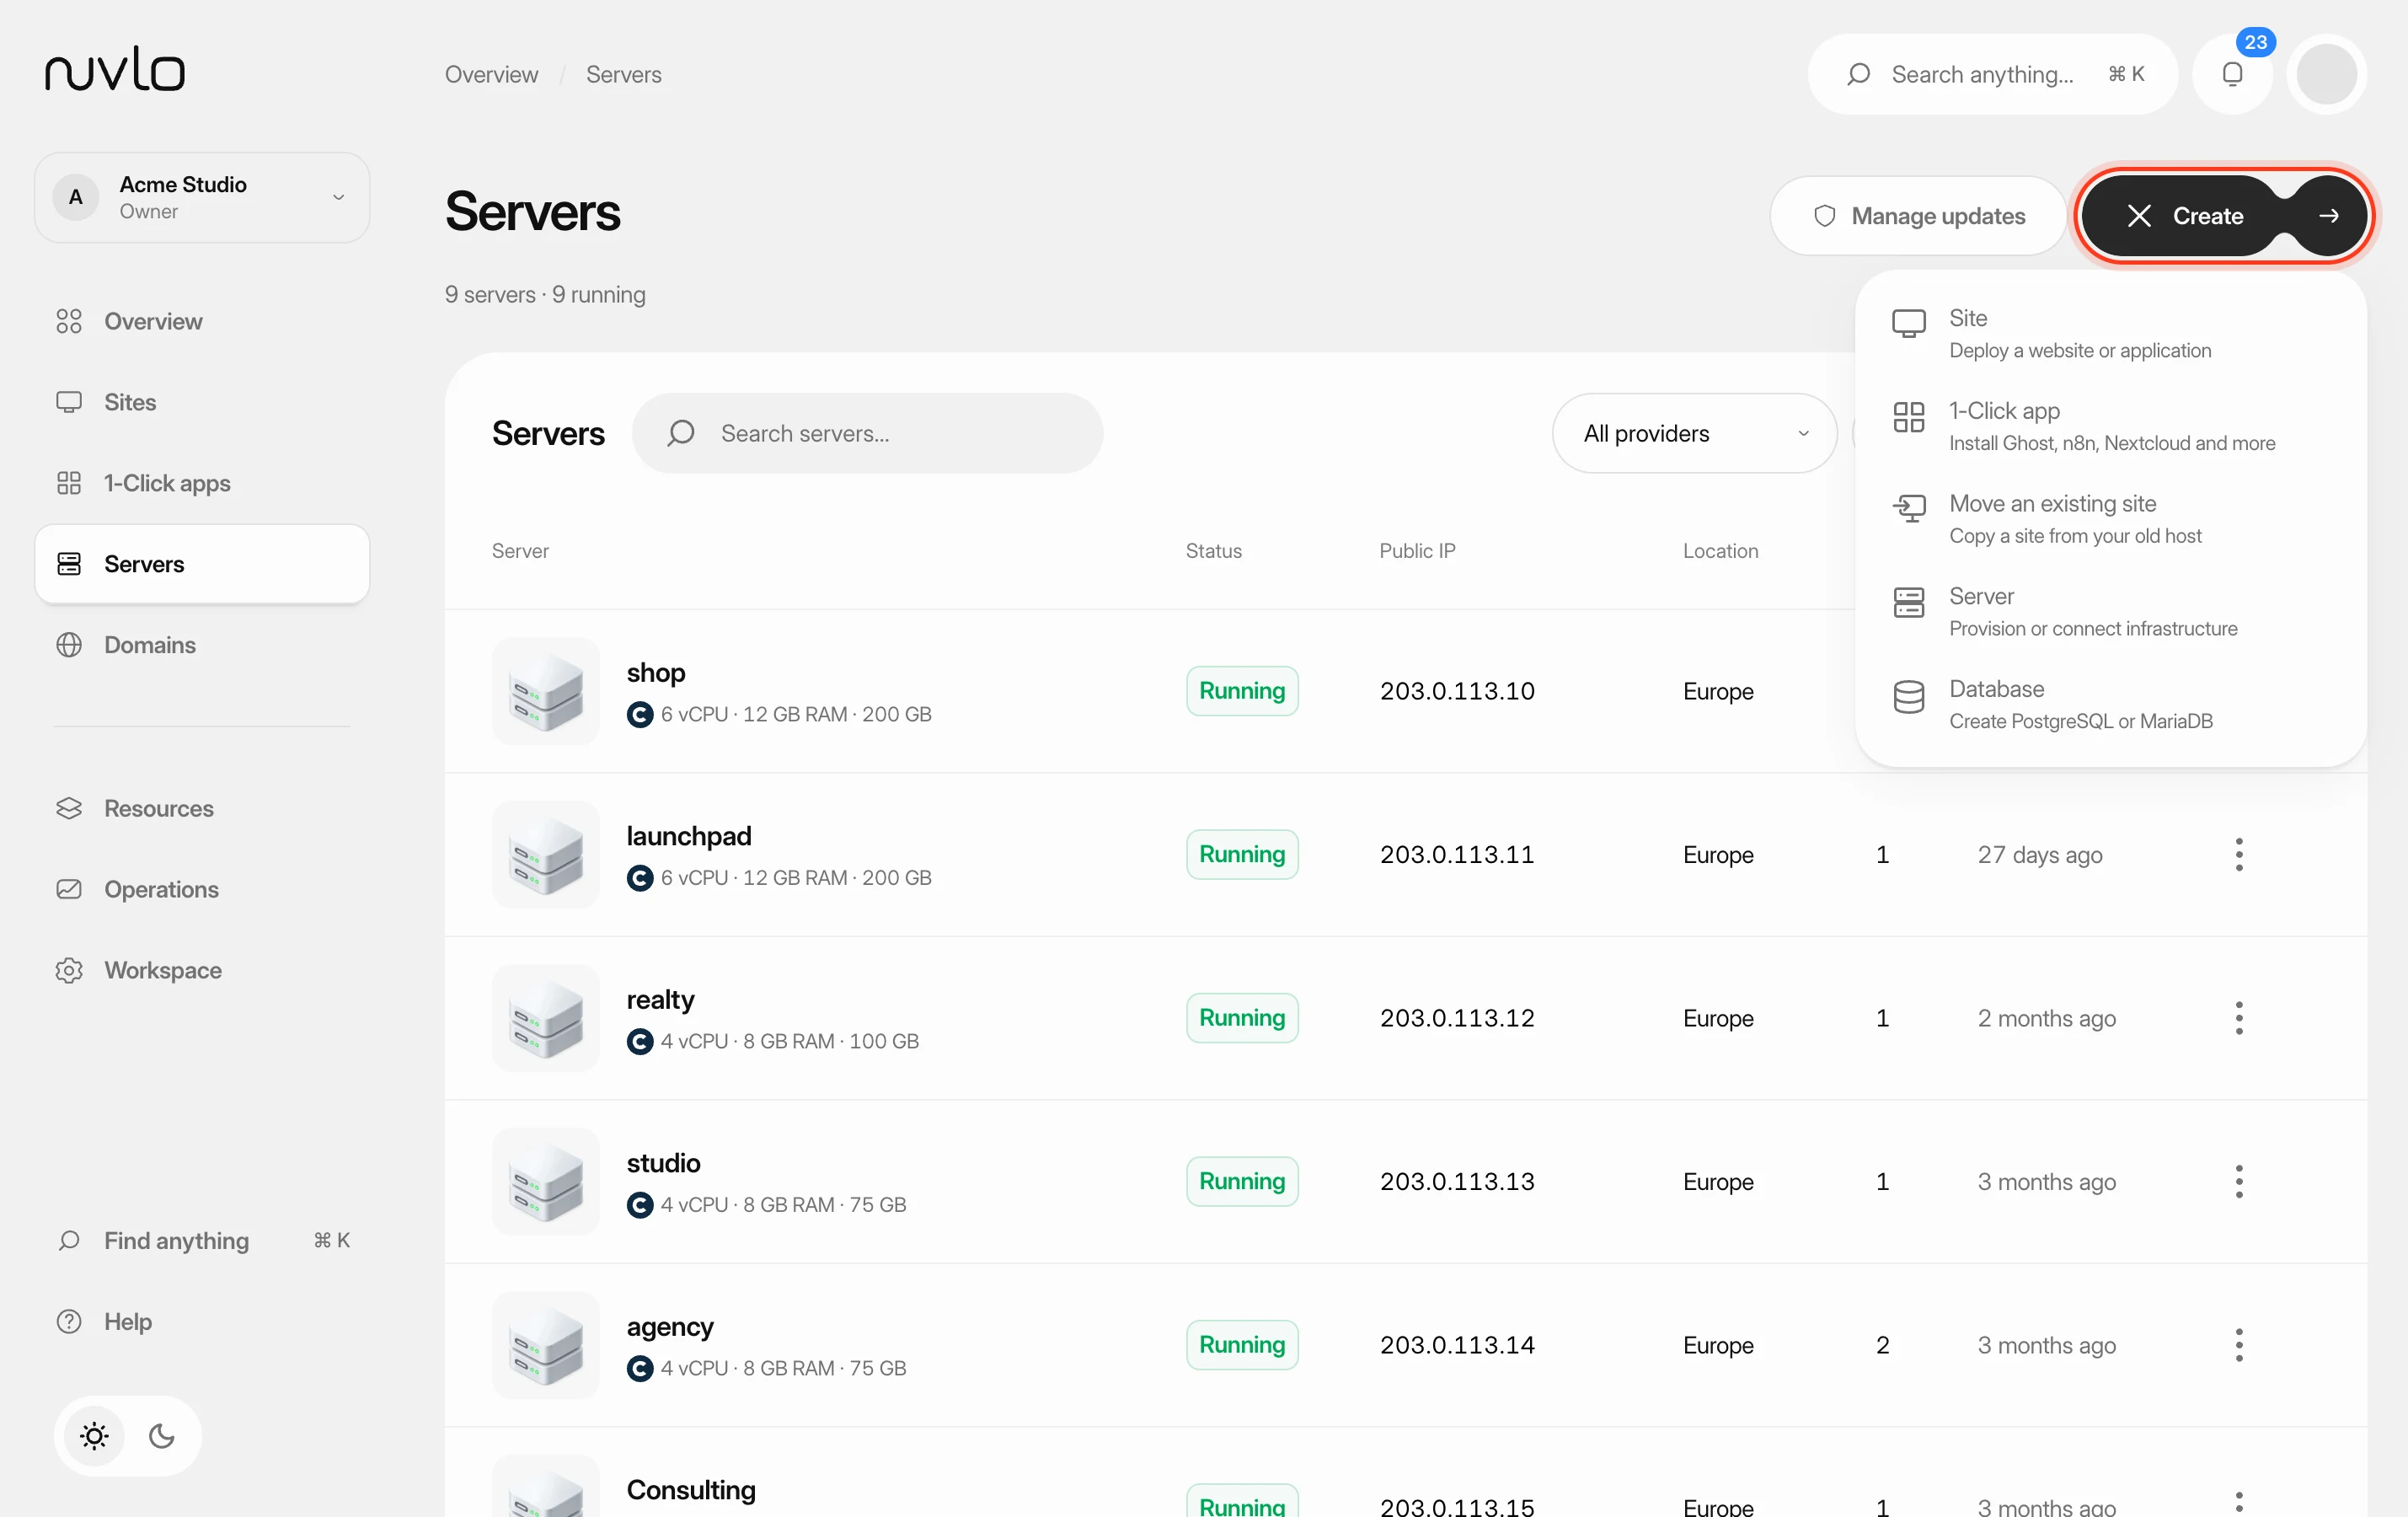 Create a serverOrder a new server at your cloud provider from Nuvlo and have it set up with everything your sites need: web server, firewall, security hardening and the software for the projects you plan to host.
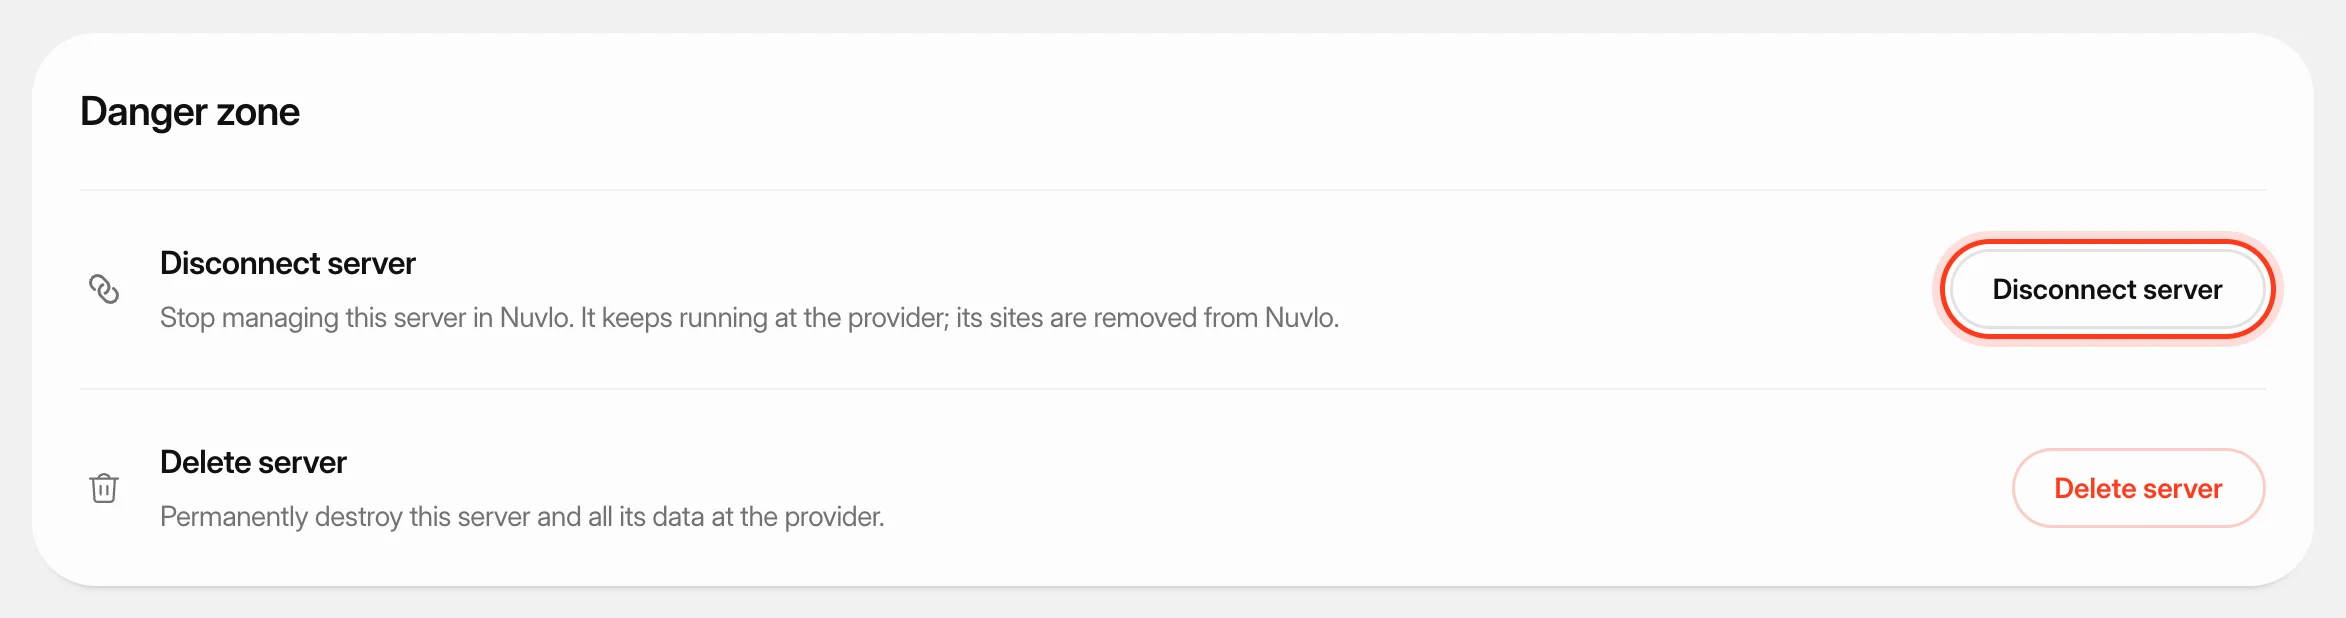 Delete a serverPermanently destroy a server at your provider and remove it and its sites from Nuvlo, with control over what happens to its snapshots and backups.
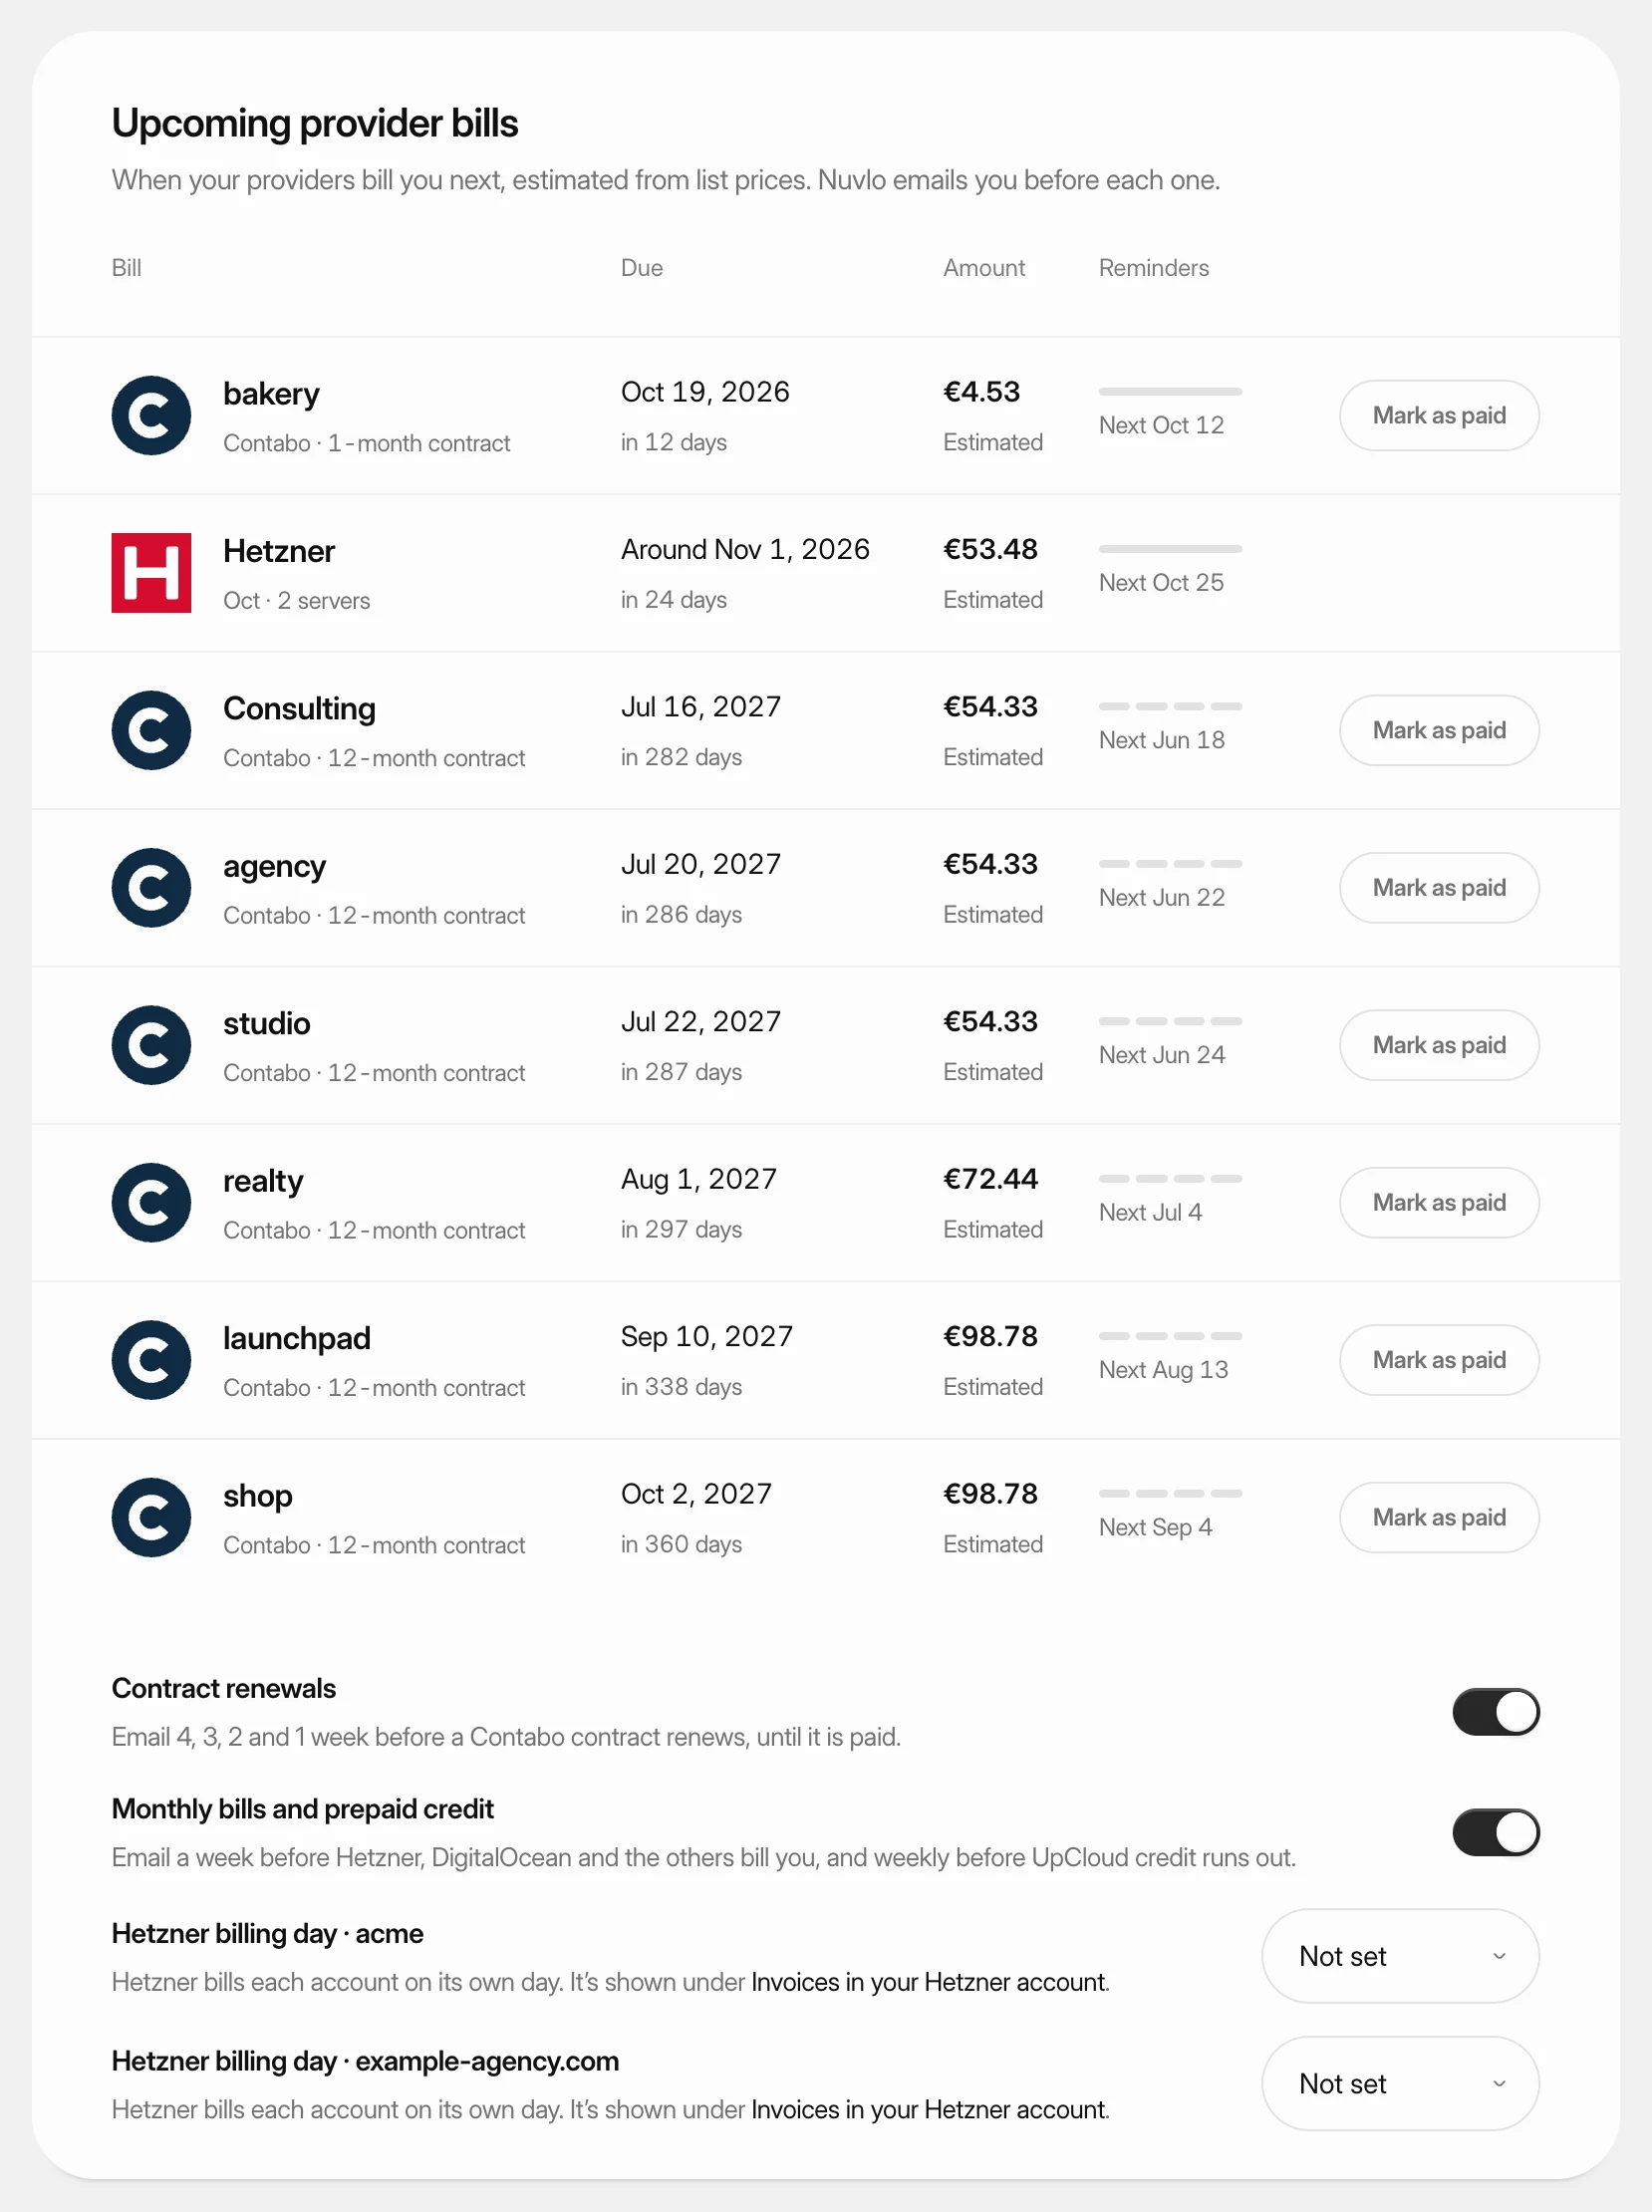 Get reminders before provider billsSee when each cloud provider bills you next and get an email before it happens, so a server never stops over a missed payment.