
Connect any server with one command
Turn an Ubuntu server you already have, at any host, into a Nuvlo server by pasting one command on it. Nuvlo checks the server first and changes nothing if it isn't suitable.
On this page
Before you start
- A server with Ubuntu 22.04, 24.04 or 26.04 LTS, at least 1 GB of memory and 8 GB of free disk space, and its own public IP address.
- SSH access as root, or as a user who can use
sudo. - Ports 80 and 443 free, and SSH answering on port 22 (you can keep another SSH port as well).
Step 1 Choose Any server (SSH)
Go to Create server and click Any server (SSH) at the top.
Enter the Server name in Nuvlo and choose What will run on it?, the same choice as for a new server. See Create a server for what each option installs.
If the server already runs nginx, Apache, MySQL or Docker, tick This server already runs nginx, Apache, MySQL or Docker, and Nuvlo may take them over. Without it, Nuvlo stops when it finds them, so nothing you use is changed by accident.
Click Get the command. The button names your server.
Step 2 Run the command on the server
Log in to the server over SSH, paste the command Nuvlo shows and press Enter. It looks like this:
curl -fsSL https://…/api/servers/connect-script/… -H 'Authorization: Bearer …' | sudo bashThe command works once and only for 30 minutes. If it expires, click Get a new command on the server's page.
First the server is checked: the Ubuntu version, memory, free disk, free ports 80 and 443, hosting panels and software Nuvlo would replace. Its address must be one of its own: a server behind NAT, which Nuvlo can't reach, is refused. If anything is wrong, the command lists it in plain words, and Nuvlo shows the same list on the server's page. Nothing has been installed or changed at that point.
After the check, setup takes about 5 to 10 minutes. You can follow it in the terminal and in Nuvlo. If your SSH session drops, setup carries on; the log is in /var/log/nuvlo-init.log.
When it's done, the server shows Running in Nuvlo and you can create a site on it.
What the command changes
- Installs nginx, automatic security updates, a firewall (UFW, with SSH, 80 and 443 open), fail2ban and the runtime for what you chose to run.
- Adds Nuvlo's SSH key for root. Nuvlo manages the server over SSH on port 22.
- Every port SSH already listens on stays open in the firewall, and the server keeps its hostname and root password.
- If you log in with an SSH key, password login is turned off. If you log in with a password, or no key is set up for you, password login stays on: add your key under SSH access on the server's Settings tab, then turn passwords off yourself.
- A copy of the settings it changes (SSH, firewall, fail2ban, nginx, Docker, sysctl, fstab) is kept in
/root/nuvlo-before-<date>.tar.gz.
Good to know
- Servers with a hosting panel (cPanel, Plesk, DirectAdmin, CyberPanel, HestiaCP, CloudPanel, Coolify and similar) are refused. Use a fresh server instead.
- Containers (LXC, OpenVZ) are refused; Docker and the firewall need a full virtual or dedicated server.
- Nuvlo has no account at your host, so it can't resize the server, take snapshots, use the host's backups or delete the server. Use site backups and your host's control panel for those.
- Removing the server from Nuvlo is done with Disconnect. The server keeps running at your host.
- For AWS and Google Cloud, whose servers sit behind NAT, connect the cloud account instead.
Related guides
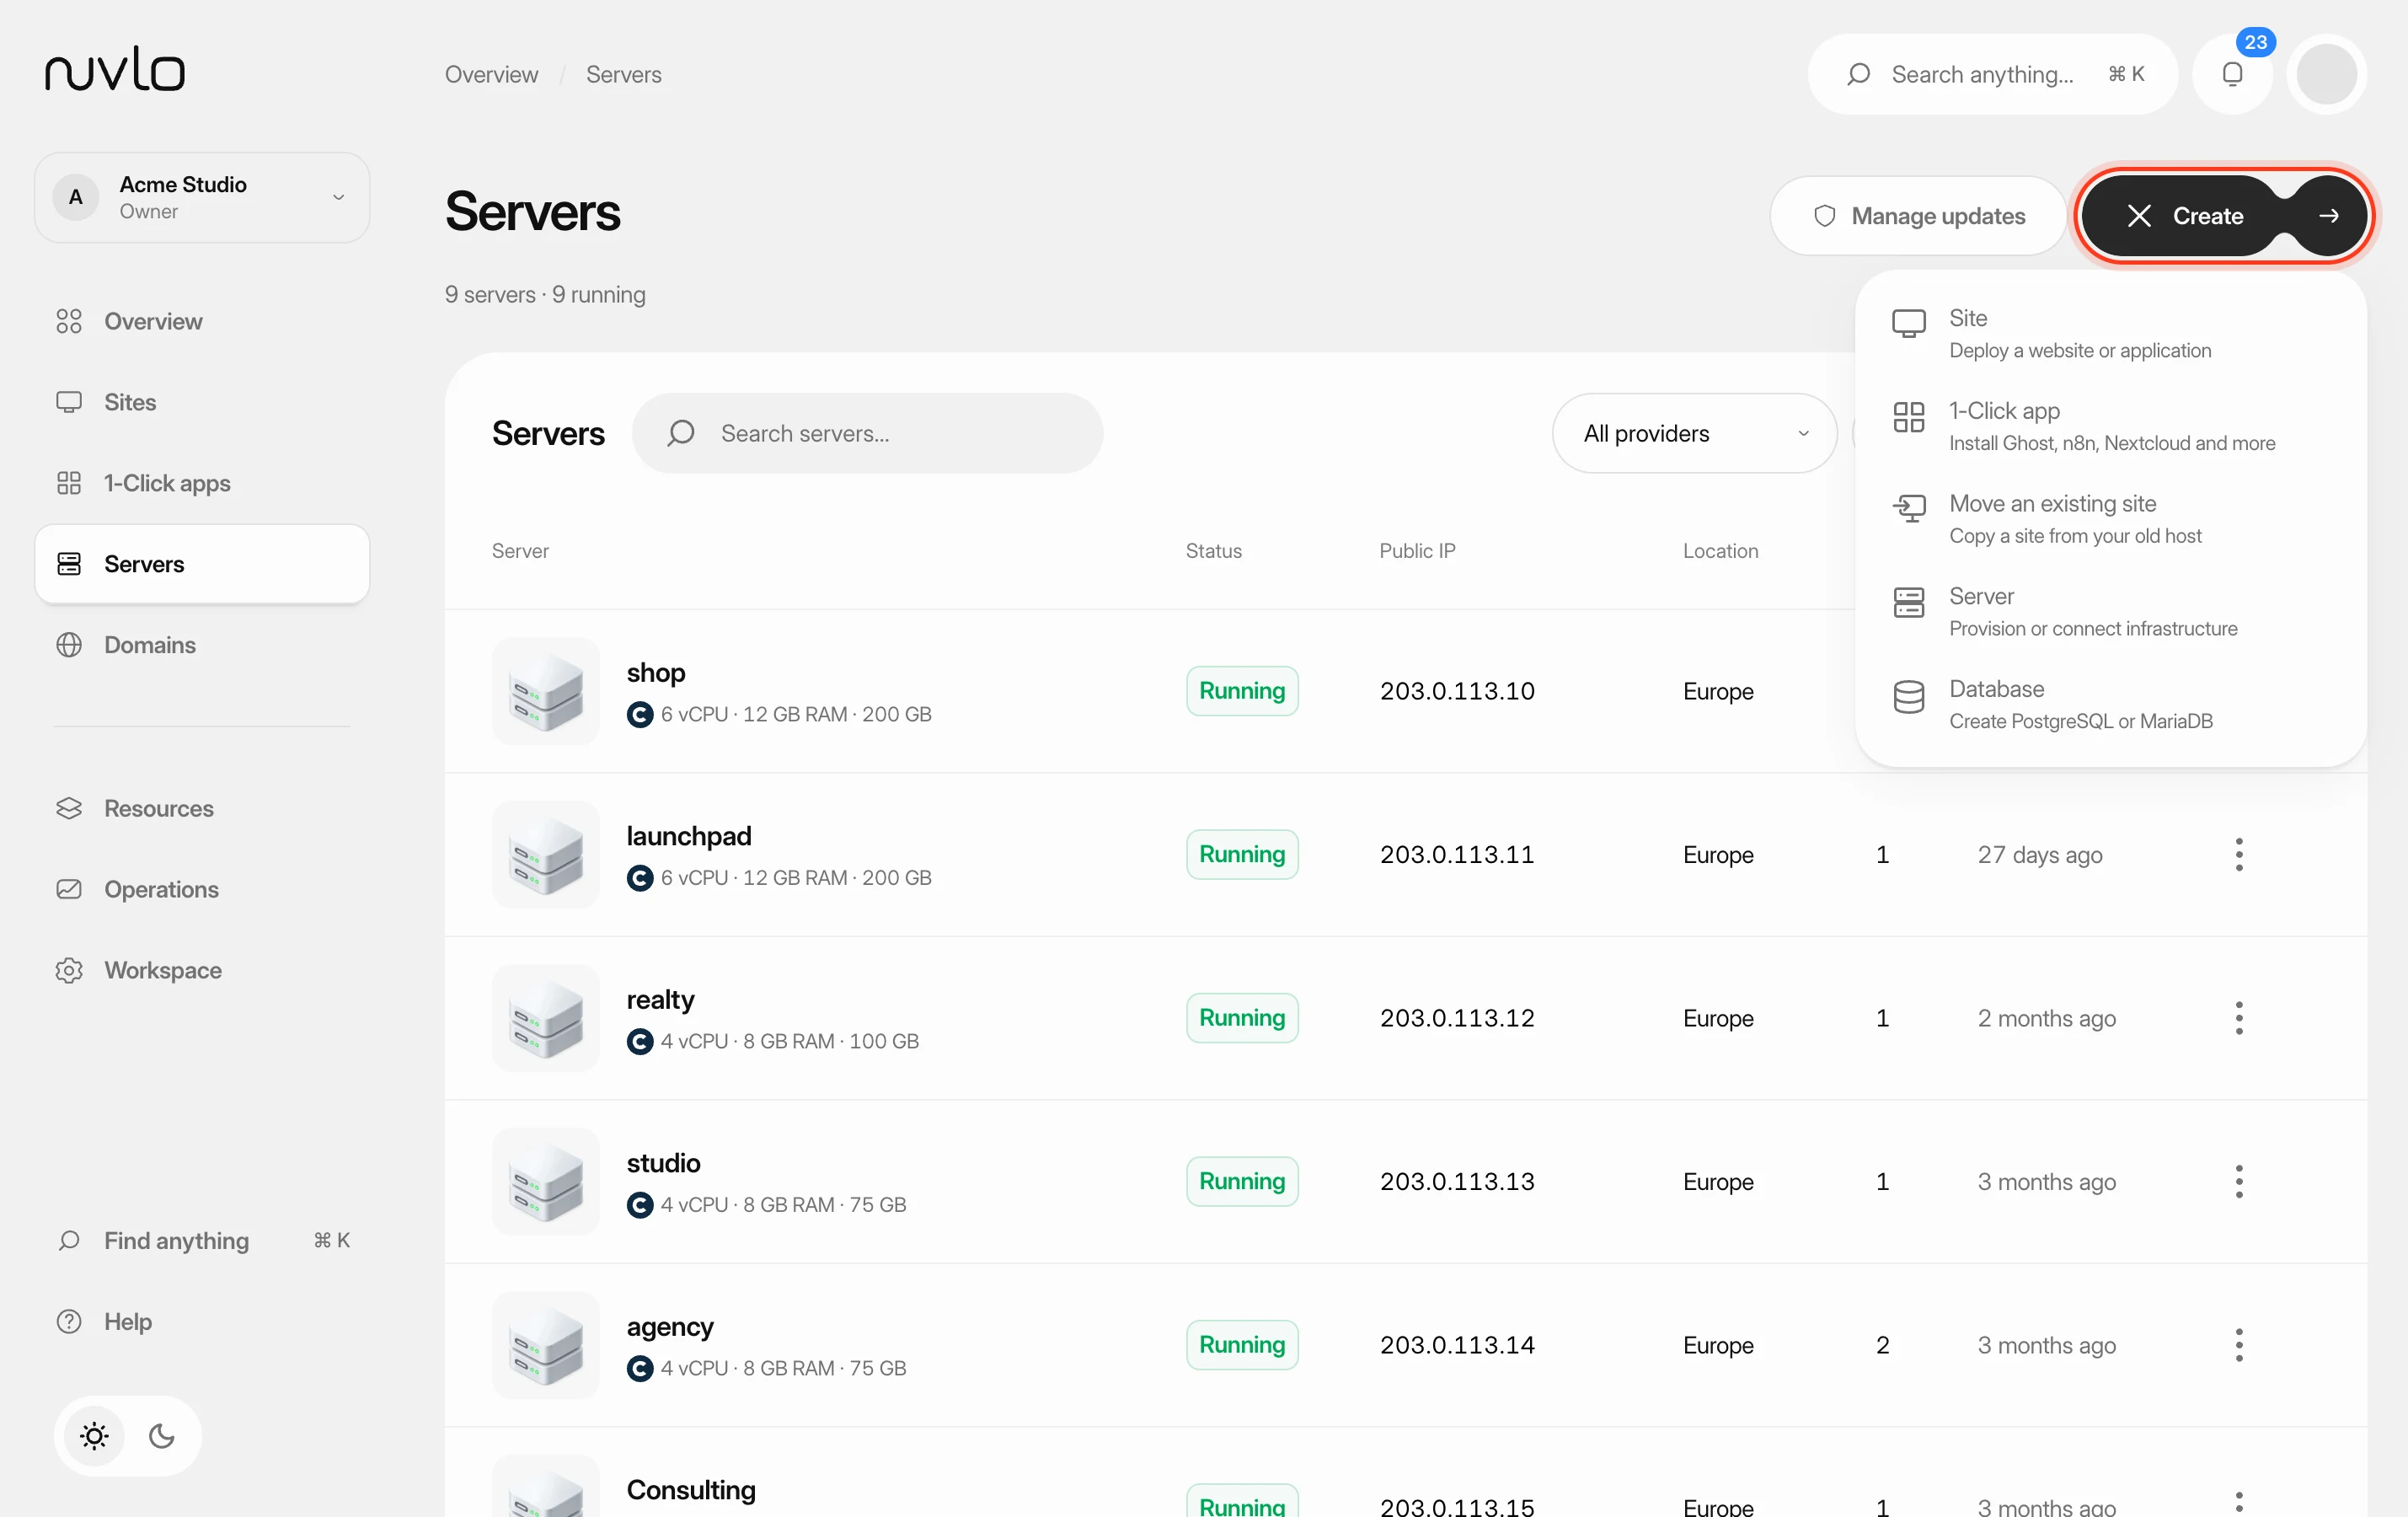 Create a serverOrder a new server at your cloud provider from Nuvlo and have it set up with everything your sites need: web server, firewall, security hardening and the software for the projects you plan to host.
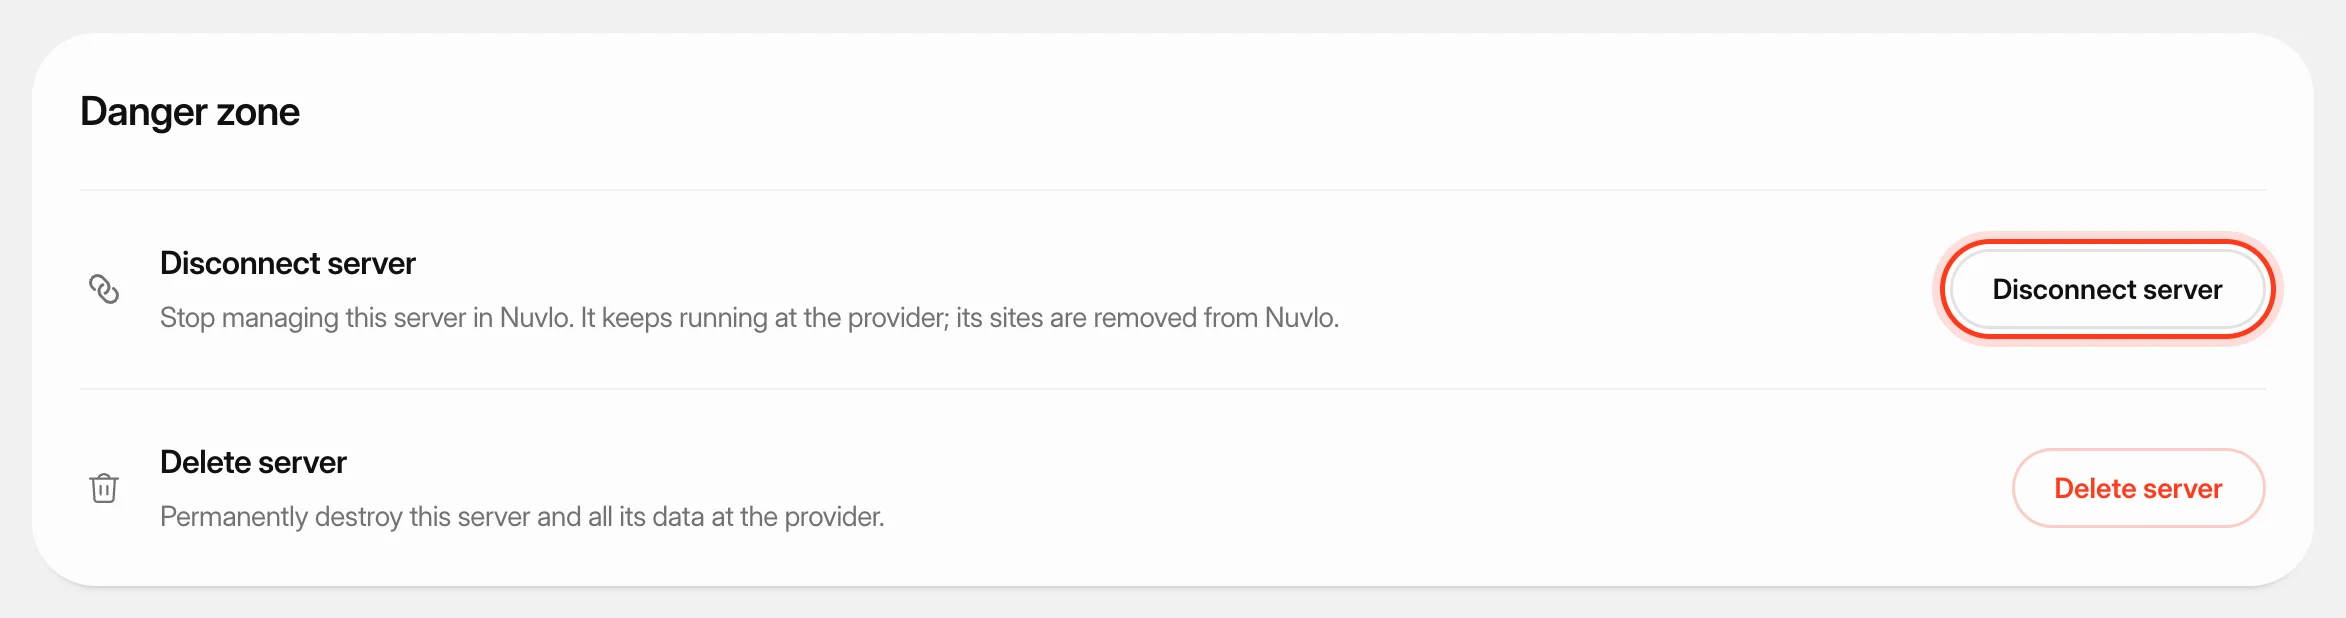 Disconnect a server from NuvloStop managing a server in Nuvlo while it keeps running at your provider.
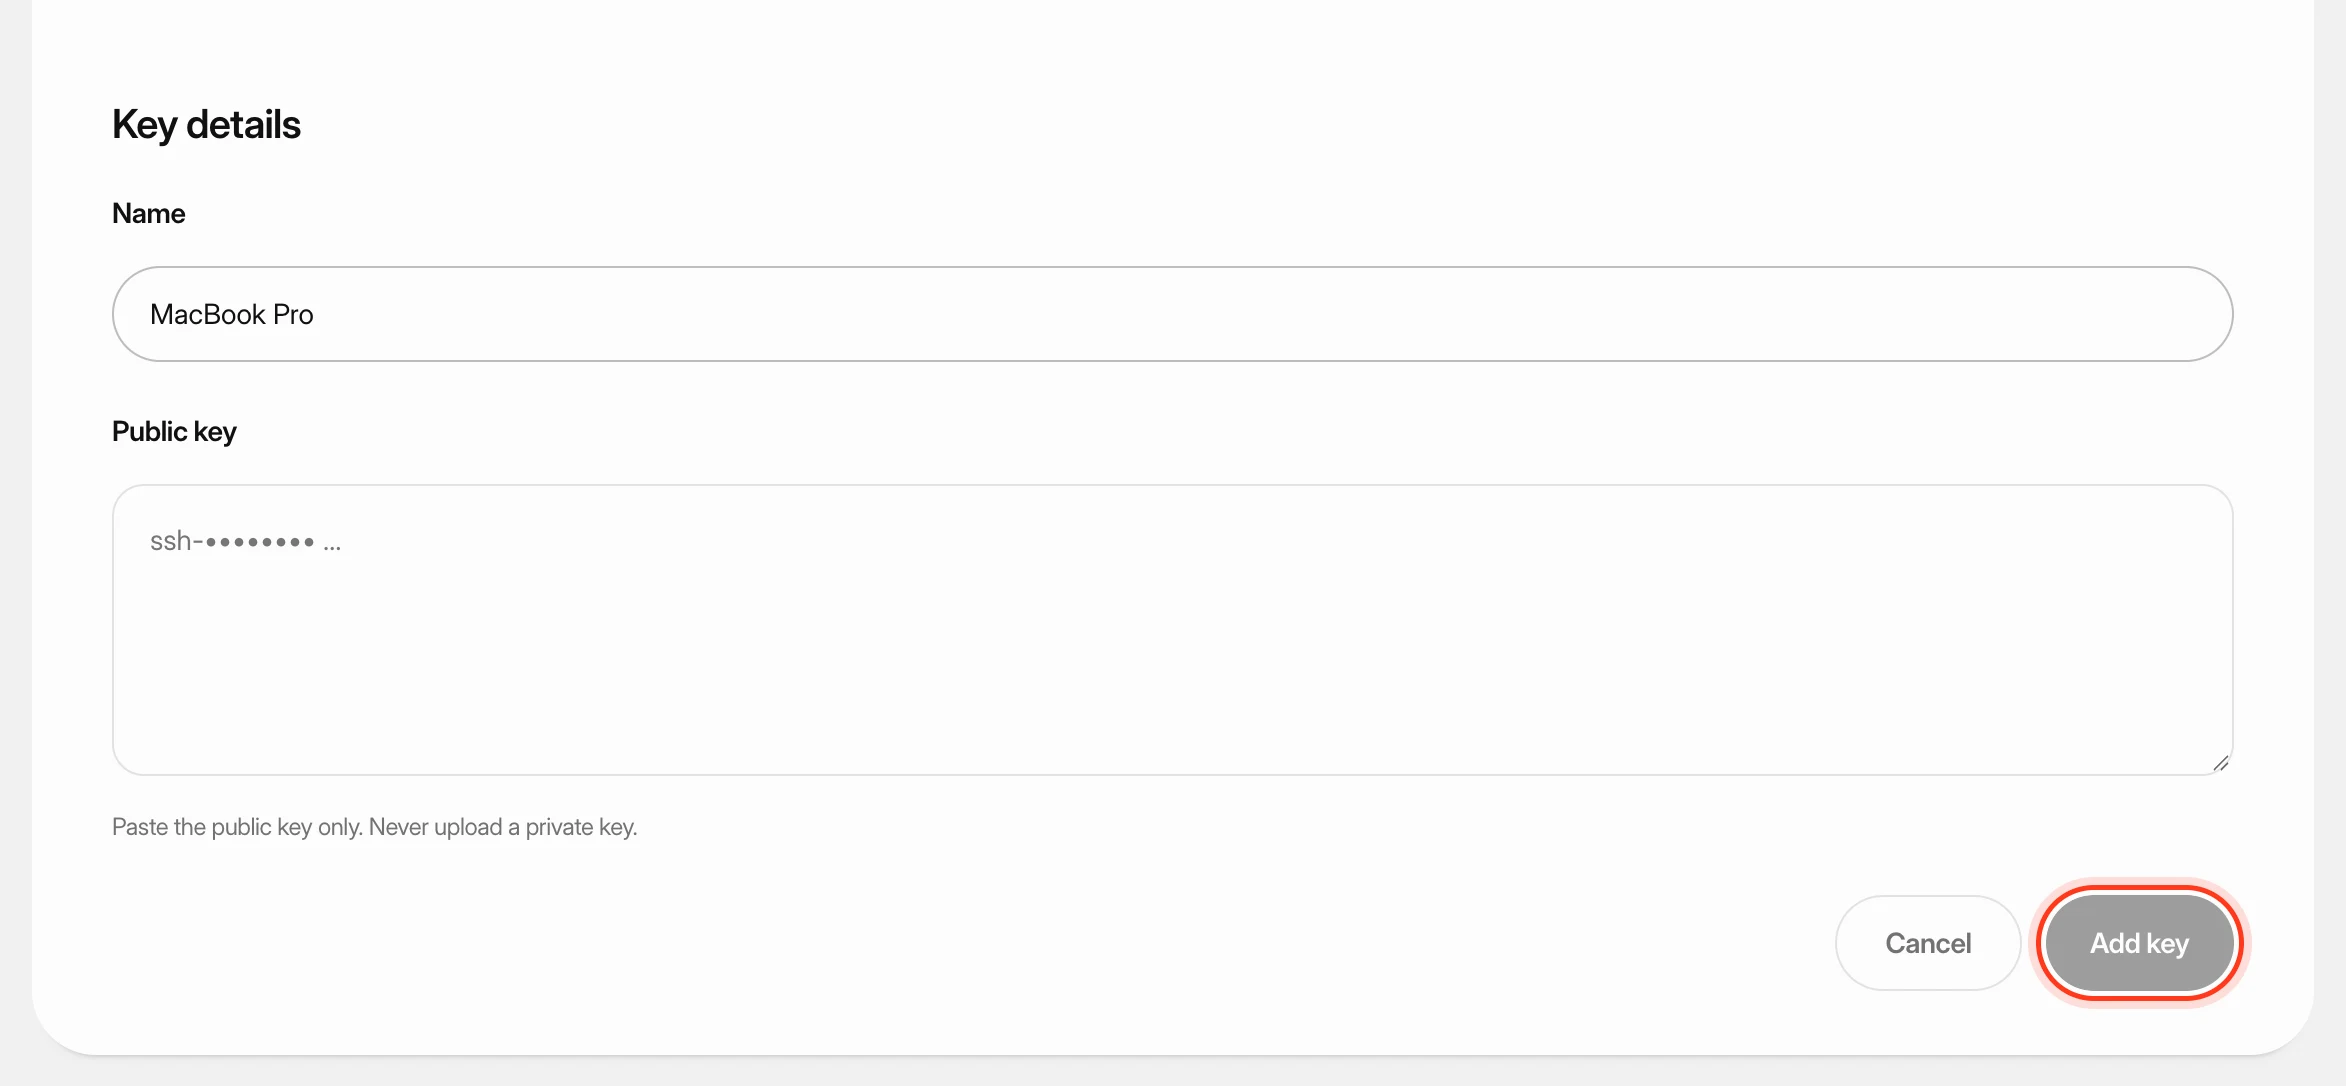 Add SSH keys to your serversSave your public SSH keys in Nuvlo and pick them when you create a server, so you can sign in to that server from your own computer. You'll also learn what happens when you delete a key.