
Manage SSL certificates
See which certificate each domain uses, turn on HTTPS for a site, and know which certificates renew by themselves and which you have to replace.
On this page
Before you start
- A domain connected to a site and pointing at its server. See Add a domain to a site.
- For a Cloudflare Origin certificate: Cloudflare connected and the domain proxied through Cloudflare. See Connect Cloudflare.
Certificate types
Most domains need no action: Nuvlo issues a Let’s Encrypt certificate as soon as the domain points at your server. Choose another type only when you need it.
| Type | Use it when | Renewal |
|---|---|---|
| Let’s Encrypt | The domain points straight at your server. Free. Port 80 must be reachable so Let’s Encrypt can check the domain. | Automatic, on the server |
| Cloudflare Origin | The domain is proxied through Cloudflare. Valid for 15 years, but only Cloudflare trusts it, so keep the proxy on. | Manual: replace it before it expires |
| Custom | You already have a certificate, for example from your company. You paste the certificate and its private key. | Manual: replace it before it expires |
Step 1 Check your certificates
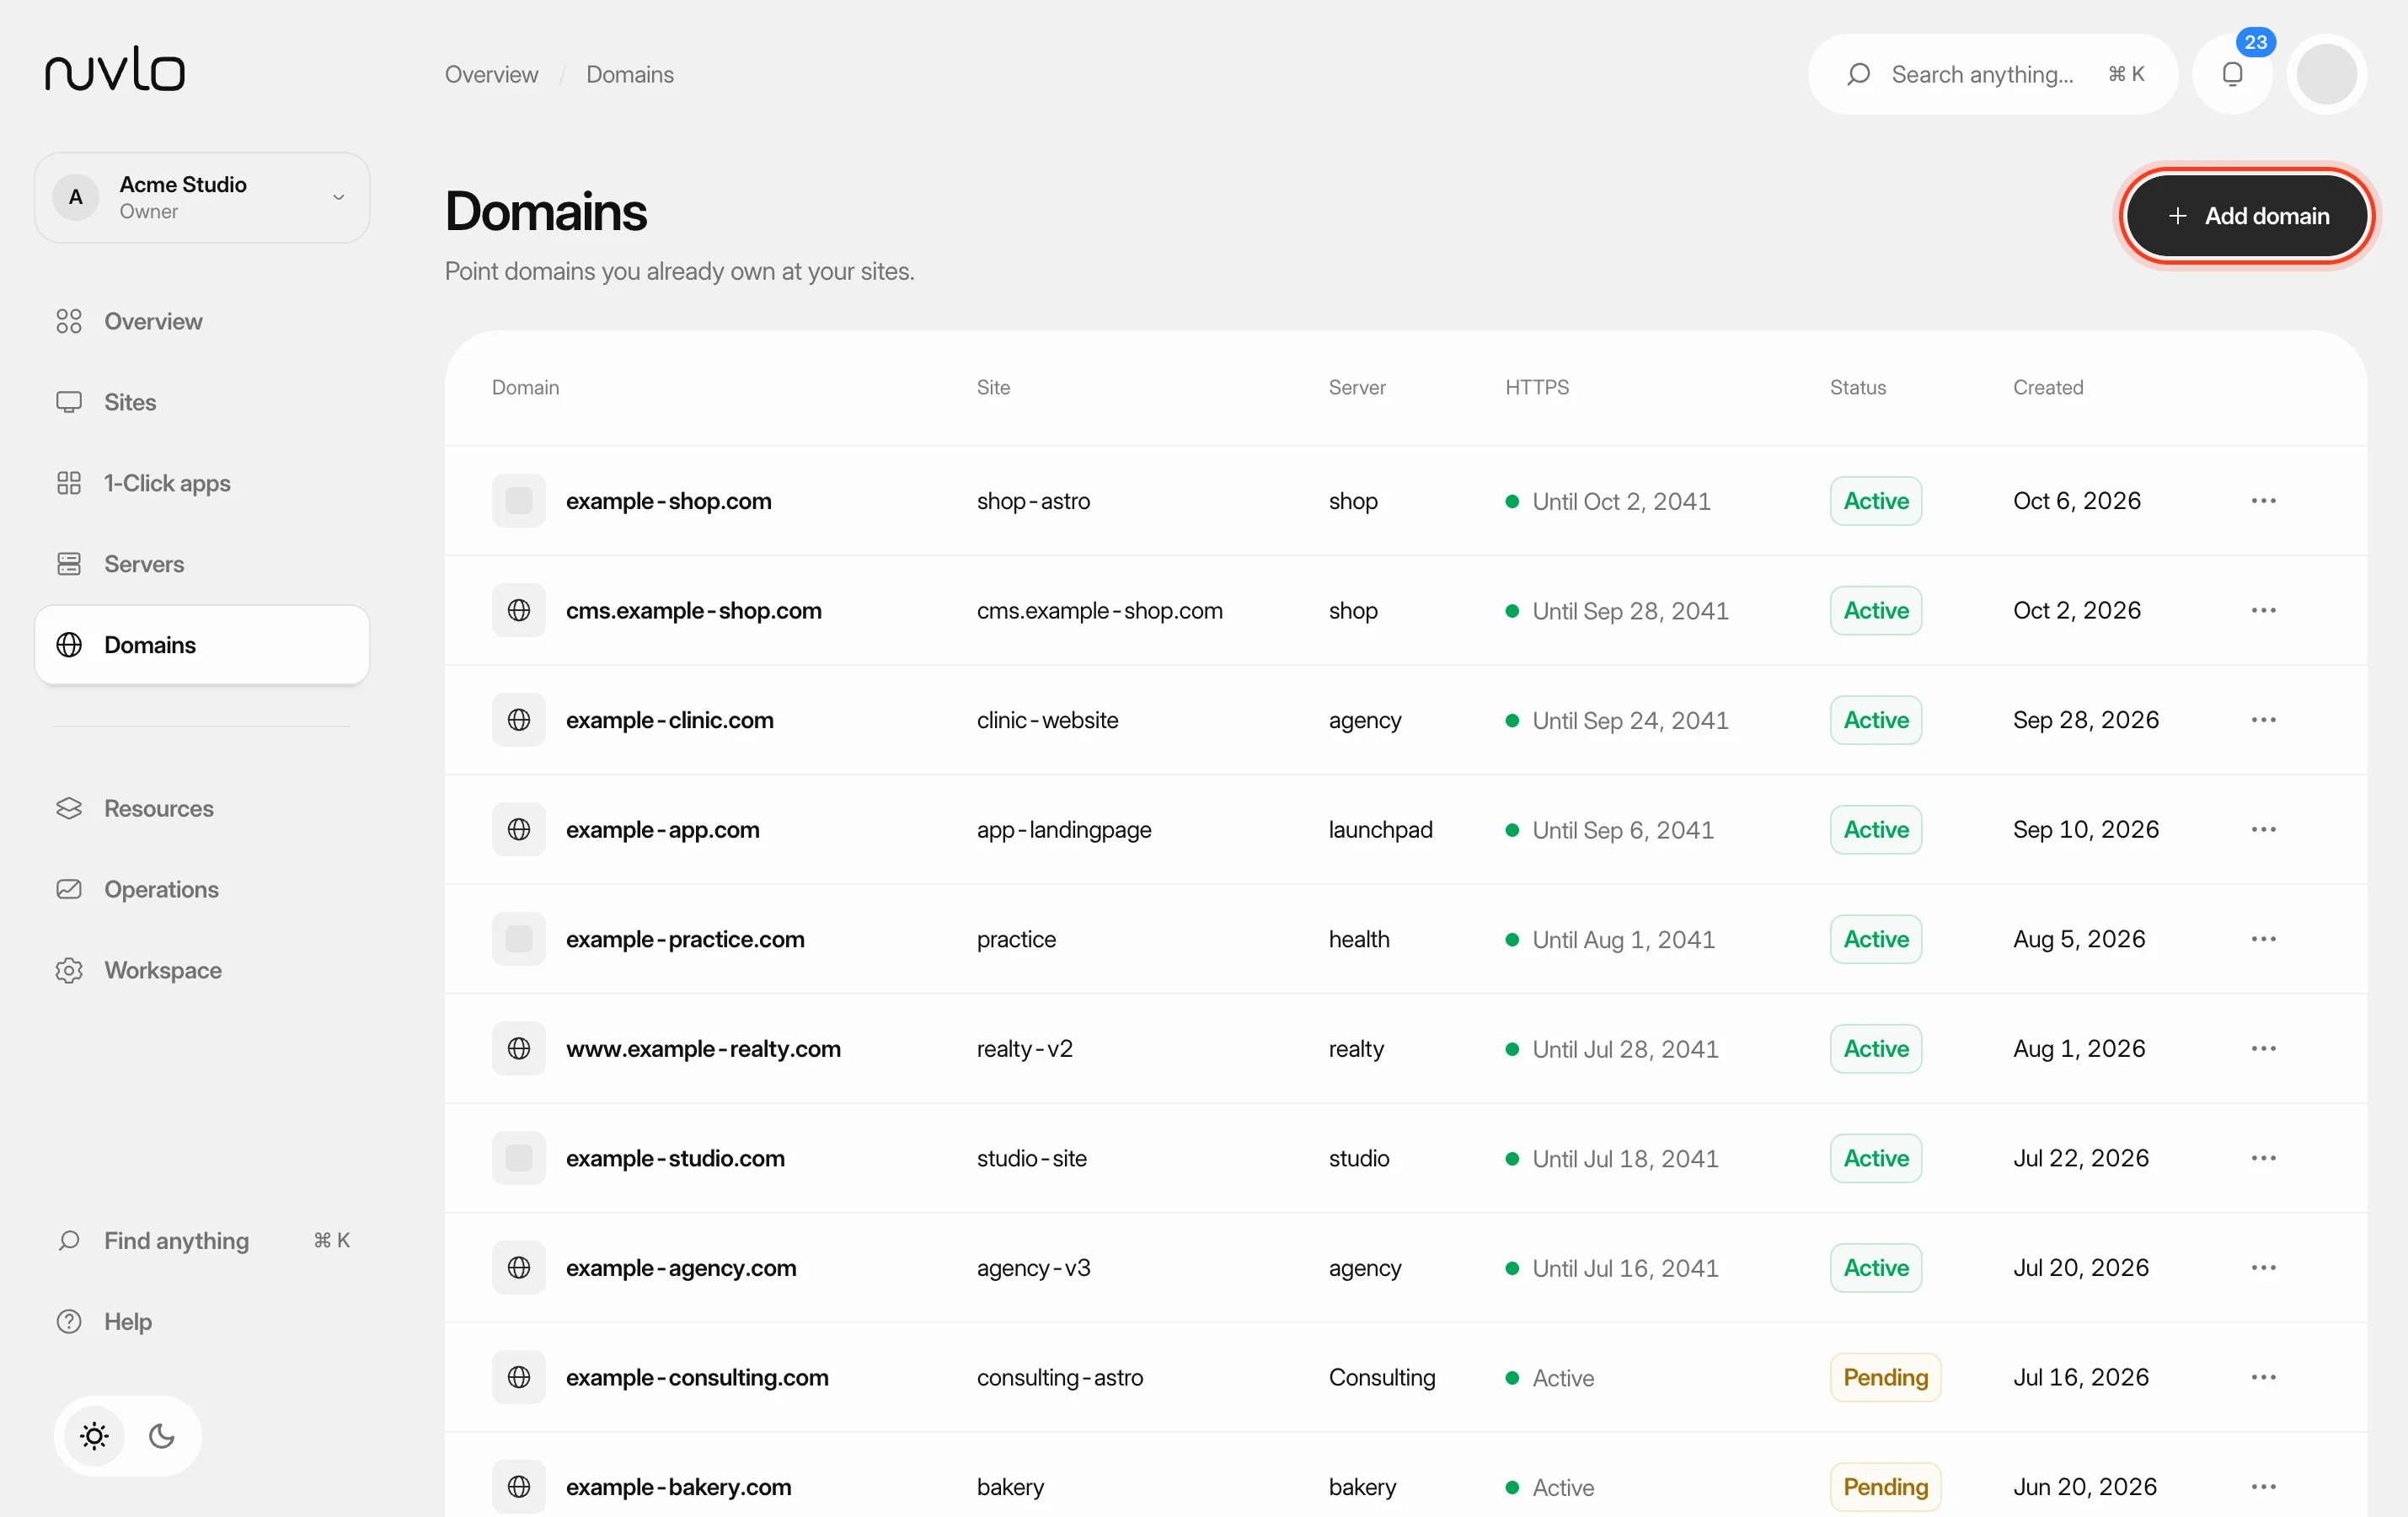
Open Domains. The HTTPS column shows each domain's certificate:
- Let’s Encrypt, Cloudflare or Custom certificate while the certificate is valid. Hover it for the expiry date and how it renews.
- Expires <date> when a Cloudflare or custom certificate has less than 30 days left, or a Let’s Encrypt certificate less than 14 (it normally renews at 30, so this means renewal is failing).
- Expired <date> once it has run out. Visitors see a security warning until you replace it.
- Pending while a certificate is being set up, and Set up HTTPS when there is none.
Clicking the HTTPS status opens the site's domain settings, where the certificate is managed.
Step 2 Open the site's HTTPS settings
- WordPress site: open the site and go to the Domains tab. The HTTPS card shows the Status, the Certificate and when it expires or renews.
- Application, PHP or static site: open the site, go to Settings and then Domains. Open the menu next to the domain and choose Certificate.
Step 3 Choose the certificate type
On a WordPress site, click Turn on HTTPS, or Replace certificate if one is already installed. Under Certificate for your domain, choose one of:
- Let's Encrypt (free, auto-issued): the domain's A record must already point to the server IP shown below the field.
- Cloudflare Origin (15-year, requires Cloudflare)
- Custom certificate (paste your own): paste the full chain into Certificate (PEM, full chain) and the key into Private key (PEM).
On an application, PHP or static site, the Certificate dialog offers the same three types as Let's Encrypt, Cloudflare Origin CA and Your own certificate.
Step 4 Install the certificate
Click Install certificate (or Replace certificate in an application's dialog). When it's done, the HTTPS status of a WordPress site changes to On, and an application's domain shows Valid.
For a Cloudflare Origin certificate, a second message lists the Cloudflare settings Nuvlo changed, or explains why it left them alone. See Connect Cloudflare.
When a Cloudflare setting holds HTTPS up
If Cloudflare's SSL/TLS mode for the domain is Flexible or Off, Cloudflare talks to your server over plain HTTP and HTTPS on the server would loop. The HTTPS status then shows Waiting for a Cloudflare setting.
Click Open Cloudflare SSL/TLS settings and set the mode to Full (strict). Nuvlo finishes HTTPS by itself once the setting is changed.
Renewal
Let’s Encrypt certificates are renewed on the server before they expire. For that to keep working, the domain must keep pointing at the server and port 80 must stay reachable.
Nuvlo doesn't renew Cloudflare Origin or custom certificates. Install a new one from the same dialog before the expiry date.
On an application, PHP or static site, Remove certificate in the Certificate dialog stops HTTPS right away. A domain behind Cloudflare's proxy then shows a Cloudflare error until you install a certificate again.
Related guides
 Add a domain to a sitePoint a domain you own at one of your sites. Nuvlo sets up the web server for it and issues a free HTTPS certificate as soon as the domain reaches your server.
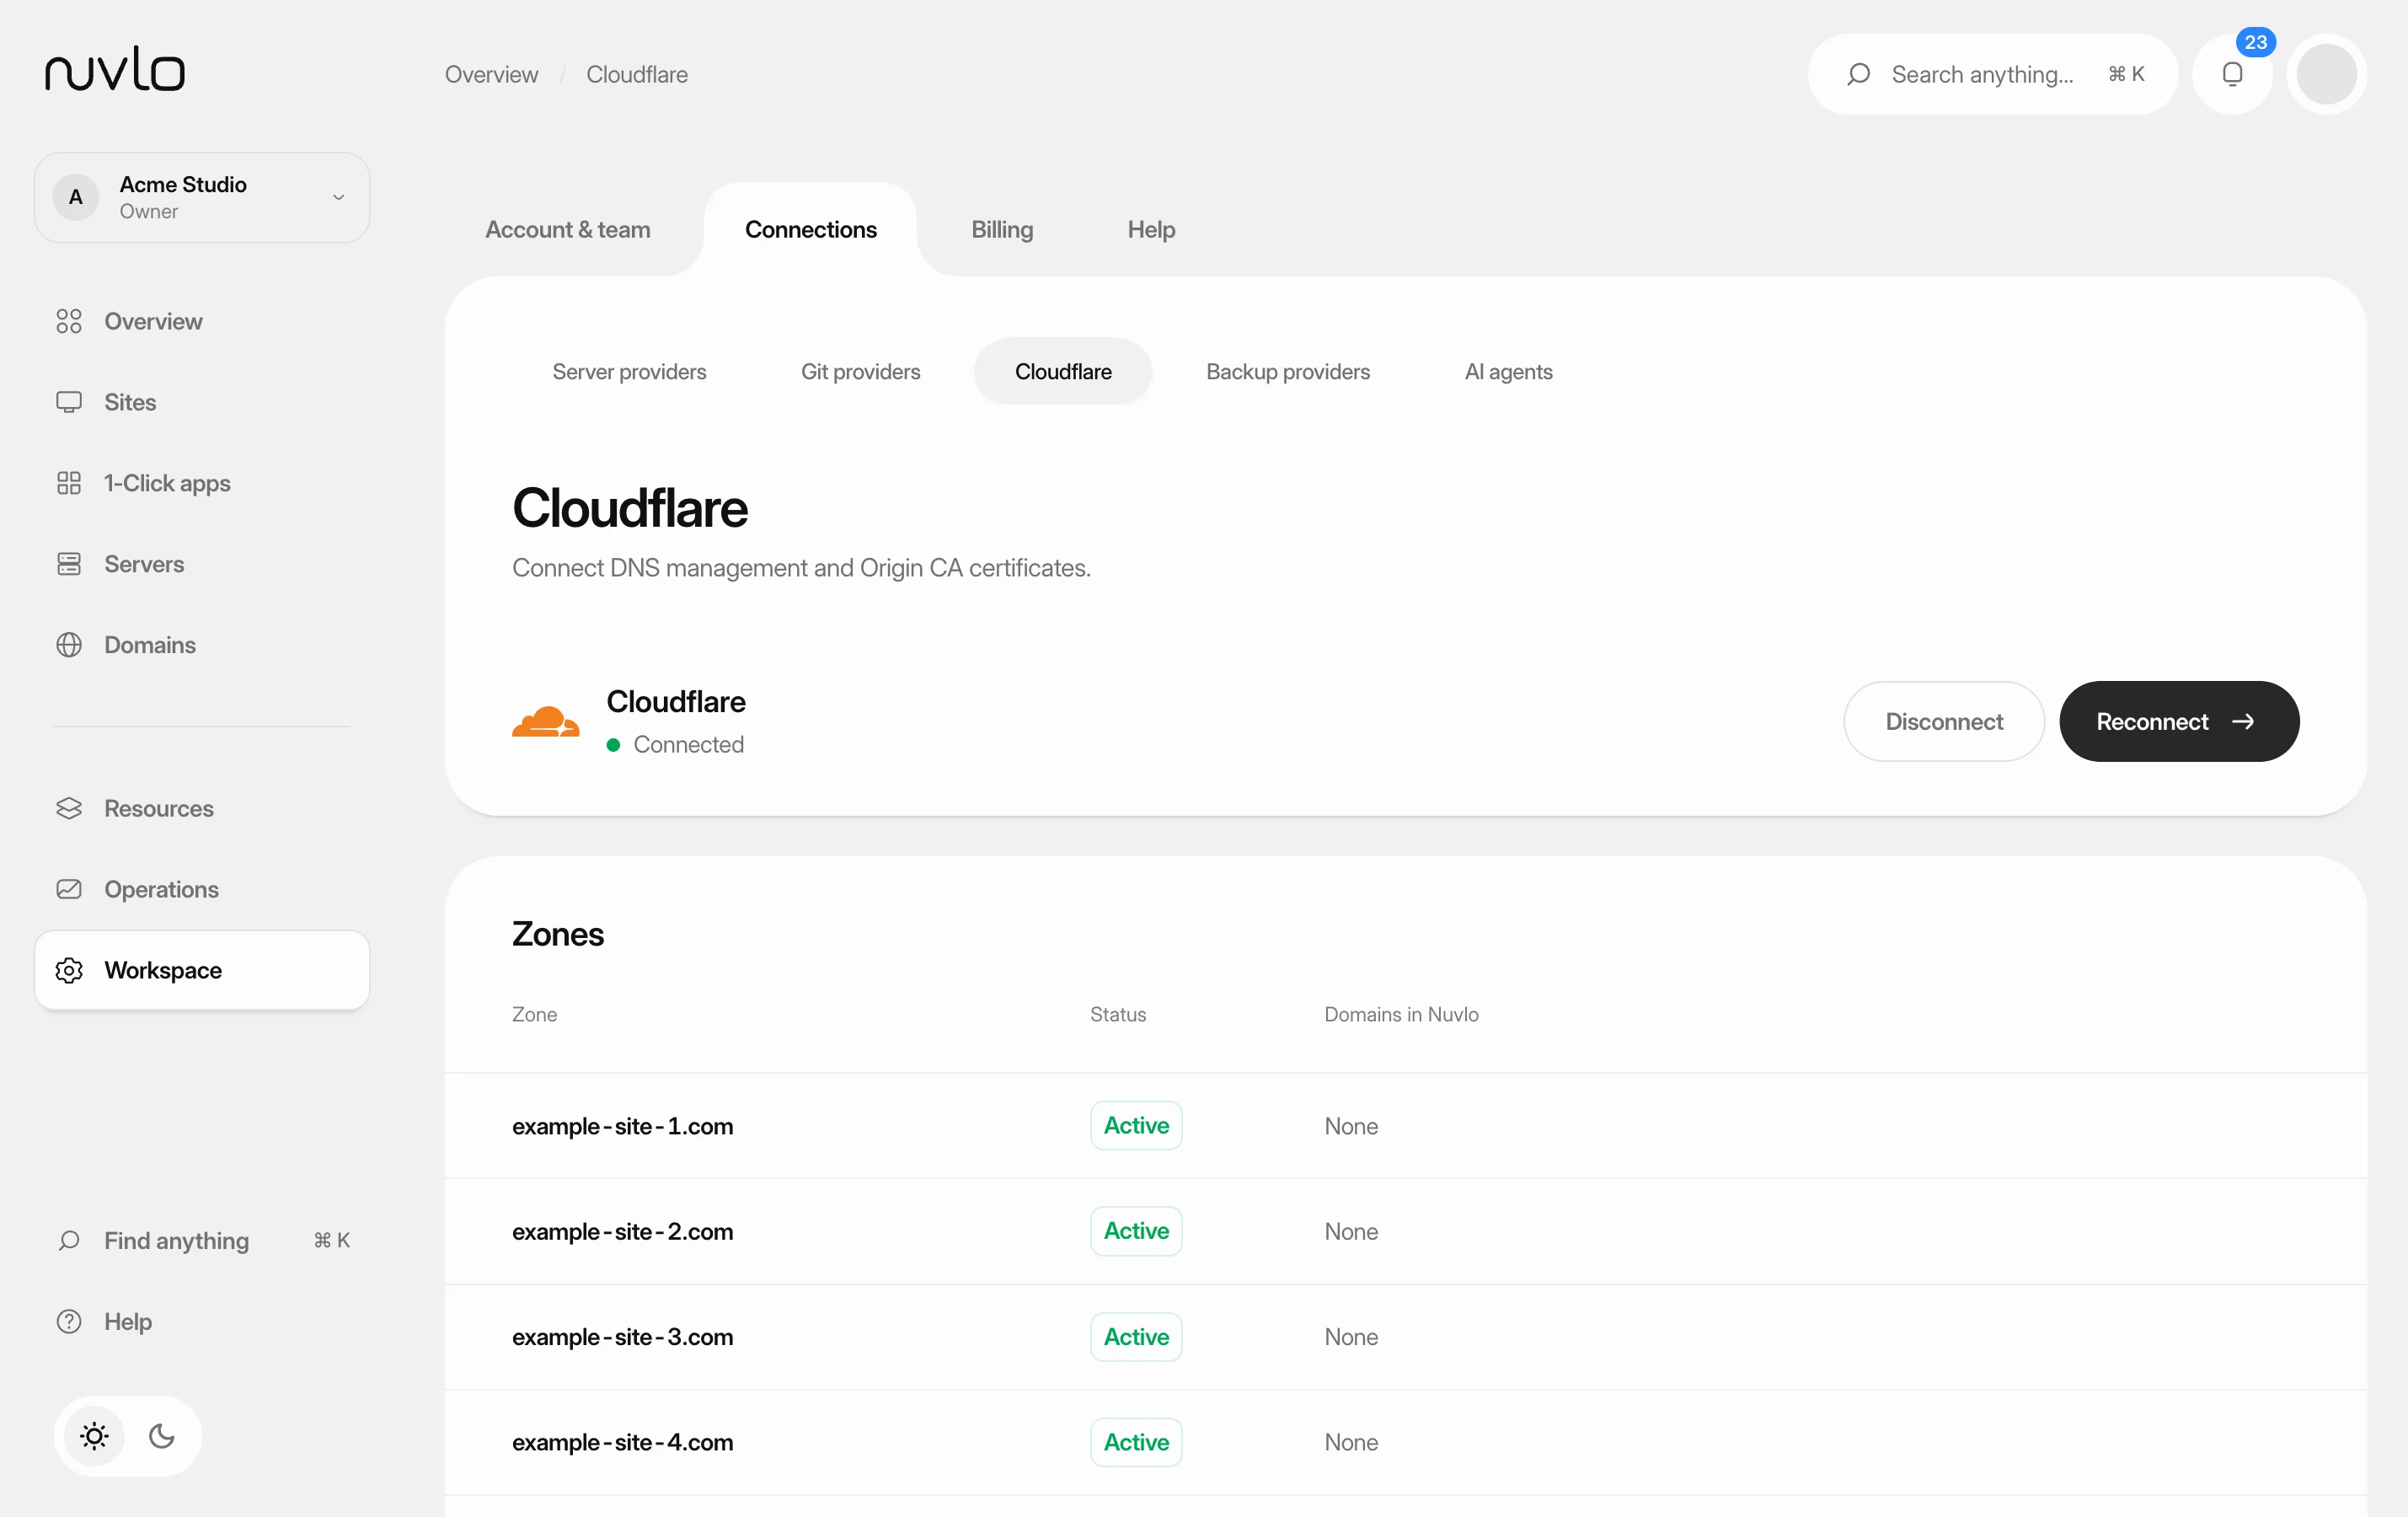 Connect CloudflareConnect your Cloudflare account so Nuvlo can create DNS records for your sites, install Cloudflare Origin certificates and keep your zones on secure settings.
 Change a site's domainMove a WordPress site or an application to a different domain, or from its temporary address to your own domain, without creating a new site.