Add SSH keys to your servers
Save your public SSH keys in Nuvlo and pick them when you create a server, so you can sign in to that server from your own computer. You'll also learn what happens when you delete a key.
On this page
Before you start
- An SSH key pair on your computer. If you don't have one, create it with
ssh-keygen -t ed25519in a terminal. - The Owner or Admin role. Only they can add or delete SSH keys and add them to new servers. See Roles and permissions.
Which servers get your keys
Saved keys are added to a server when you create it. You choose the keys in the server form, and each selected key can sign in to that server as root.
Keys are not added to servers that already exist, and deleting a key in Nuvlo does not remove it from servers created with it. The steps below show how to handle both cases.
Servers created by Nuvlo accept SSH keys only. Signing in with a password is turned off.
Step 1 Copy your public key
Your public key is the file that ends in .pub, for example ~/.ssh/id_ed25519.pub. Print it and copy the whole line:
cat ~/.ssh/id_ed25519.pubThe line starts with the key type, such as ssh-ed25519. Nuvlo accepts Ed25519, RSA and ECDSA keys.
ImportantNever paste your private key, the file without .pub. Anyone who has it can sign in to your servers.
Step 2 Add the key to Nuvlo
In the sidebar, select Resources and then SSH keys. Click Add SSH key.
Enter a Name that tells you where the key lives, such as MacBook Pro. Paste the line you copied into Public key and click Add key.
If the key can't be read, Nuvlo tells you why, for example Enter one OpenSSH public key (Ed25519, RSA, or ECDSA). Check that you pasted one complete line.
Step 3 Check the key in the list
The SSH keys page lists every saved key with its Name, Fingerprint and the date it was Added. The fingerprint is a short ID of the key. It starts with SHA256:.
To compare it with the key on your computer, run:
ssh-keygen -lf ~/.ssh/id_ed25519.pubStep 4 Select the key when you create a server
When you create a server, the configuration step has a section SSH keys (optional). Tick every key that should have access.
When the server is ready, sign in with its IP address from the server's page:
ssh root@203.0.113.10Step 5 Delete a key
On the SSH keys page, open the options menu at the end of the key's row and choose Delete key. Confirm with Delete key.
The key can no longer be selected for new servers. Servers that were created with it still accept it.
Step 6 Revoke a key on an existing server
If a key was lost or someone should no longer have access, remove it from each server it was added to. Open the server's terminal and list the fingerprints of the keys that can sign in:
ssh-keygen -lf /root/.ssh/authorized_keysFind the line whose fingerprint matches the key in Nuvlo, then open /root/.ssh/authorized_keys in an editor such as nano and delete only that line.
ImportantDeleting the other lines can lock Nuvlo out of the server: one of them is the key Nuvlo uses for deploys, backups and updates.
Add a key to an existing server
Nuvlo can't push a saved key to a server that already exists. Open the server's terminal and append your public key as a new line at the end of /root/.ssh/authorized_keys.
Related guides
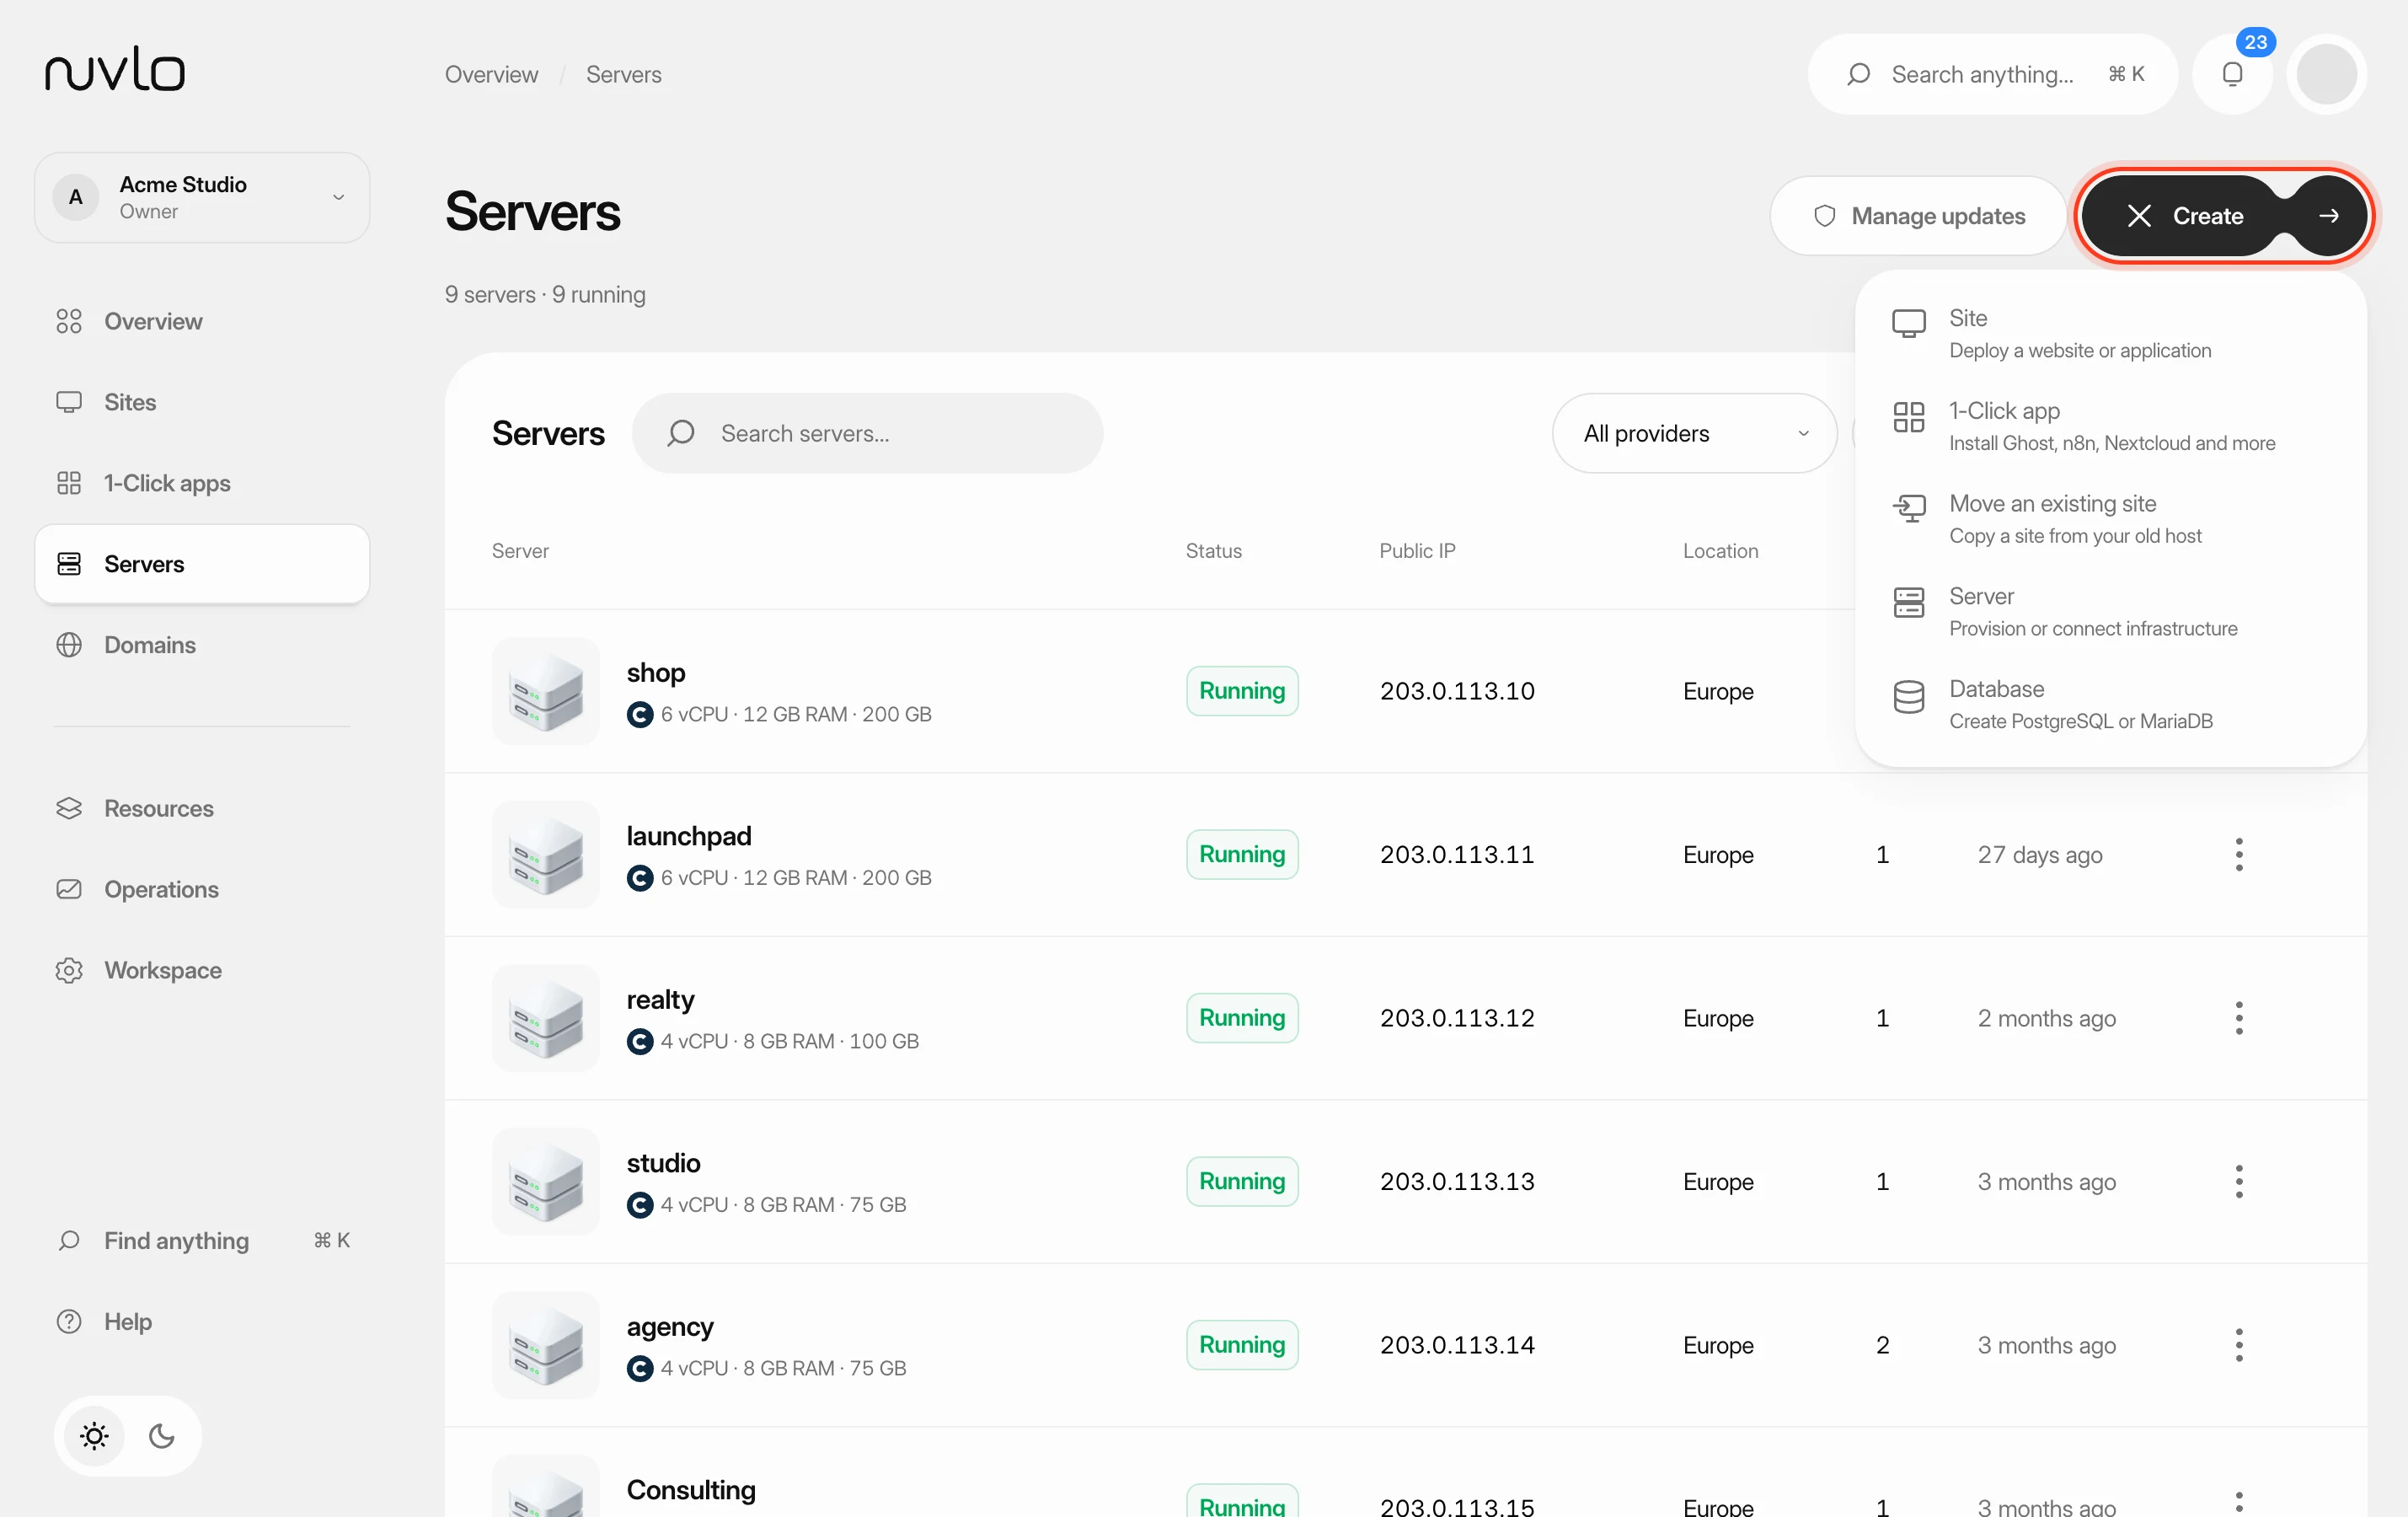 Create a serverOrder a new server at your cloud provider from Nuvlo and have it set up with everything your sites need: web server, firewall, security hardening and the software for the projects you plan to host.
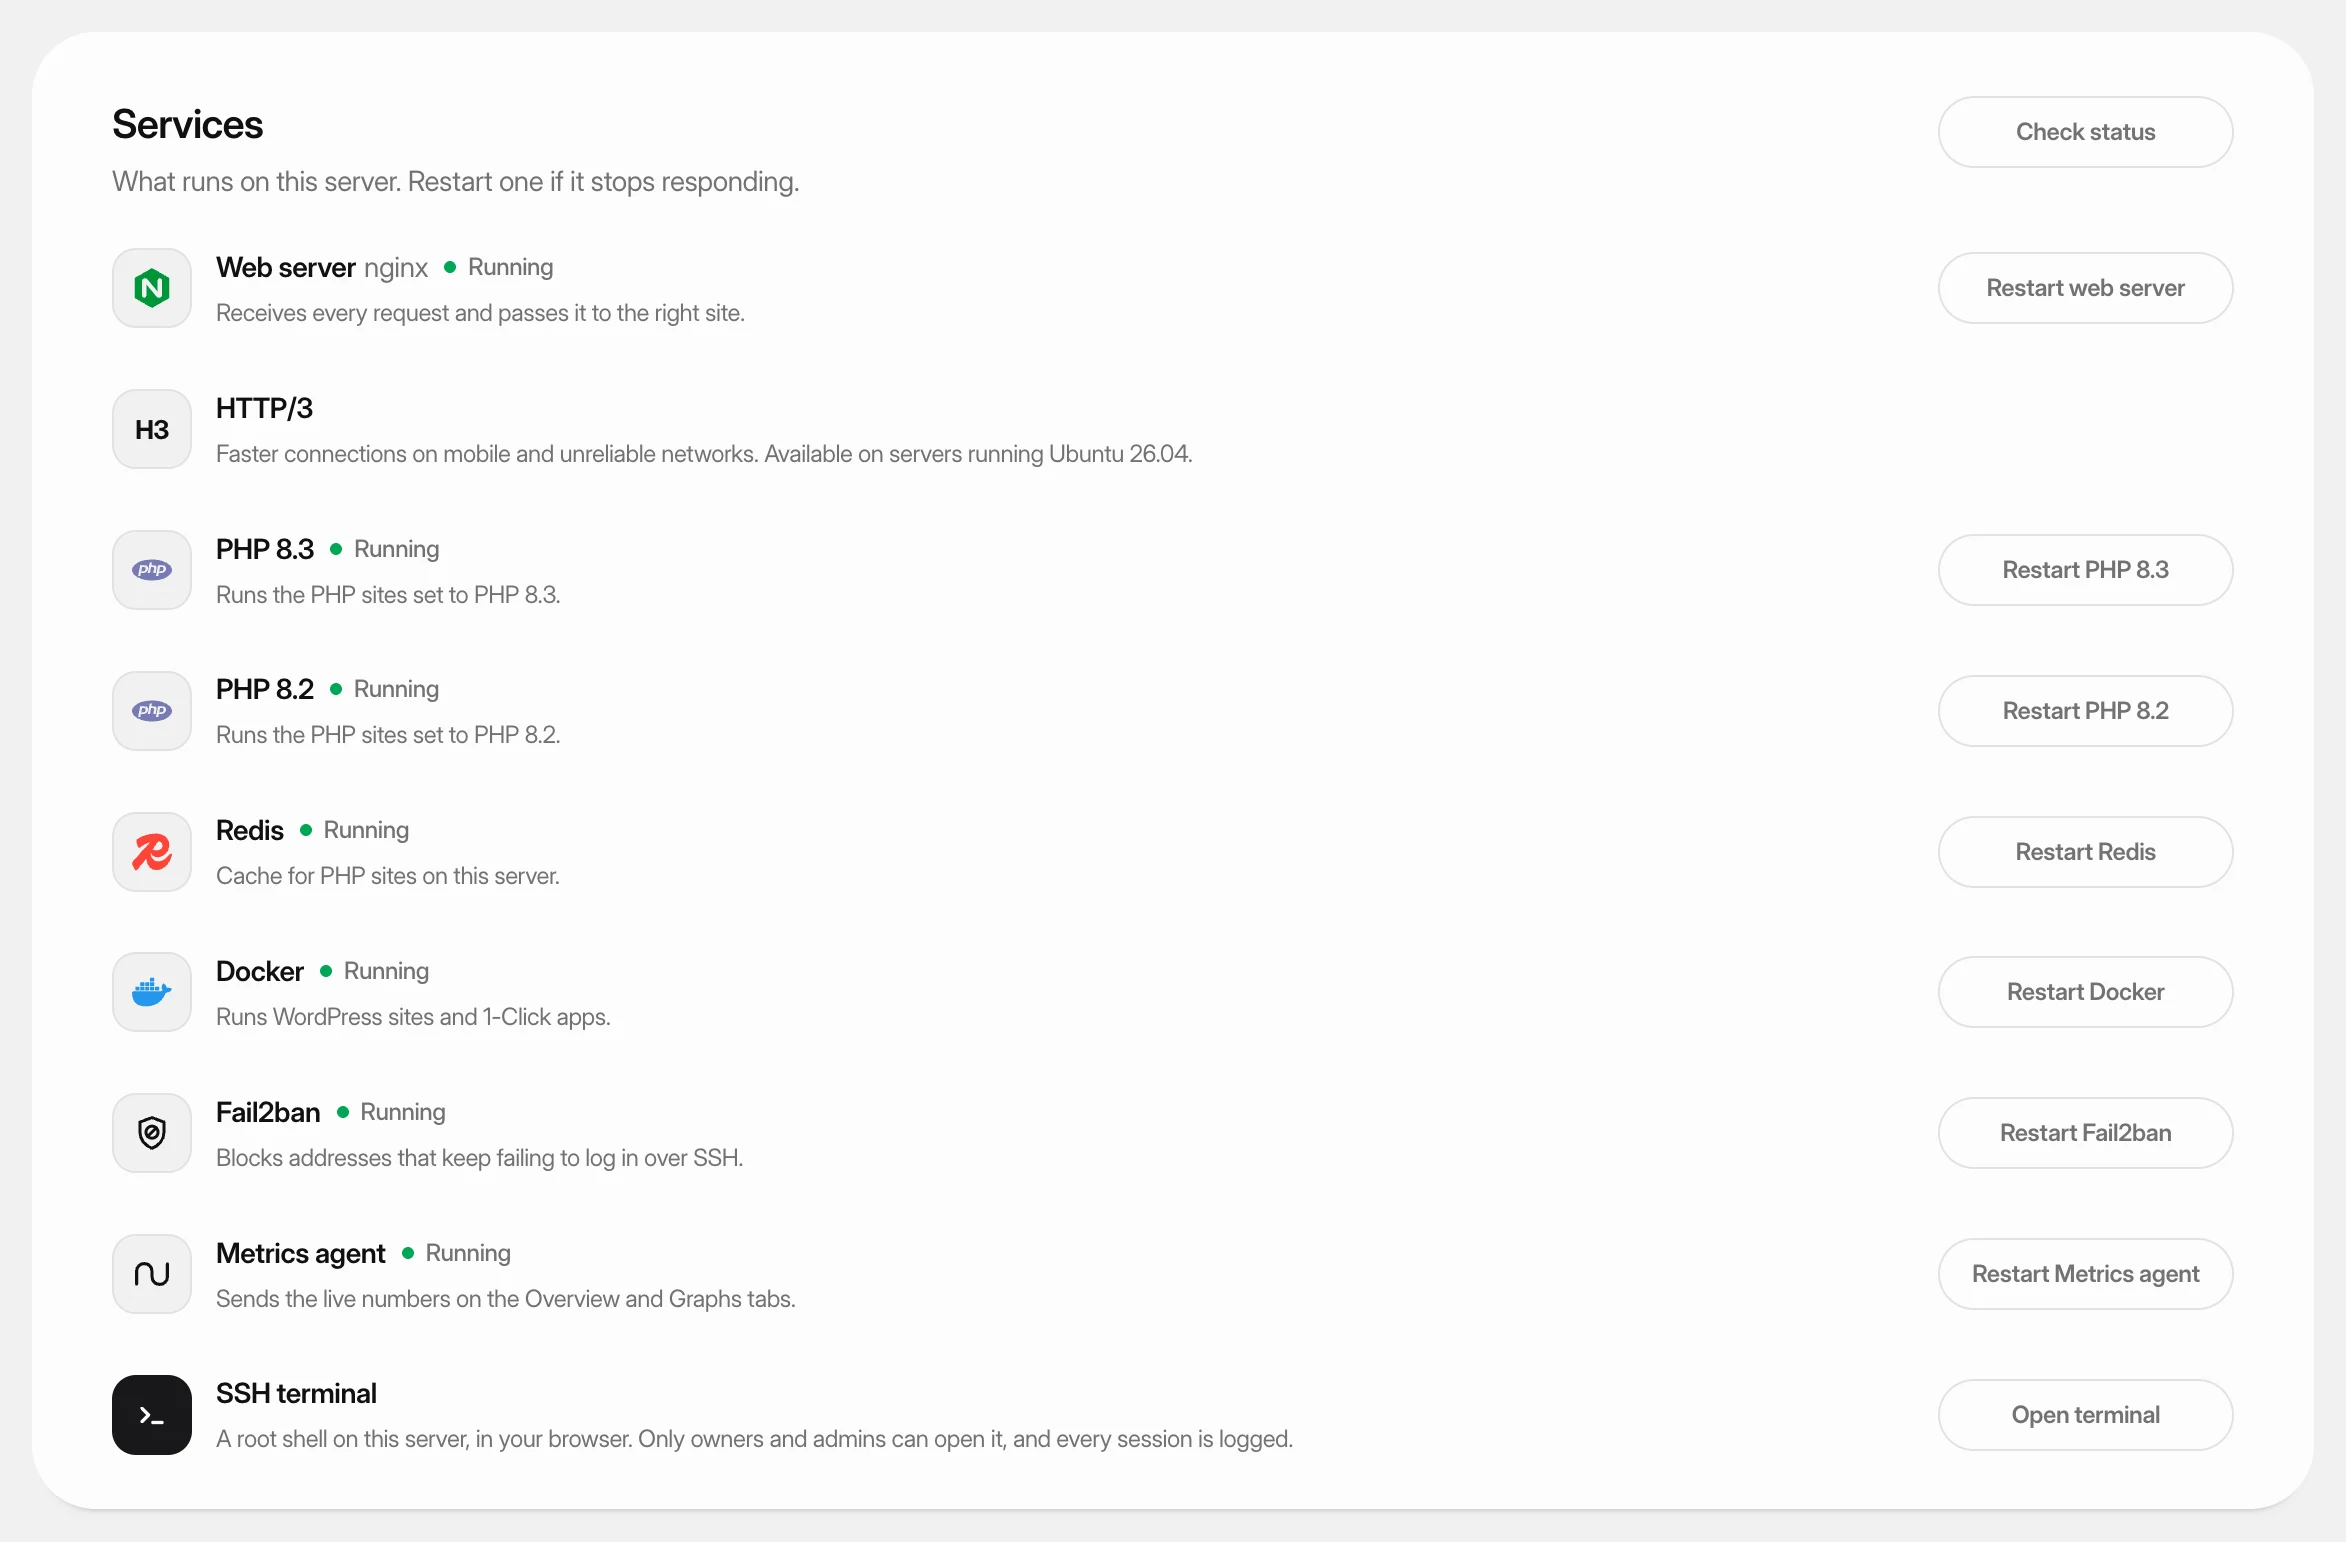 Open a terminal on your serverRun commands on your server as root, in your browser, without setting up SSH on your computer.
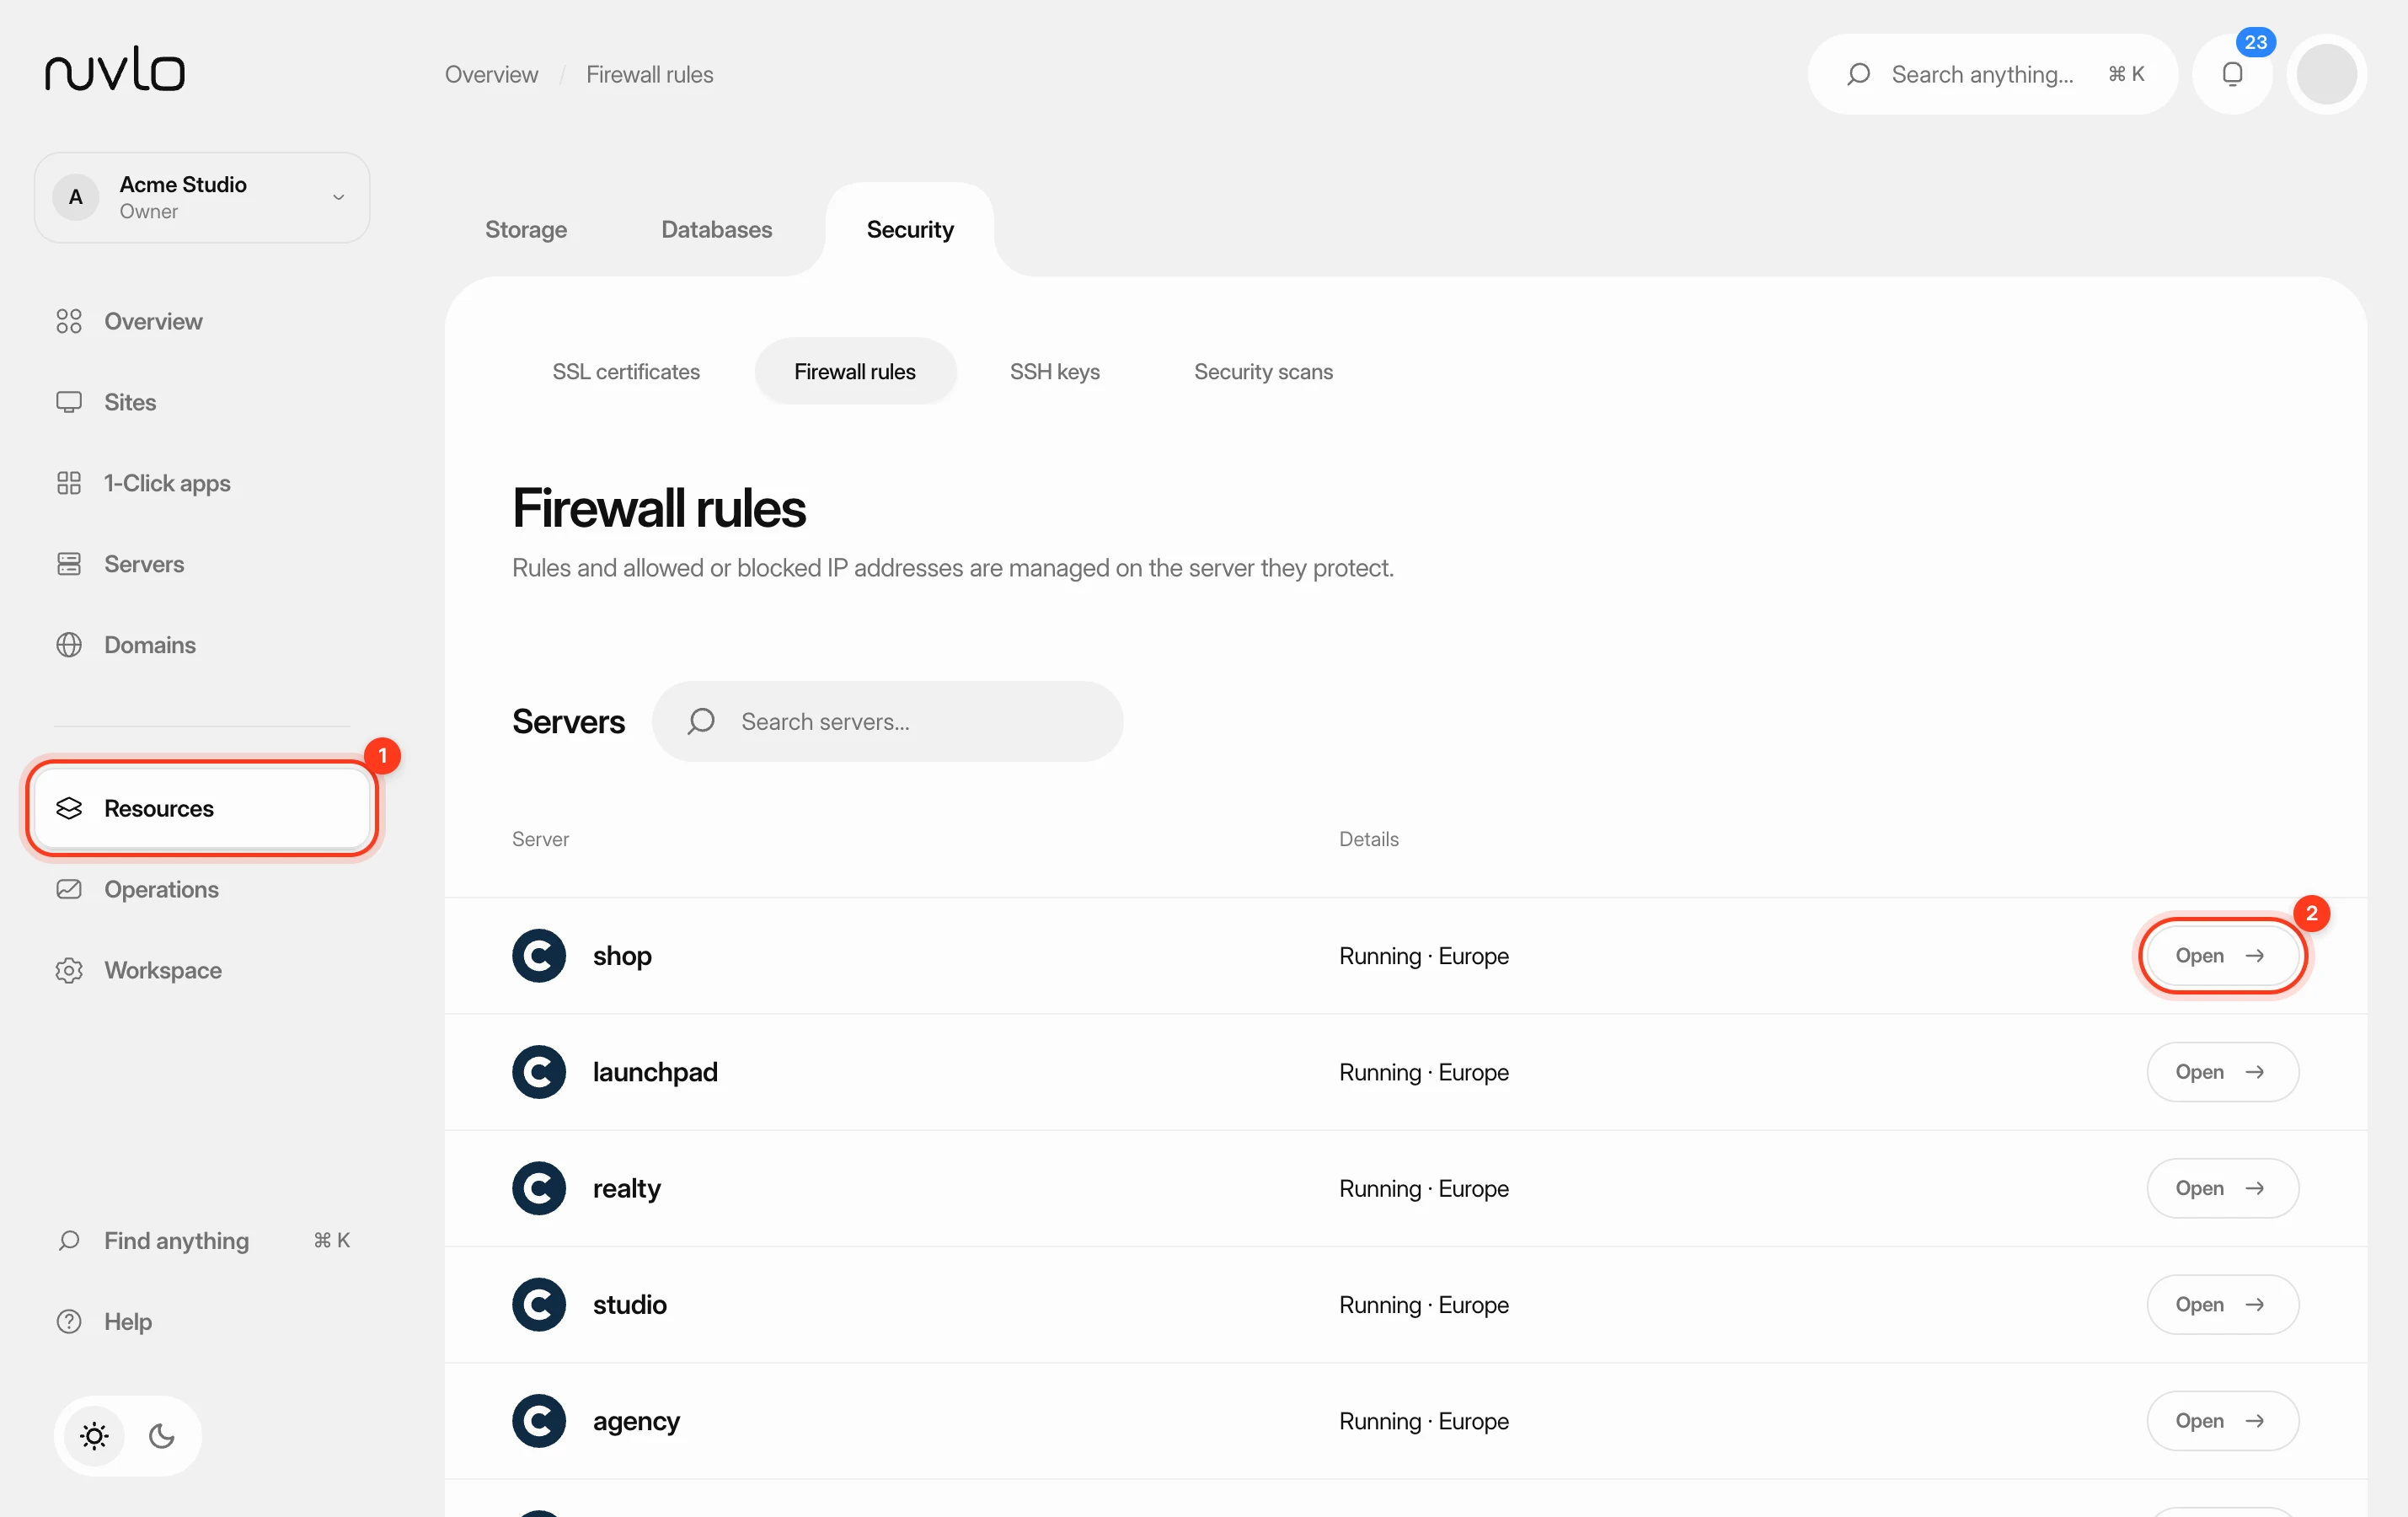 Set up firewall rulesTurn on the firewall of a server and decide which ports accept connections, and from which IP addresses. You can allow or block a port for everyone or for a single address or range.
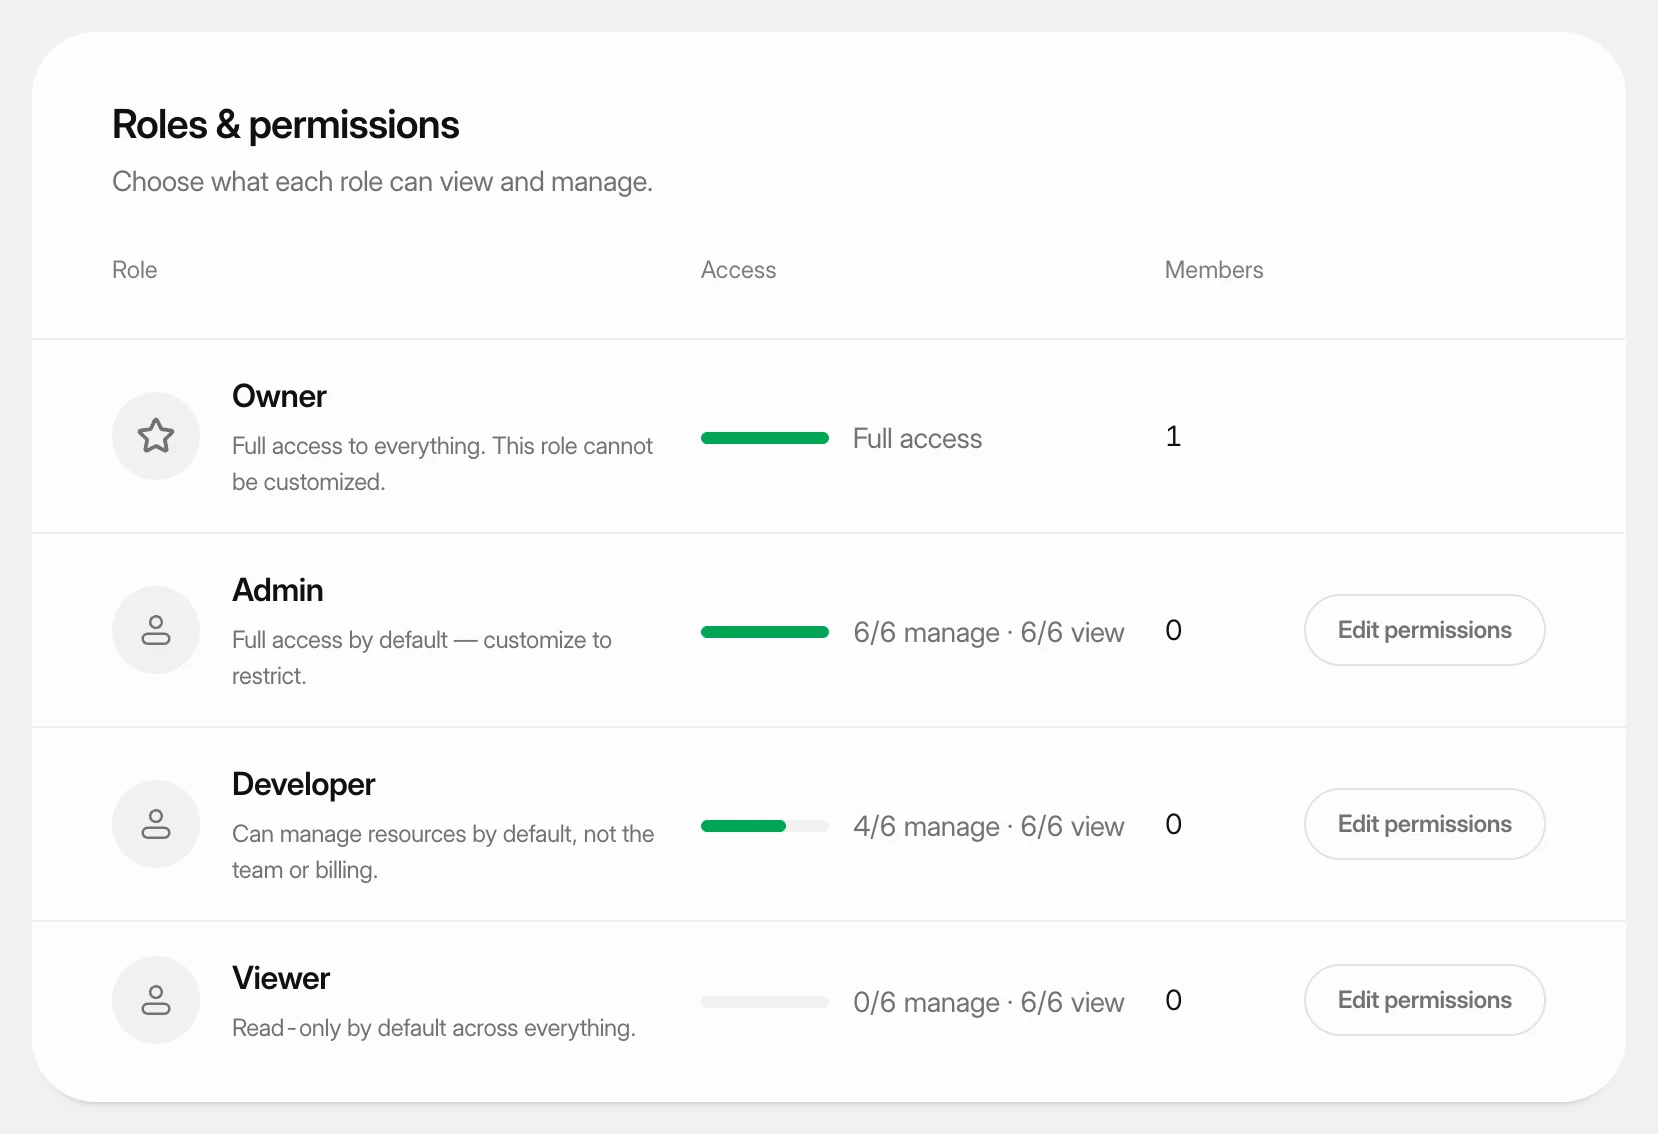 Set what each role can doUnderstand the four team roles and change what the Admin, Developer and Viewer roles may view and manage in your workspace.